


![]() Wed Jun 05, 2013 2:02 pm
Wed Jun 05, 2013 2:02 pm
Making S&G Environmental Lock Keys
Making keys for S&G Environmental Locks
Let me start by saying that this does NOT replace Bosnian Bill's excellent video on making these keys. This is just how I did it. Will be making some references to his work, as well. My thanks to him, and to the others here who have posted information on these locks and keys.
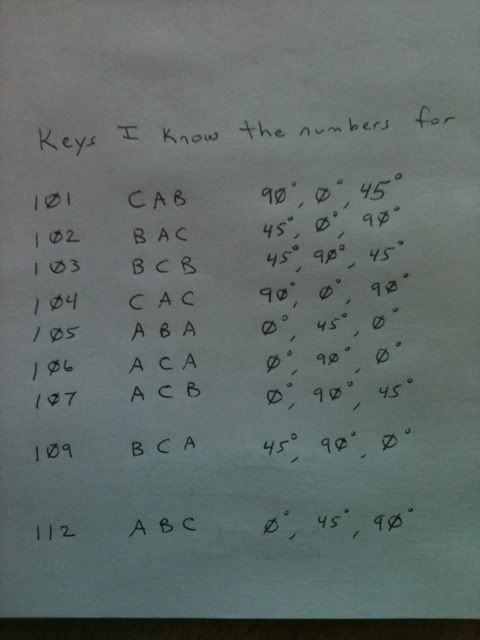
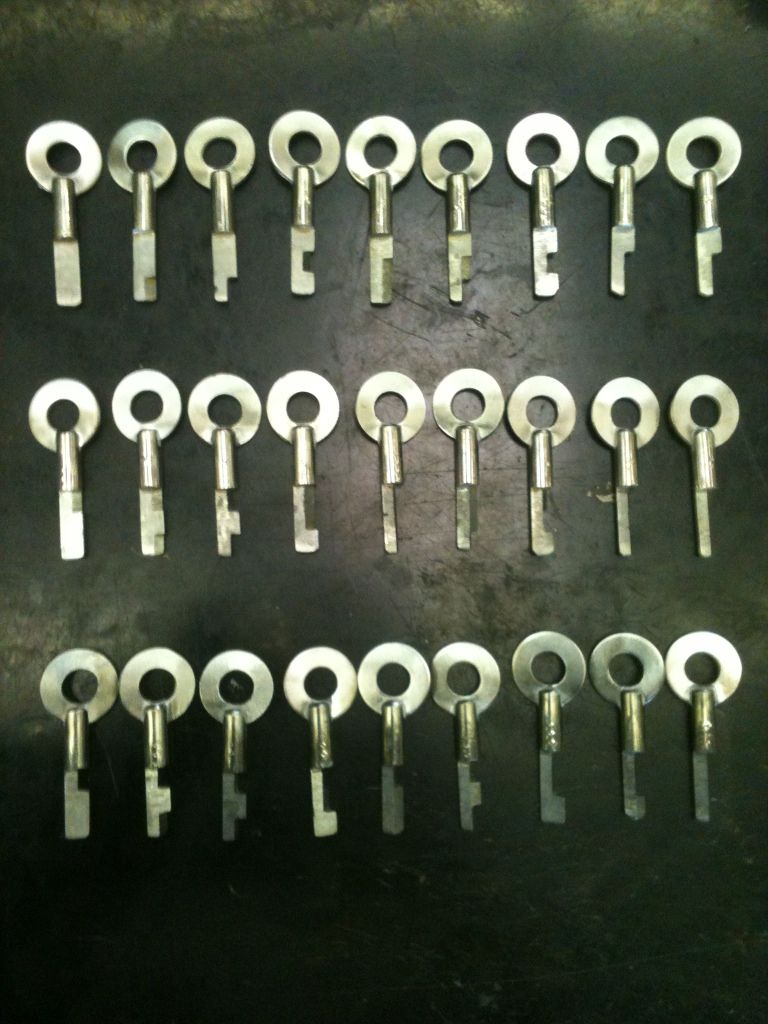
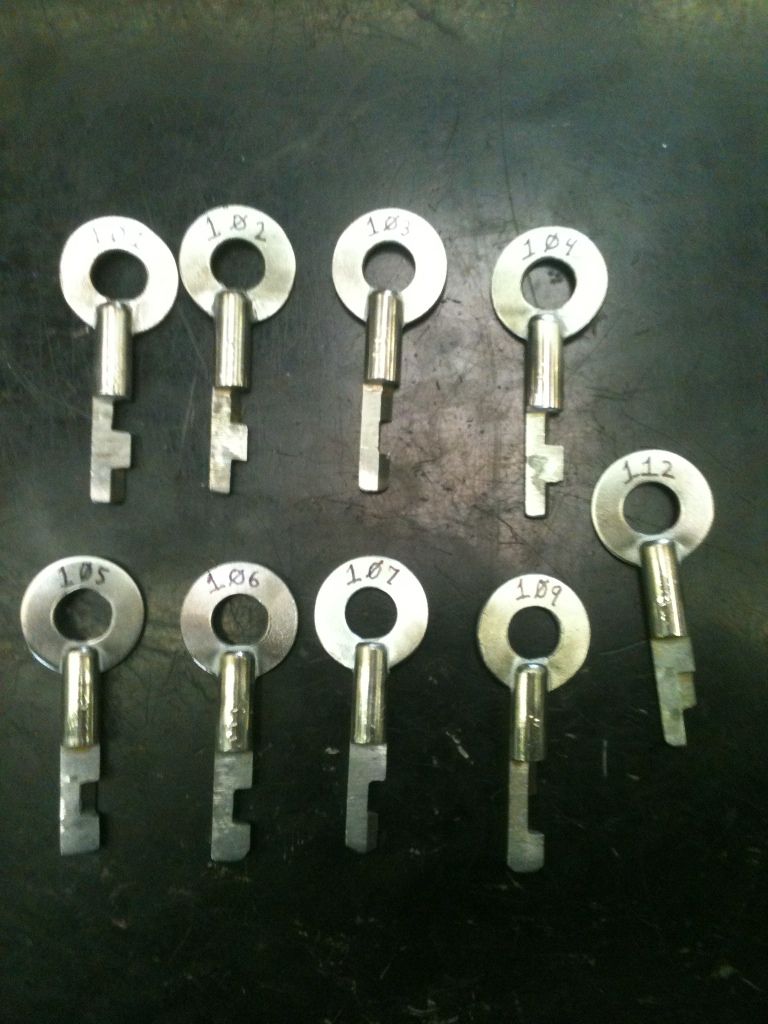
Have decided to make a full set of the 27 possible key permutations. Yes, I know that most of the possible codes are not used, but there are at least three numbers that are used, but I do not know which cuts they are. Can not really remove pull-out keys from the possibilies, because 112, which is used, is a pull-out. Also, you never know if an eBay purchase will have been taken apart and rekeyed by somebody else using a non-numbered key.
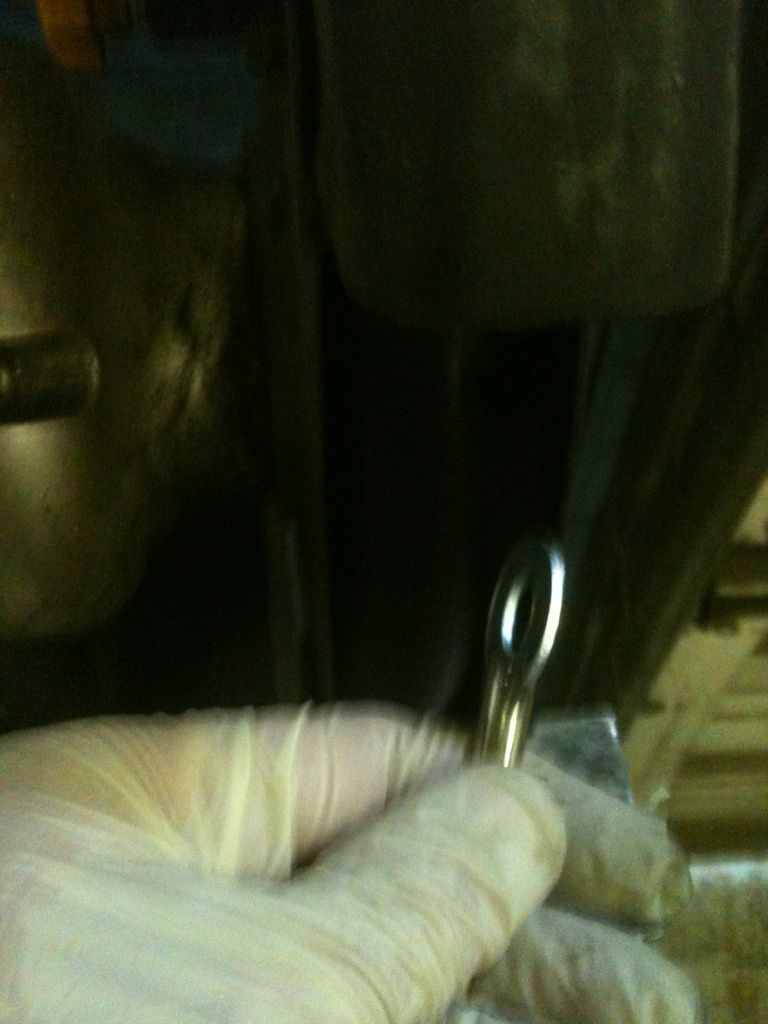
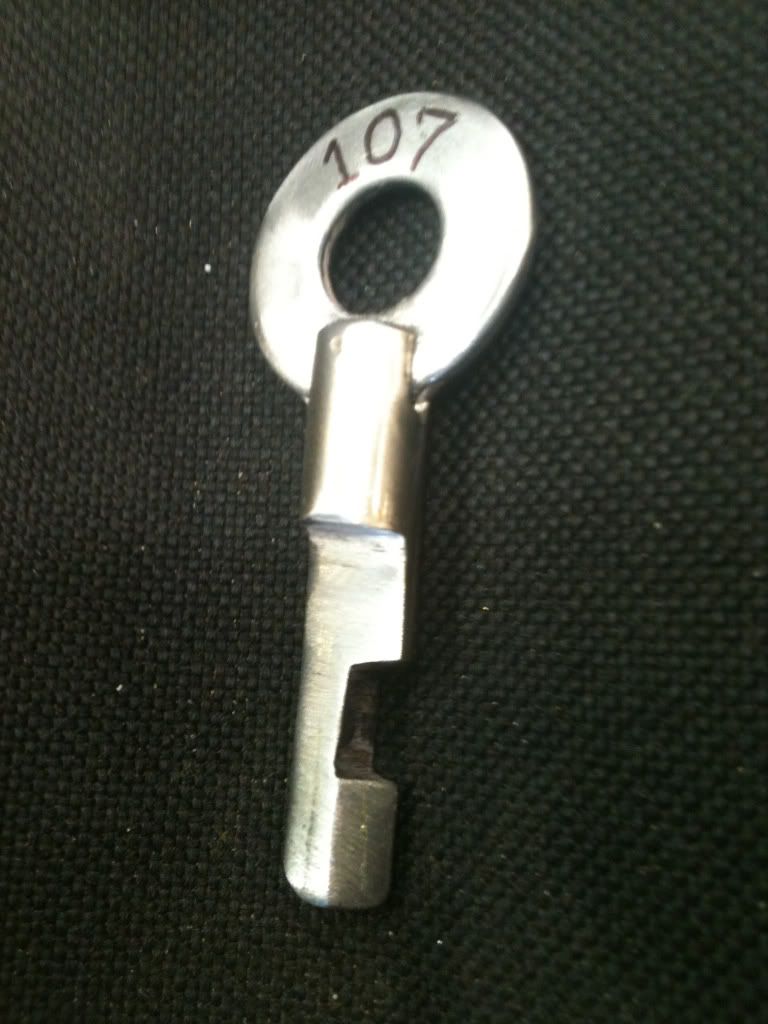
Here is the first Enviro key I made. It is a 107. Rough looking, but it works very well.
The remaining keys will be made along the same lines. Here are the measurements I use:
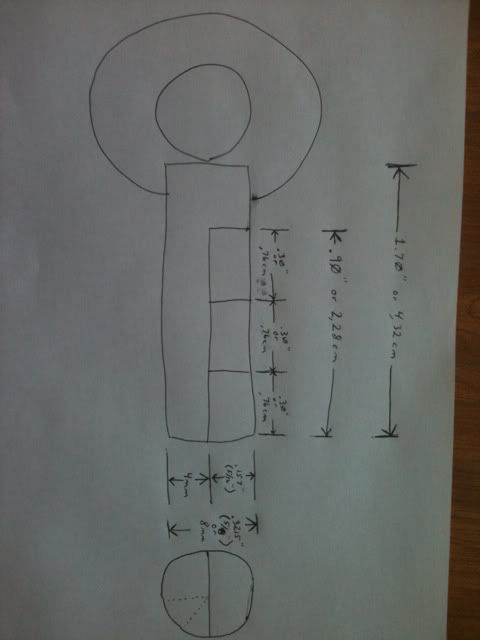
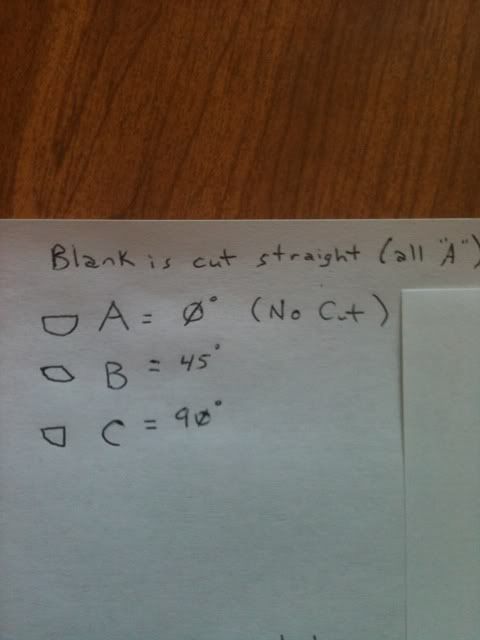
The blank is cut straight across, or 0 degrees, which (copying another member's names for the cuts) we will call an "A". "B" is cut a further 45 degrees, and a "C" cut is cut to 90 degrees. I include a picture to make myself clear. If the below drawing is not understood, look at the first picture. It has all three cuts.
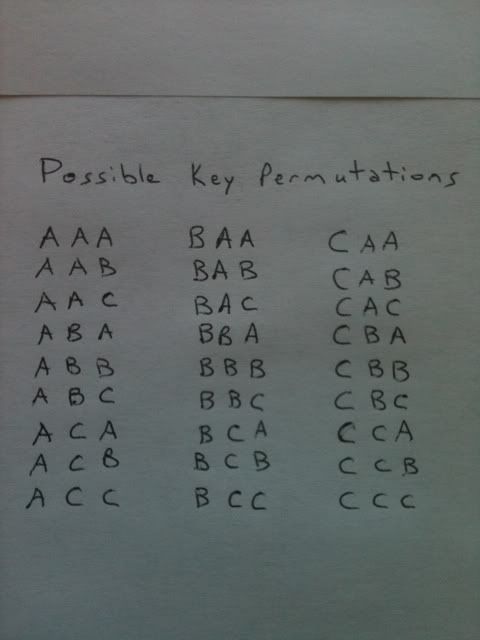
With 3 discs, each having three possible positions, that gives us 27 possible key permutations. Most are not used. The key is supposed to be key retaining (no pull-out keys), but since a 112 is a pull-out, I won't assume that the ones I don't know the numbers for are not pull-outs either.
Now, the metal stock I am using is 8mm. The "A" cuts are cut straight across, meaning that it will be 4mm, or half the width of the stock. Since I am making many keys, wanted a consistent way of cutting the depth with my primitive tools and very primitive intelligence. A #3 Phillips screwdriver in my tool box is also 8mm thick. Placed it in a vice and used a micrometer to make sure the depth is correct all the way across.


Now any metal stock I lay on top of the screwdriver can be cut and filed flush with the top of the vice, and it will be 4mm. :-D
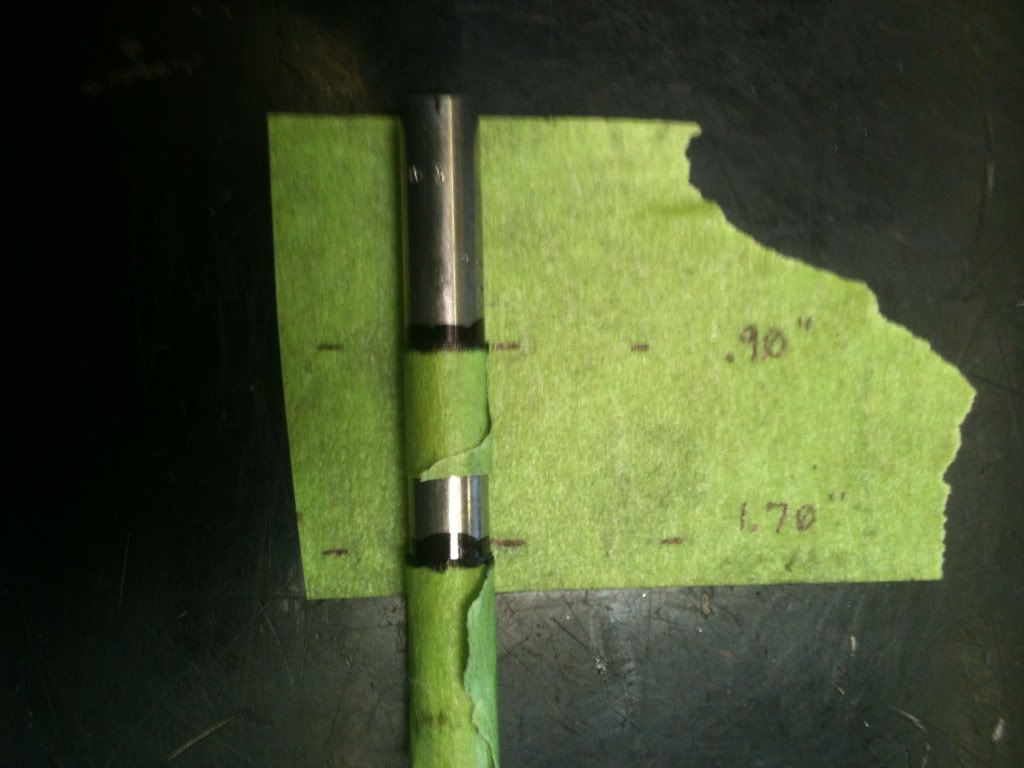
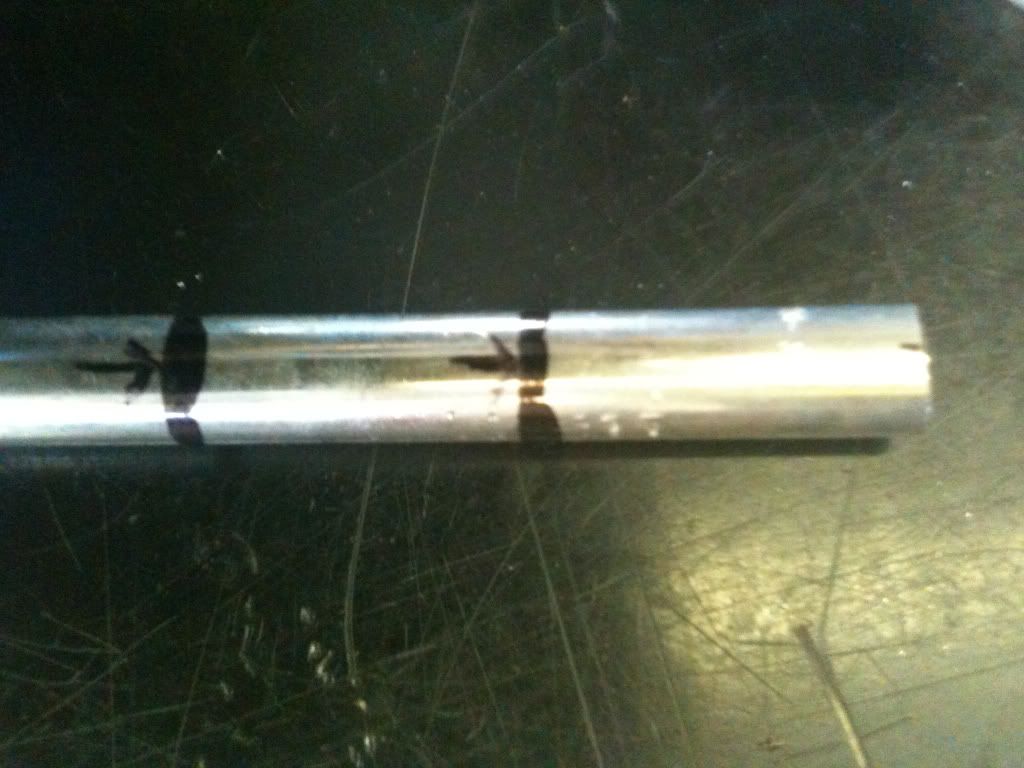
To consistently make the keys with the same bitting area and length, I "rednecked" it. Masking tape with the two lengths marked on it. Lay tape along the marked lengths, align the top of the metal rod with the top of the tape, and wrap the tape around the rod. Voila... it is easily measured to the correct lengths. I then use a Sharpie (marker) to draw a line at the tape.
Remove the tape, and the rod is marked. With the tape off, put an arrow to indicate to what edge you cut and file.
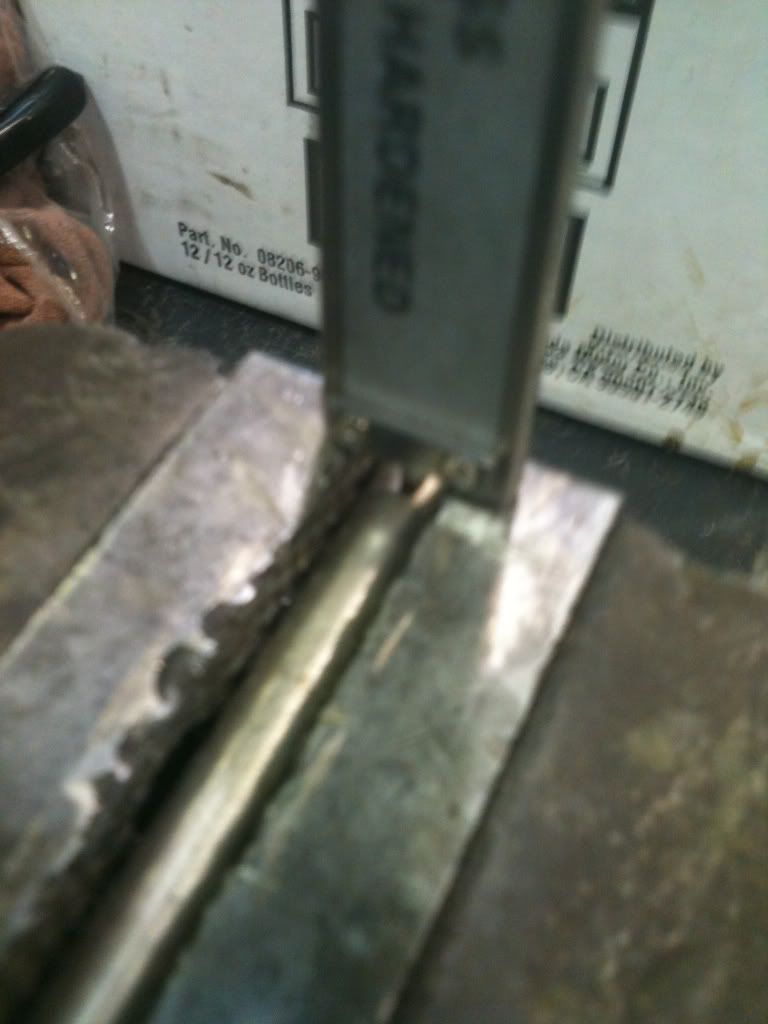
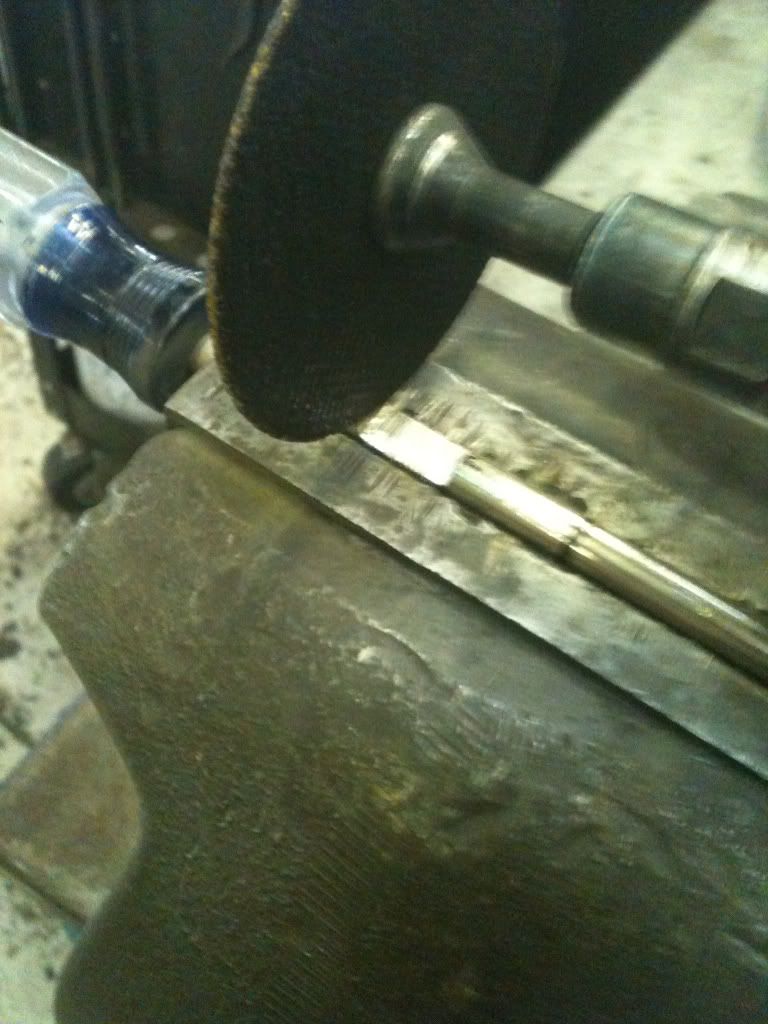
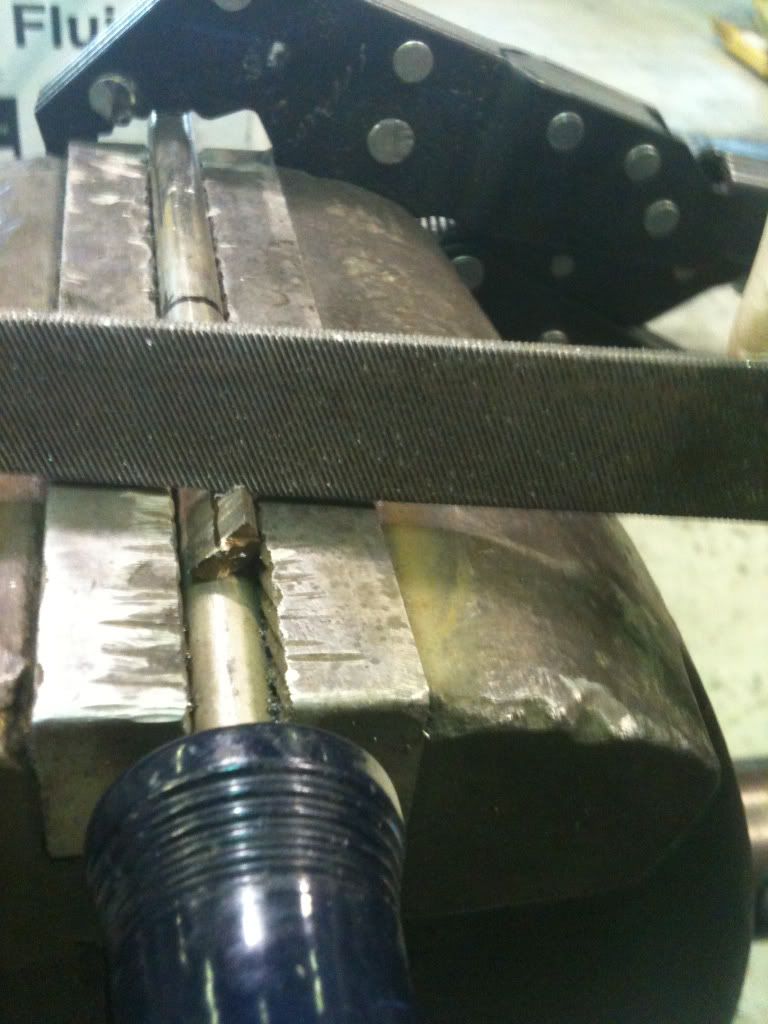
Now lay the rod into the vice, clamp it in place with locking pliers (use cloth to keep from marring the surface), cut and file the flat part. This is hard steel (cheaper than brass, especially since I already had it laying around.) But it would take way too long to file all that metal away, so I cheated. Cut-off wheel on an angle grinder to get it close:
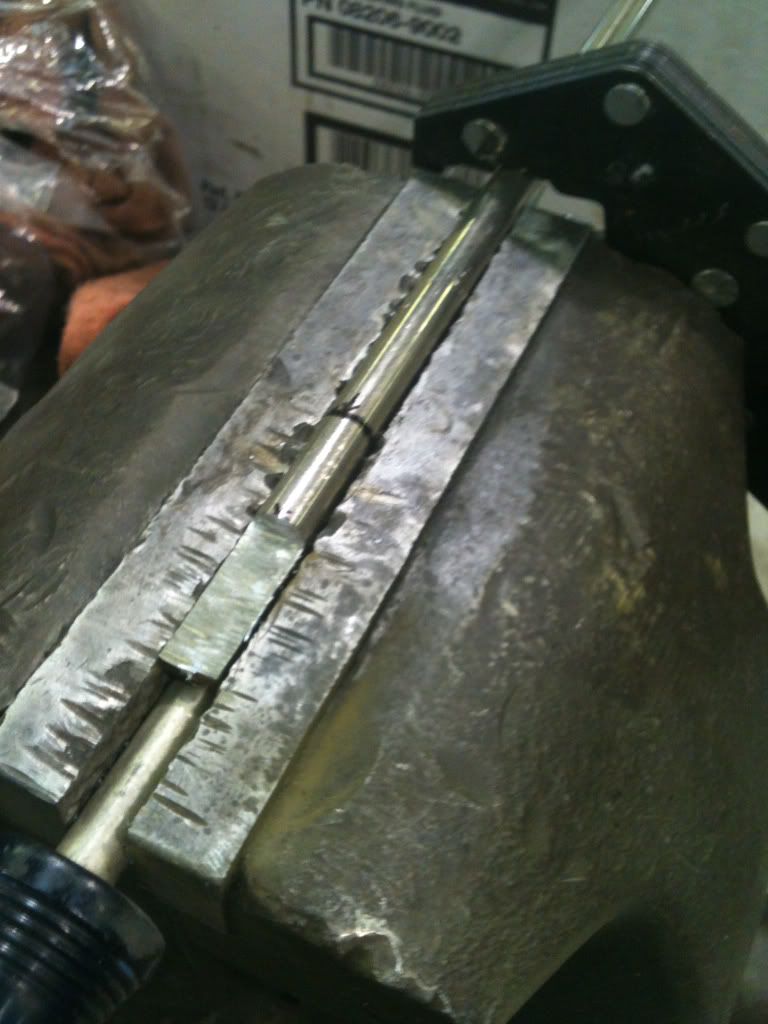
Then a file to finish the cuts to the correct depth.
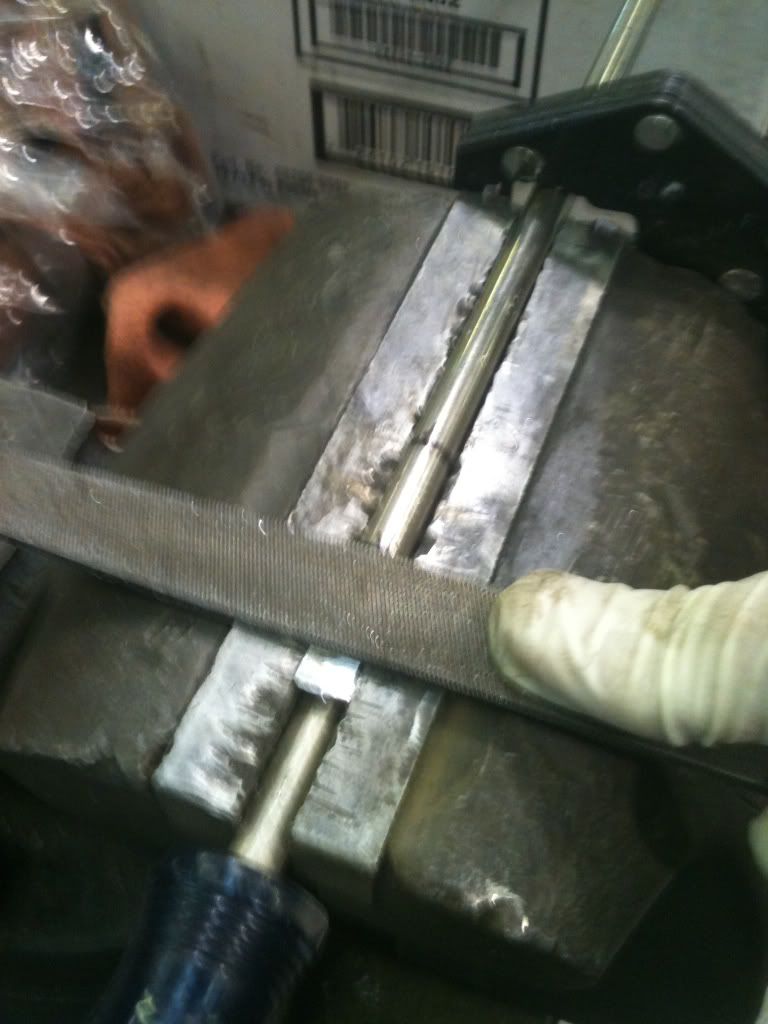
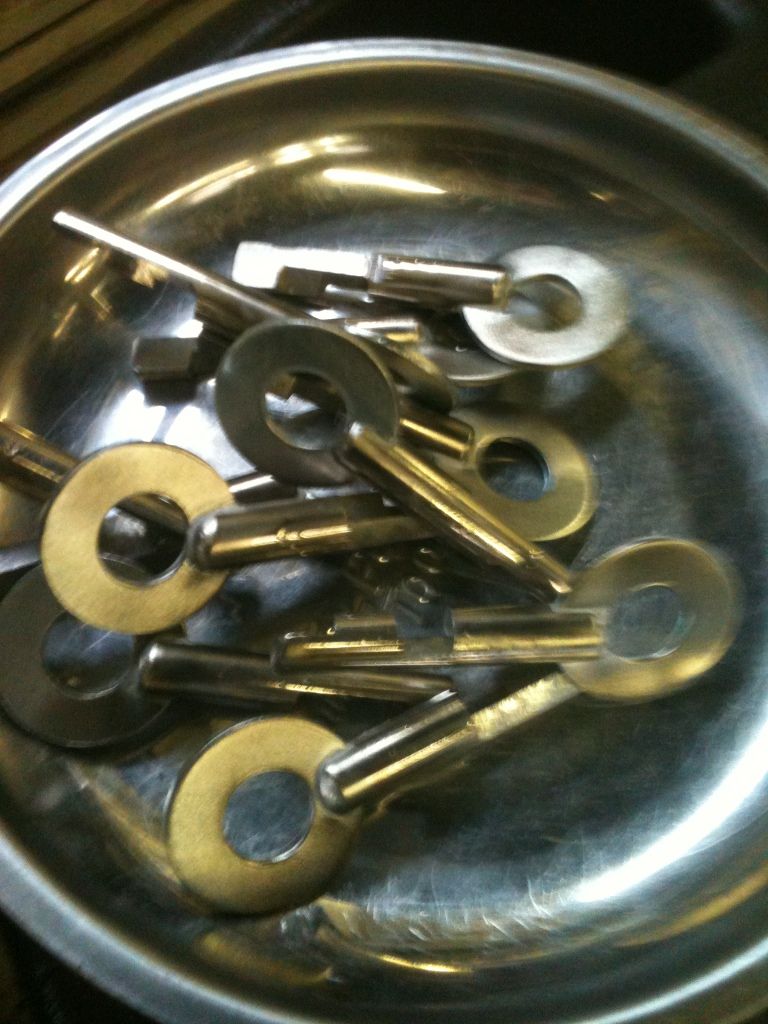
Then I cut off the rod at the next mark. Plenty more blanks to make, but rather than make you wait for all of them to be made... Rotate the rod to 45 degrees, clamp it down, and file the 45 degree cuts.
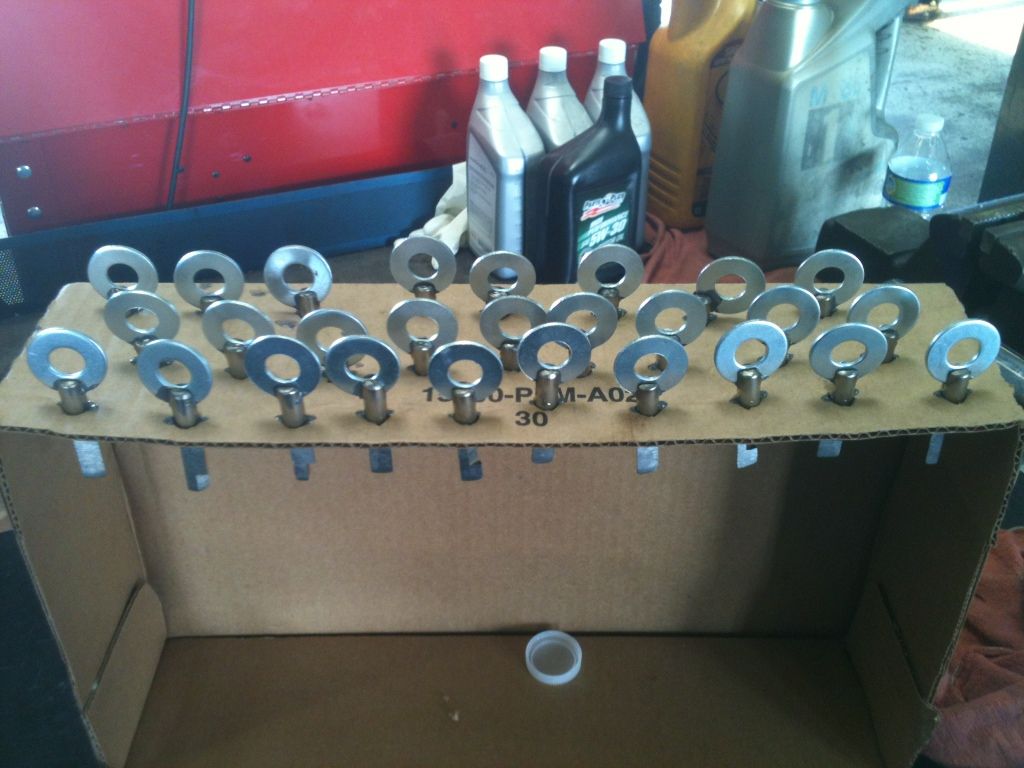
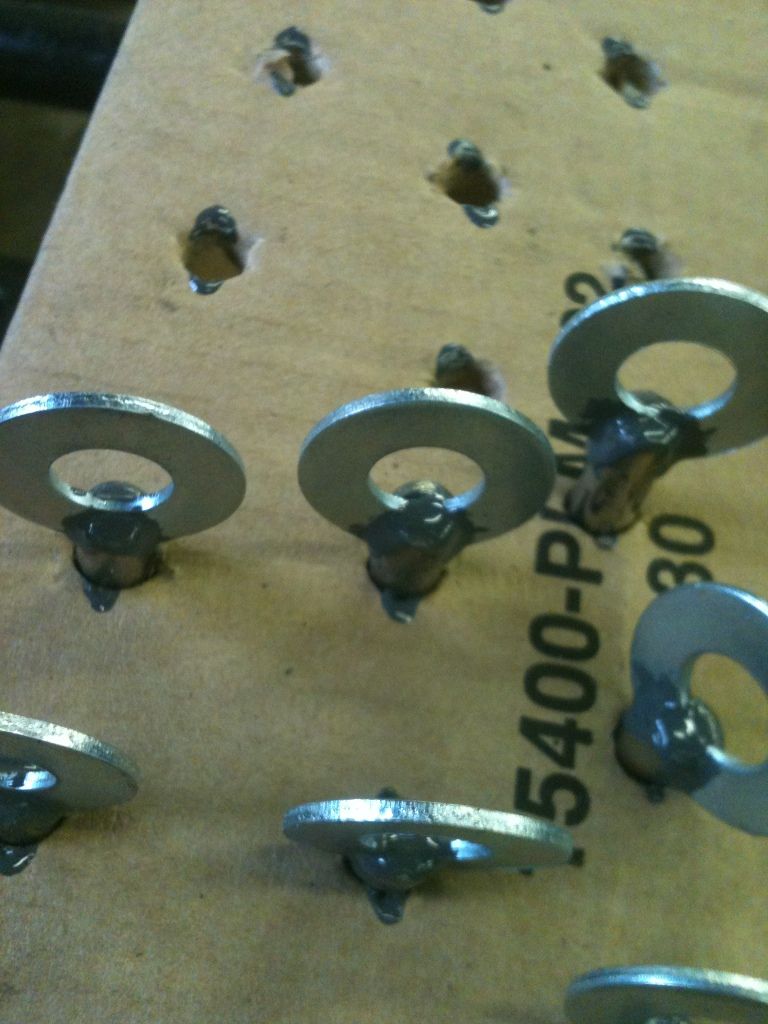
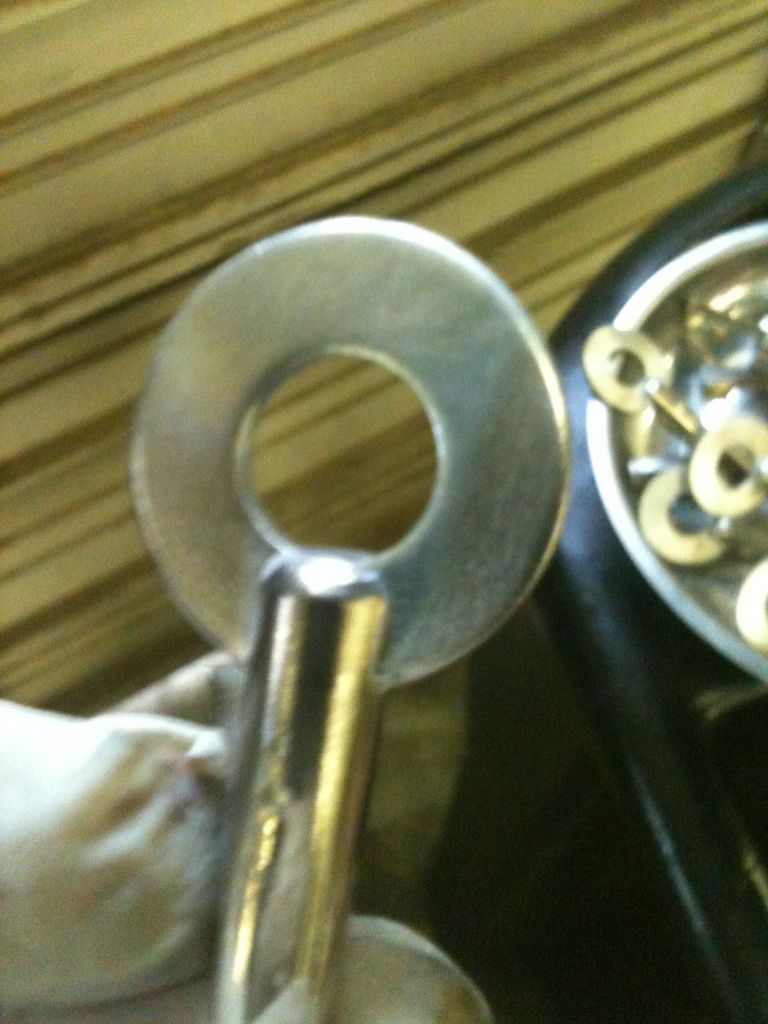
Then rotate the rod to 90 degrees, and file the 90 degree cuts. Cut a slot in the bow end, insert a flat washer, solder it in place, wire wheel the sharp edges on the key, and write the key number (if known) on the bow. If I can find my metal stamps, I will stamp the numbers on the bow.
As Porky Pig would say... "Th-Th-Th-Th-That's All, Folks!"
Gordon
P.S. If you know any key numbers for cuts not listed above, please post them here.
P.P.S. For my personal information, if you know to which railroads any of the key numbers are assigned, please PM them to me. They would be for my 'collector knowledge' only.
Let me start by saying that this does NOT replace Bosnian Bill's excellent video on making these keys. This is just how I did it. Will be making some references to his work, as well. My thanks to him, and to the others here who have posted information on these locks and keys.
Have decided to make a full set of the 27 possible key permutations. Yes, I know that most of the possible codes are not used, but there are at least three numbers that are used, but I do not know which cuts they are. Can not really remove pull-out keys from the possibilies, because 112, which is used, is a pull-out. Also, you never know if an eBay purchase will have been taken apart and rekeyed by somebody else using a non-numbered key.
Here is the first Enviro key I made. It is a 107. Rough looking, but it works very well.
The remaining keys will be made along the same lines. Here are the measurements I use:
The blank is cut straight across, or 0 degrees, which (copying another member's names for the cuts) we will call an "A". "B" is cut a further 45 degrees, and a "C" cut is cut to 90 degrees. I include a picture to make myself clear. If the below drawing is not understood, look at the first picture. It has all three cuts.
With 3 discs, each having three possible positions, that gives us 27 possible key permutations. Most are not used. The key is supposed to be key retaining (no pull-out keys), but since a 112 is a pull-out, I won't assume that the ones I don't know the numbers for are not pull-outs either.
Now, the metal stock I am using is 8mm. The "A" cuts are cut straight across, meaning that it will be 4mm, or half the width of the stock. Since I am making many keys, wanted a consistent way of cutting the depth with my primitive tools and very primitive intelligence.
Now any metal stock I lay on top of the screwdriver can be cut and filed flush with the top of the vice, and it will be 4mm. :-D
To consistently make the keys with the same bitting area and length, I "rednecked" it. Masking tape with the two lengths marked on it. Lay tape along the marked lengths, align the top of the metal rod with the top of the tape, and wrap the tape around the rod. Voila... it is easily measured to the correct lengths. I then use a Sharpie (marker) to draw a line at the tape.
Remove the tape, and the rod is marked. With the tape off, put an arrow to indicate to what edge you cut and file.
Now lay the rod into the vice, clamp it in place with locking pliers (use cloth to keep from marring the surface), cut and file the flat part. This is hard steel (cheaper than brass, especially since I already had it laying around.) But it would take way too long to file all that metal away, so I cheated. Cut-off wheel on an angle grinder to get it close:
Then a file to finish the cuts to the correct depth.
Then I cut off the rod at the next mark. Plenty more blanks to make, but rather than make you wait for all of them to be made... Rotate the rod to 45 degrees, clamp it down, and file the 45 degree cuts.
Then rotate the rod to 90 degrees, and file the 90 degree cuts. Cut a slot in the bow end, insert a flat washer, solder it in place, wire wheel the sharp edges on the key, and write the key number (if known) on the bow. If I can find my metal stamps, I will stamp the numbers on the bow.
As Porky Pig would say... "Th-Th-Th-Th-That's All, Folks!"
Gordon
P.S. If you know any key numbers for cuts not listed above, please post them here.
P.P.S. For my personal information, if you know to which railroads any of the key numbers are assigned, please PM them to me. They would be for my 'collector knowledge' only.
Just when you think you've learned it all, that is when you find you haven't learned anything yet.