


![]() Mon Sep 08, 2014 7:44 pm
Mon Sep 08, 2014 7:44 pm
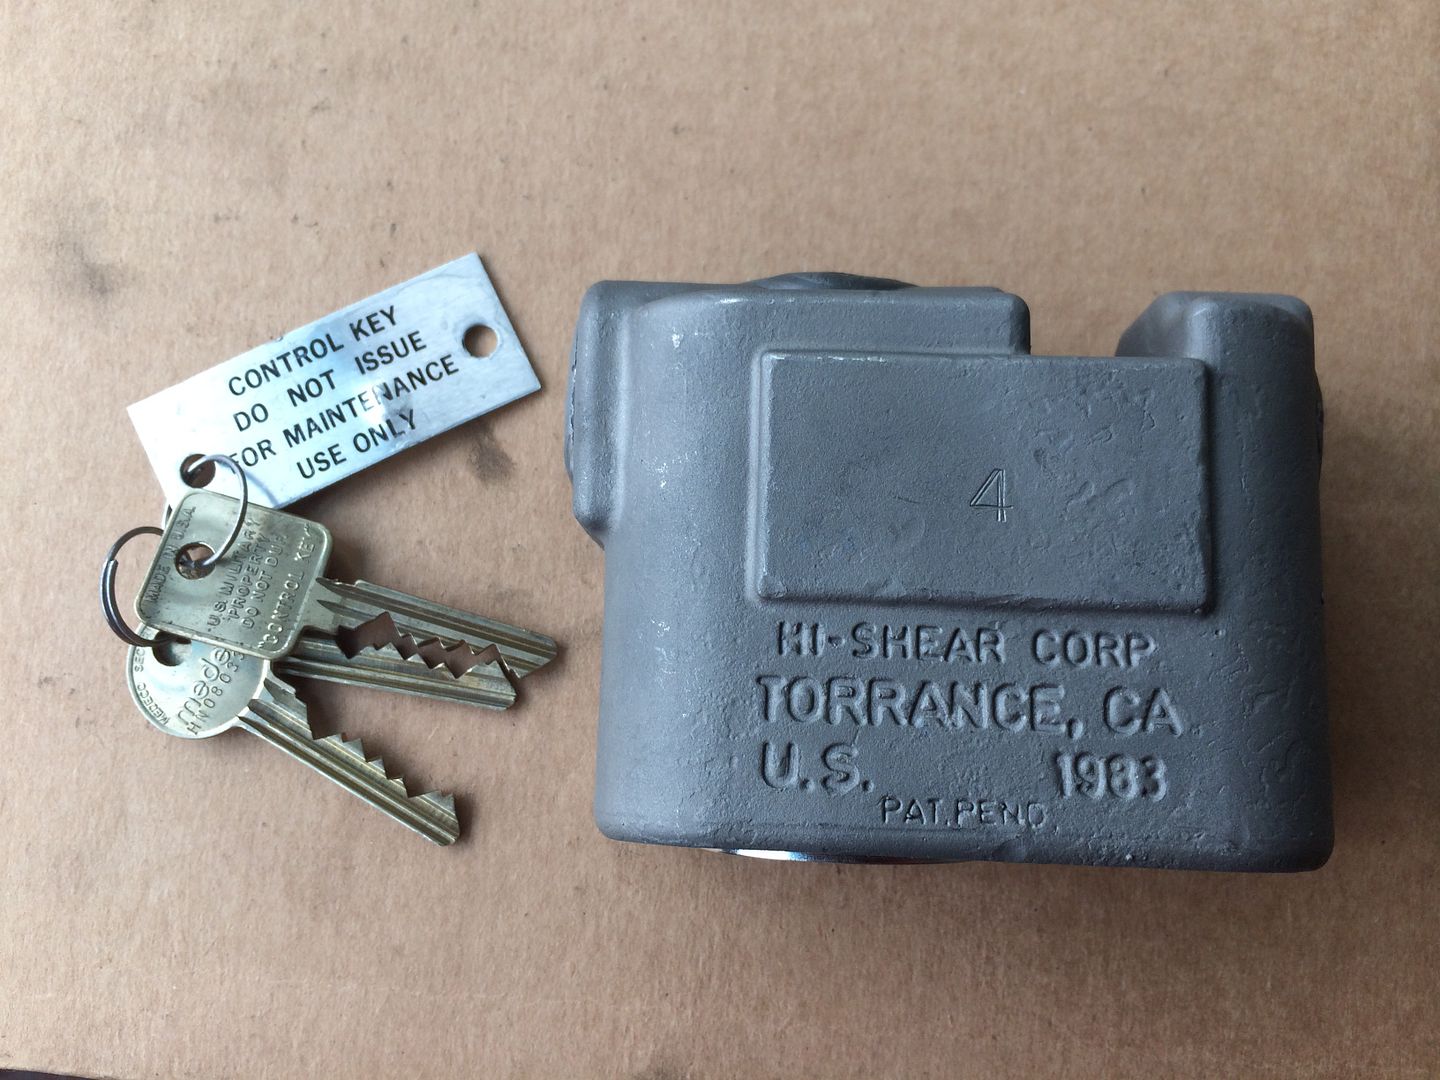
High-Shear Padlock Disassembly and Reassembly
Hi-Shear TSA-Resistant Suitcase Locks
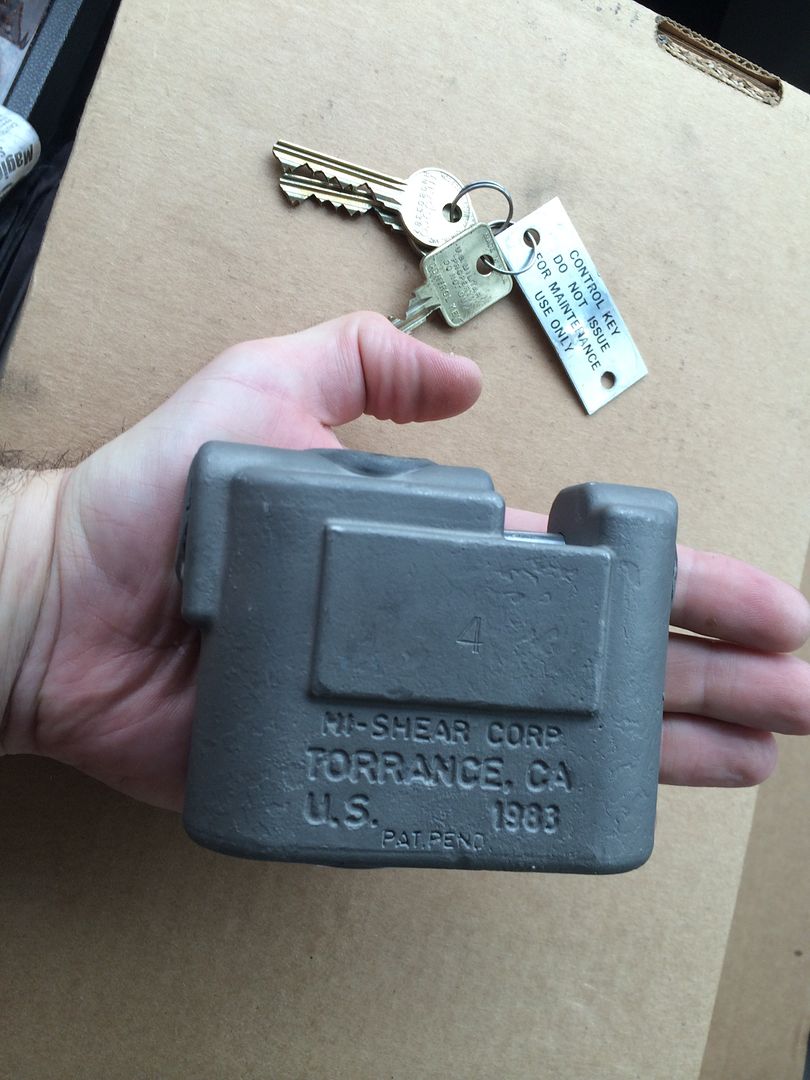
OK, so maybe you don't want to use this beast as a luggage lock. It weighs 4.75 pounds (2.16 kilograms).
Was lucky enough to recieve 5 of them. Only one was for me, but it makes for a great 'family shot'. For scale, included an American 748 padlock and a Master No. 3 padlock.
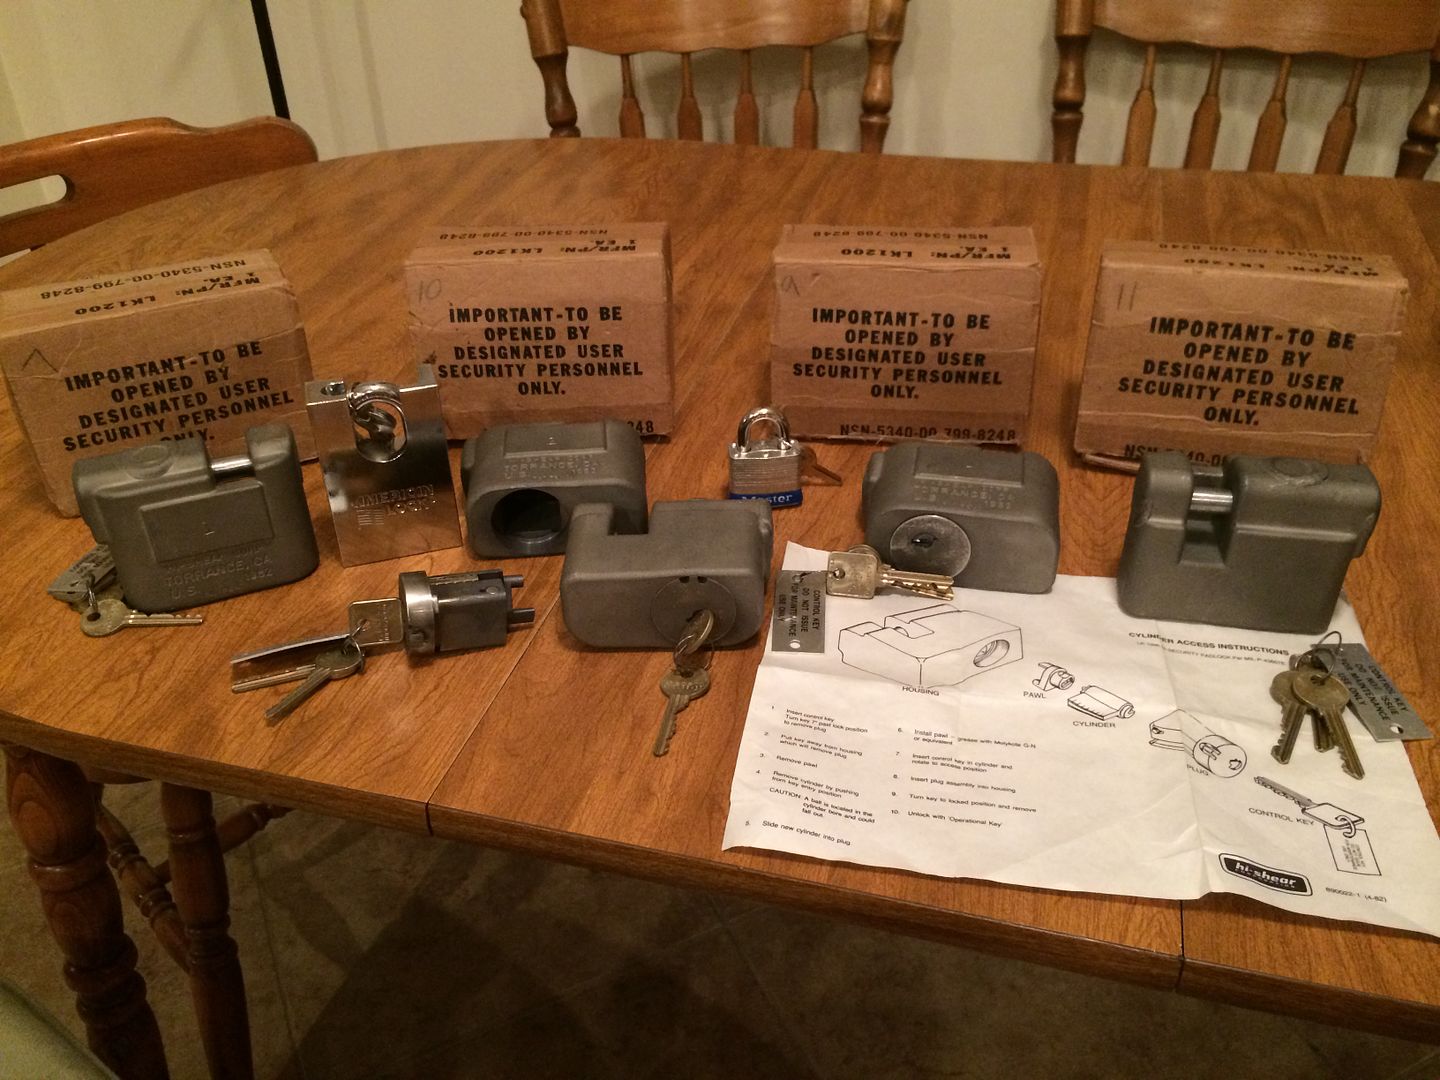
If that American padlock seems comparably sized, keep in mind that it weighs less than half of the Hi-Shear. It is quite a bit smaller.
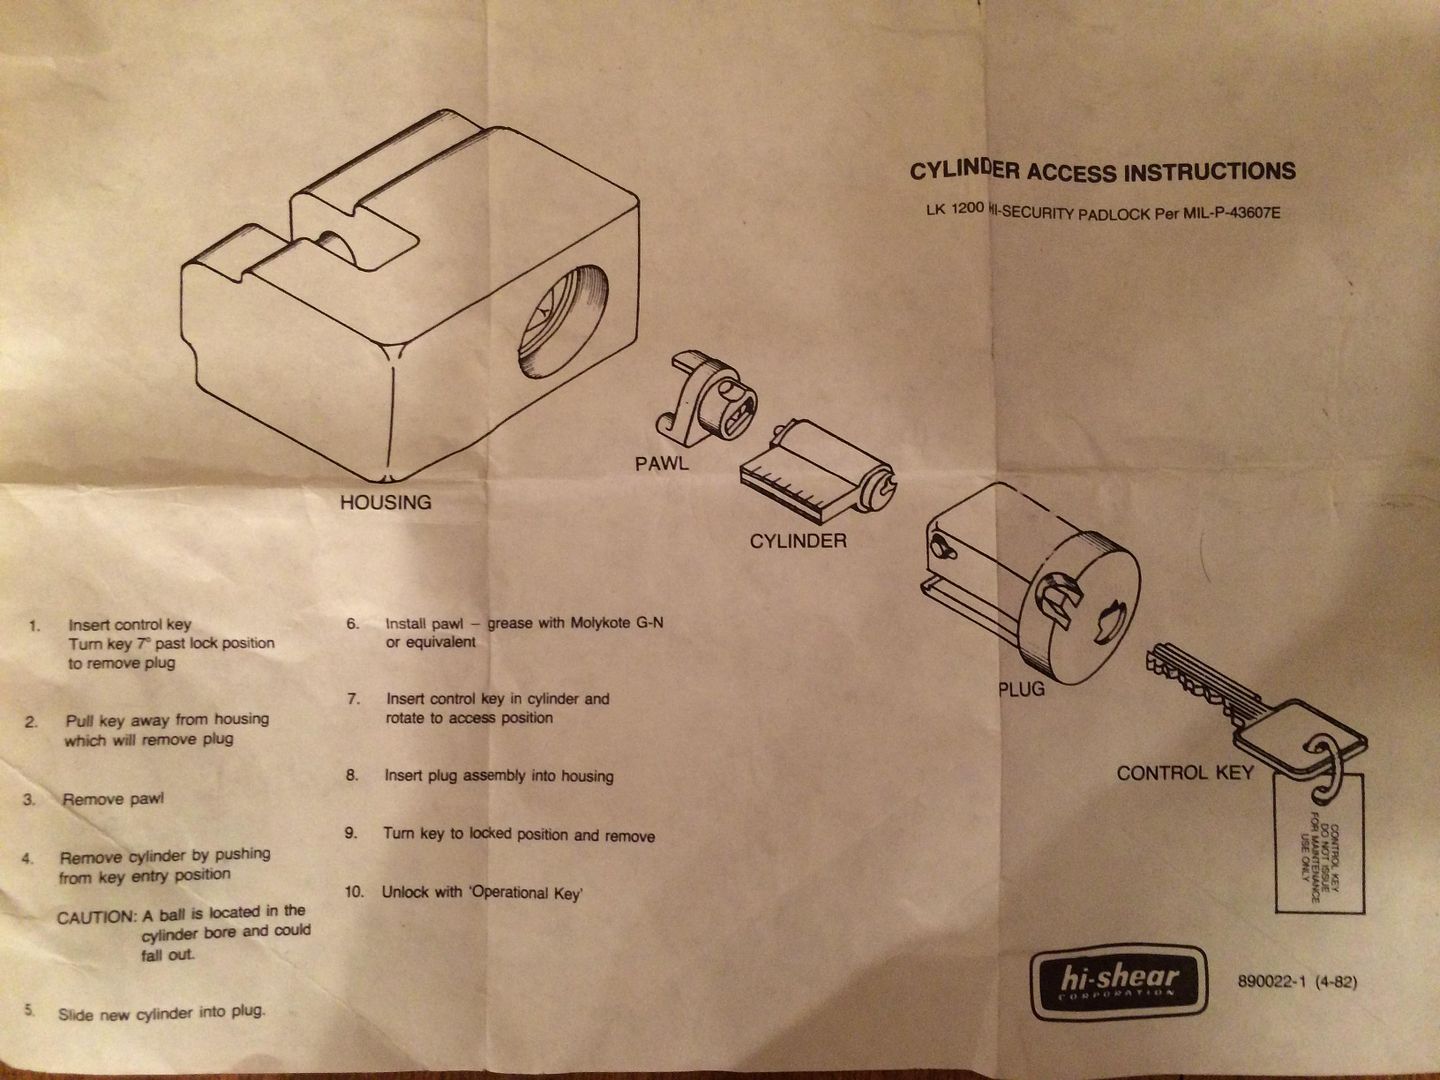
The instructions for disassembly are included!
OK, you people know how much I hate pictures in my write-ups. But Oldfast will strangle me if he does not get gutshots.
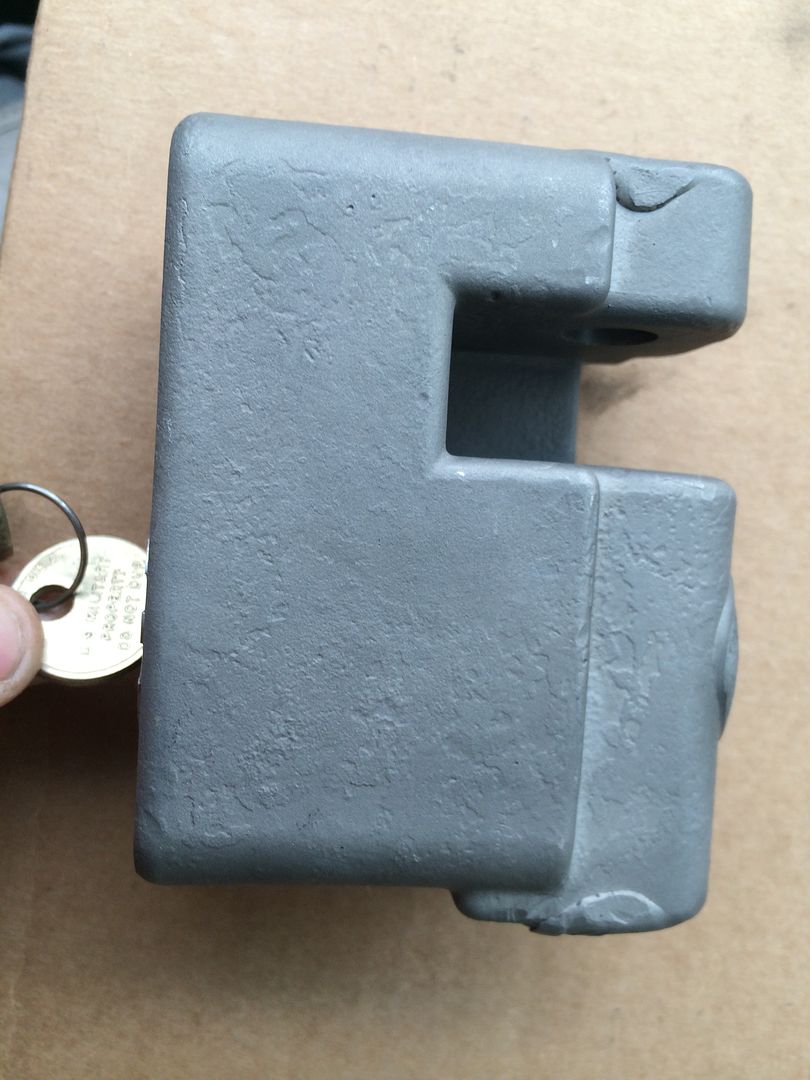
Outside of the lock:
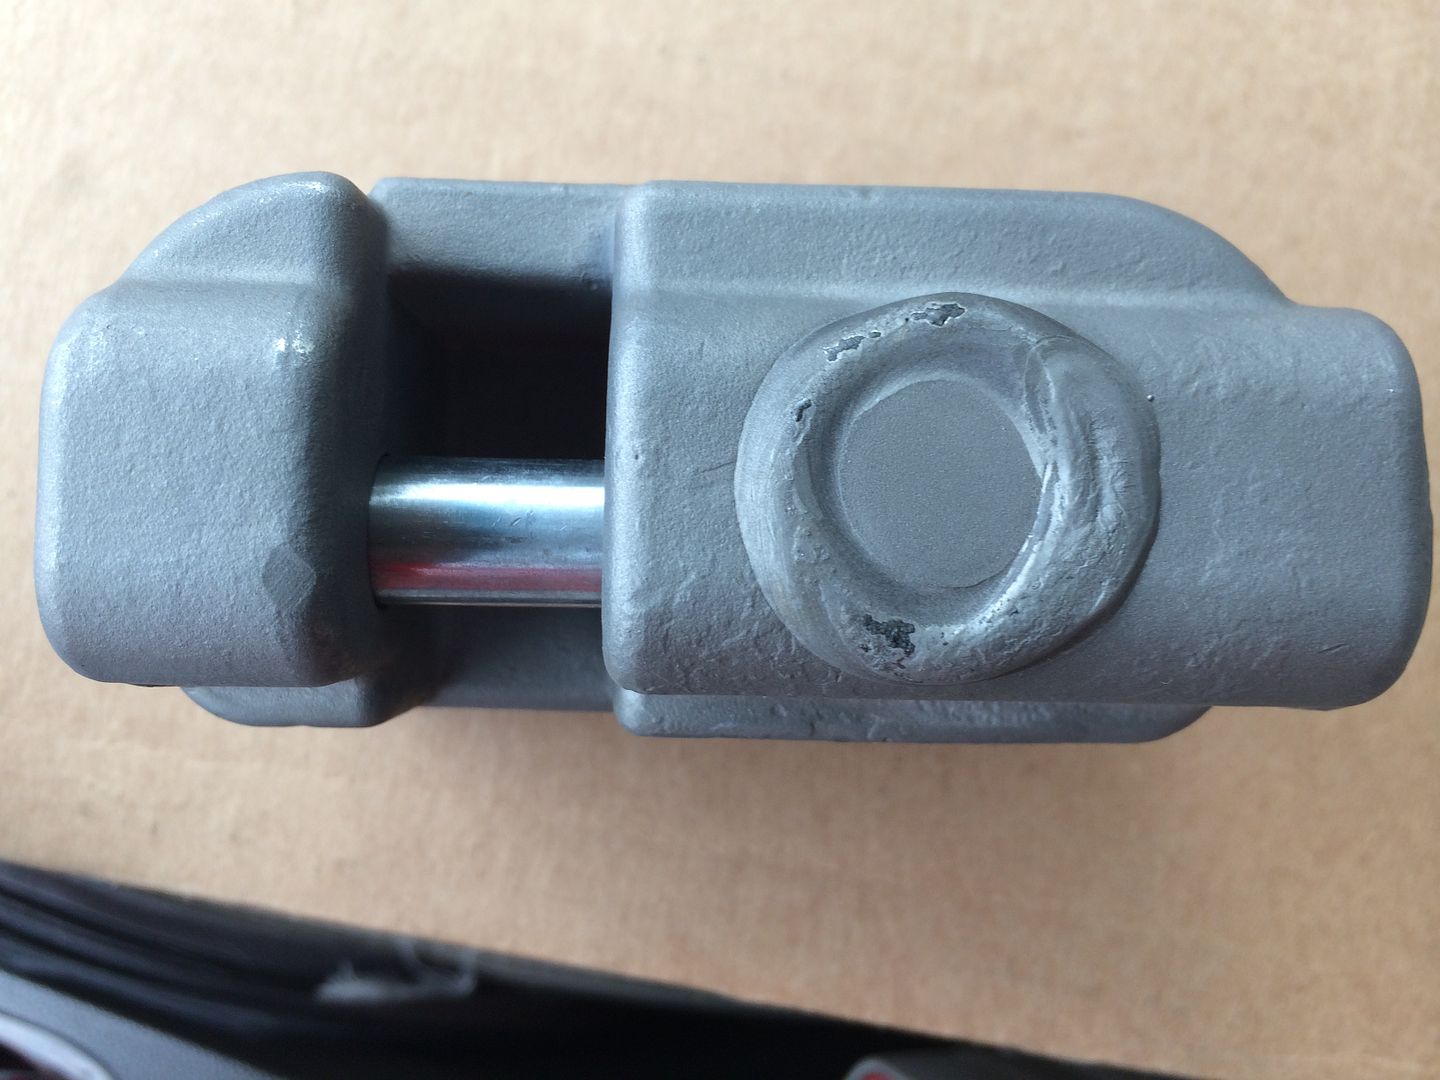
Where the lock body was drilled for assembly, they weld it together rather than just put in a plug.
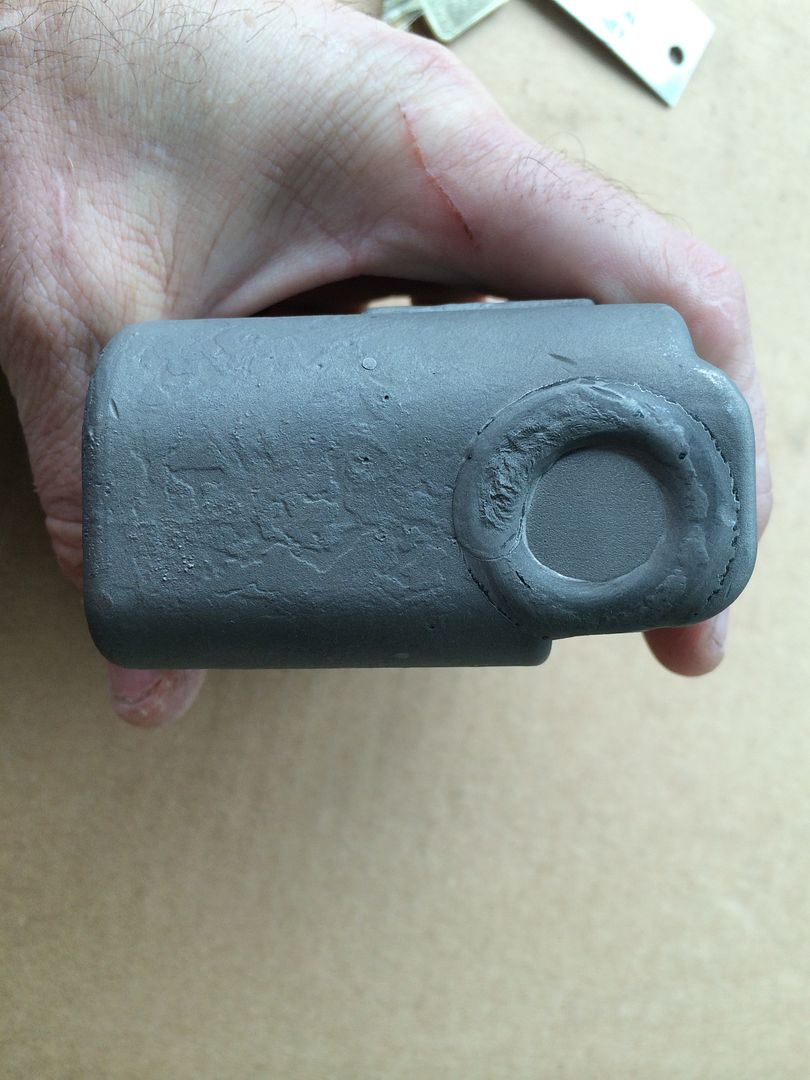
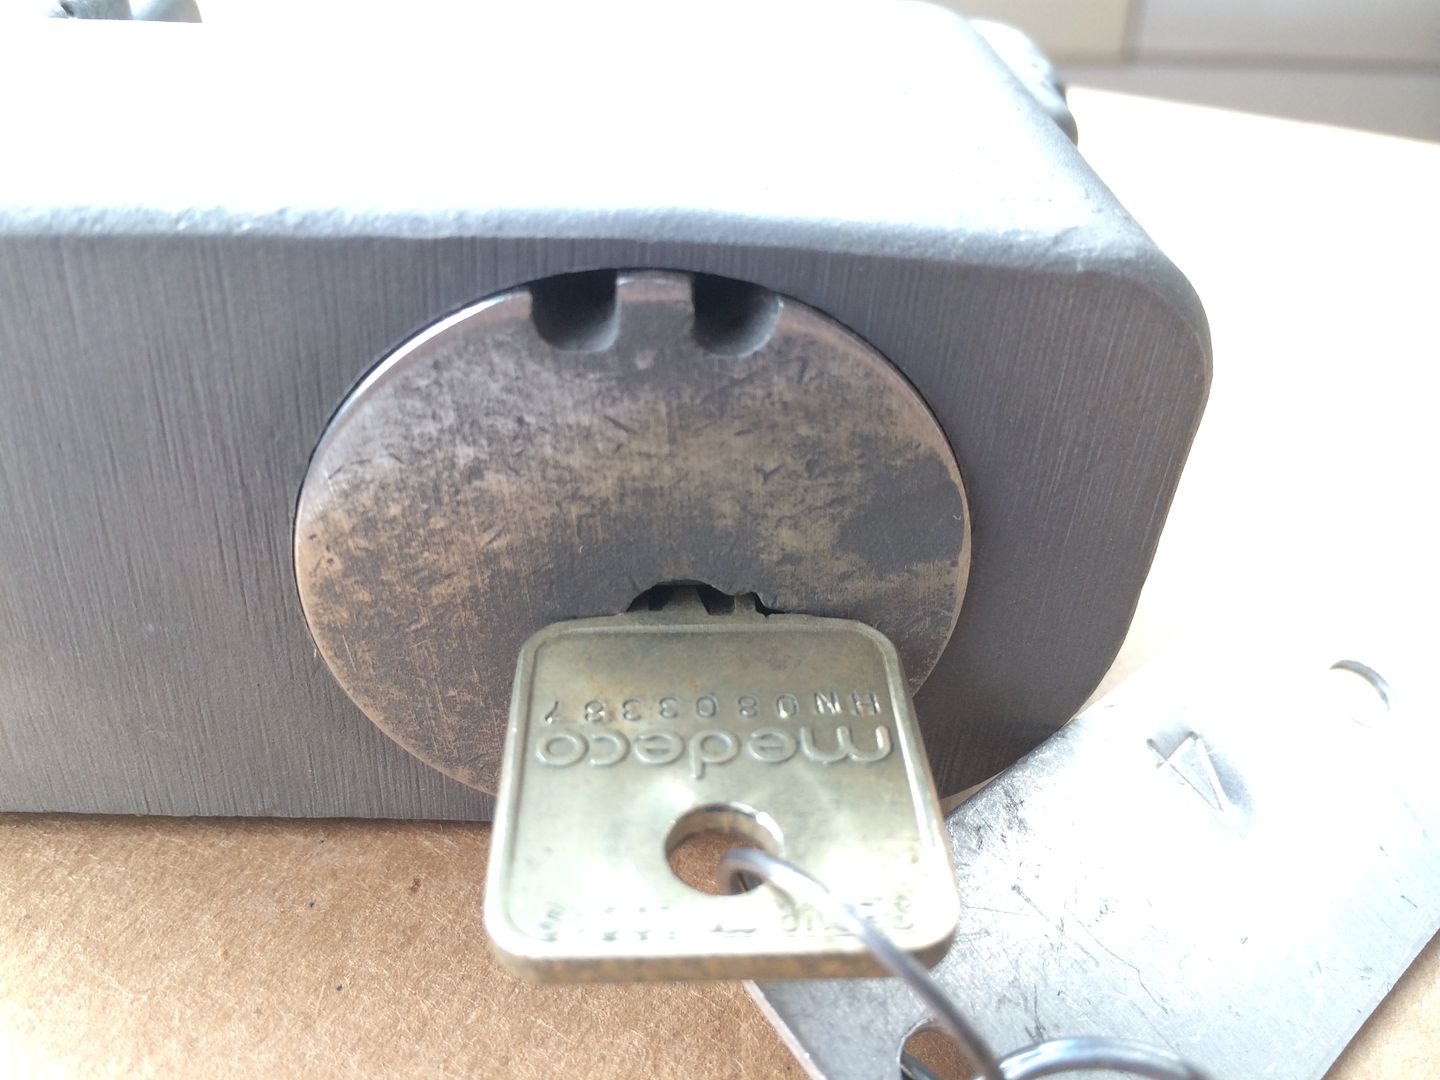
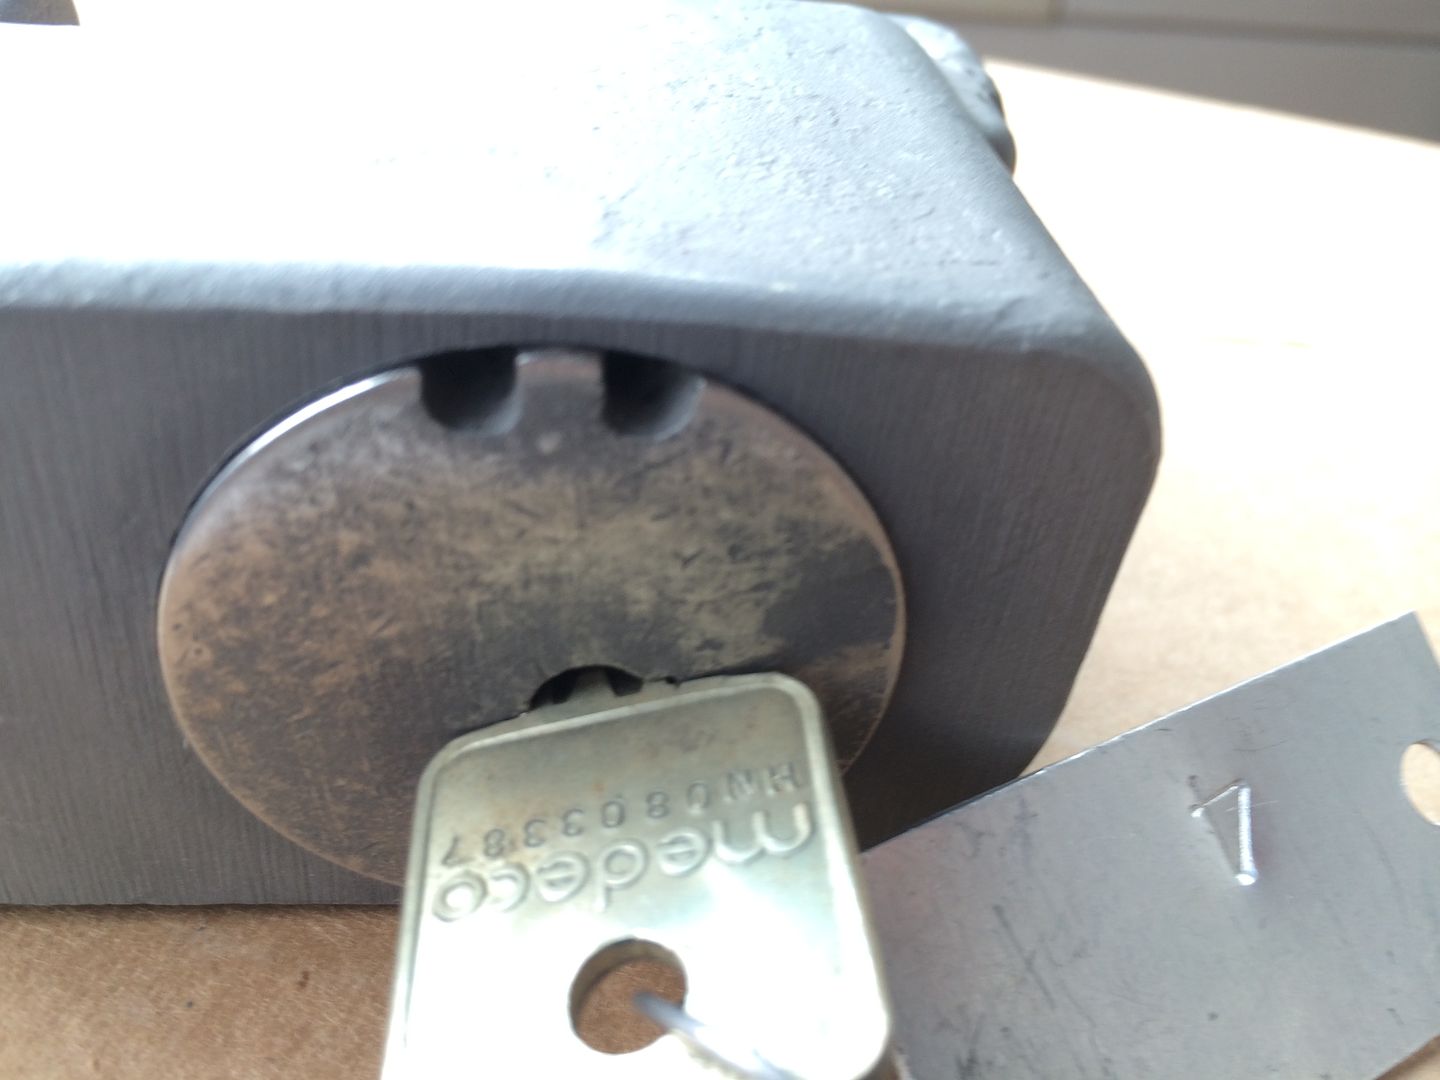
The plug is kinds big, too.

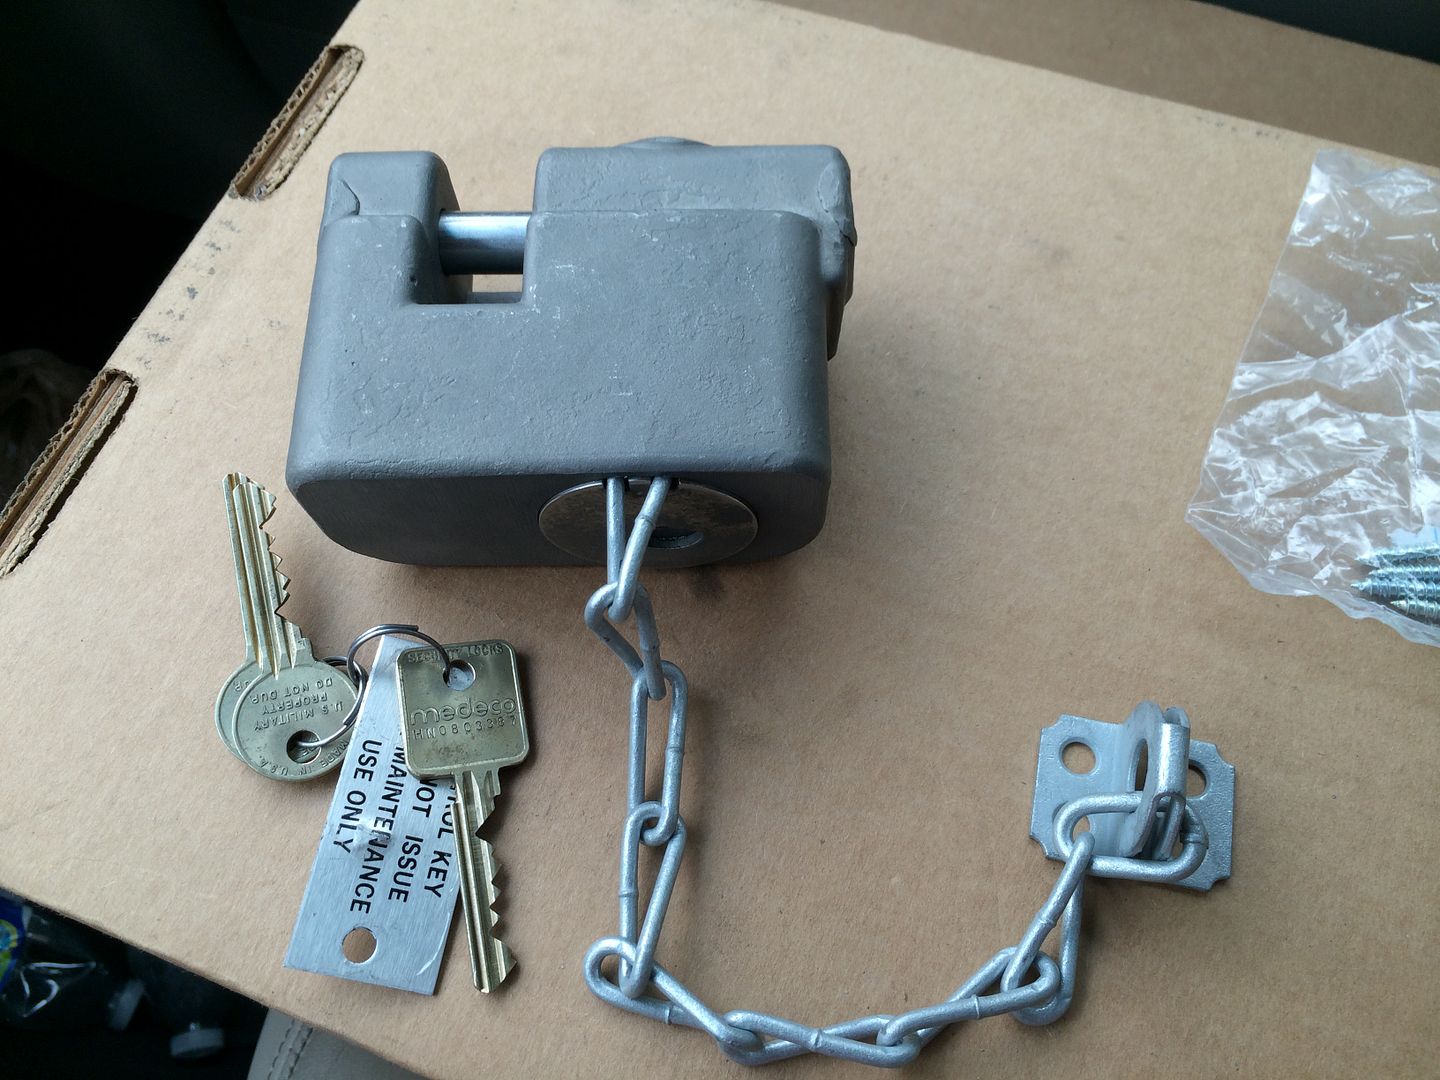
Yes, this lock uses the Medeco keys. The 'operational key', as they call it on the instruction sheet, is on top, and the control key on the bottom. The difference, just as with the S&G military locks, is in the lower part of the control key. The shoulder is cut back. So the control key can also work as an operational key, and an operational key can be modified into a control key.
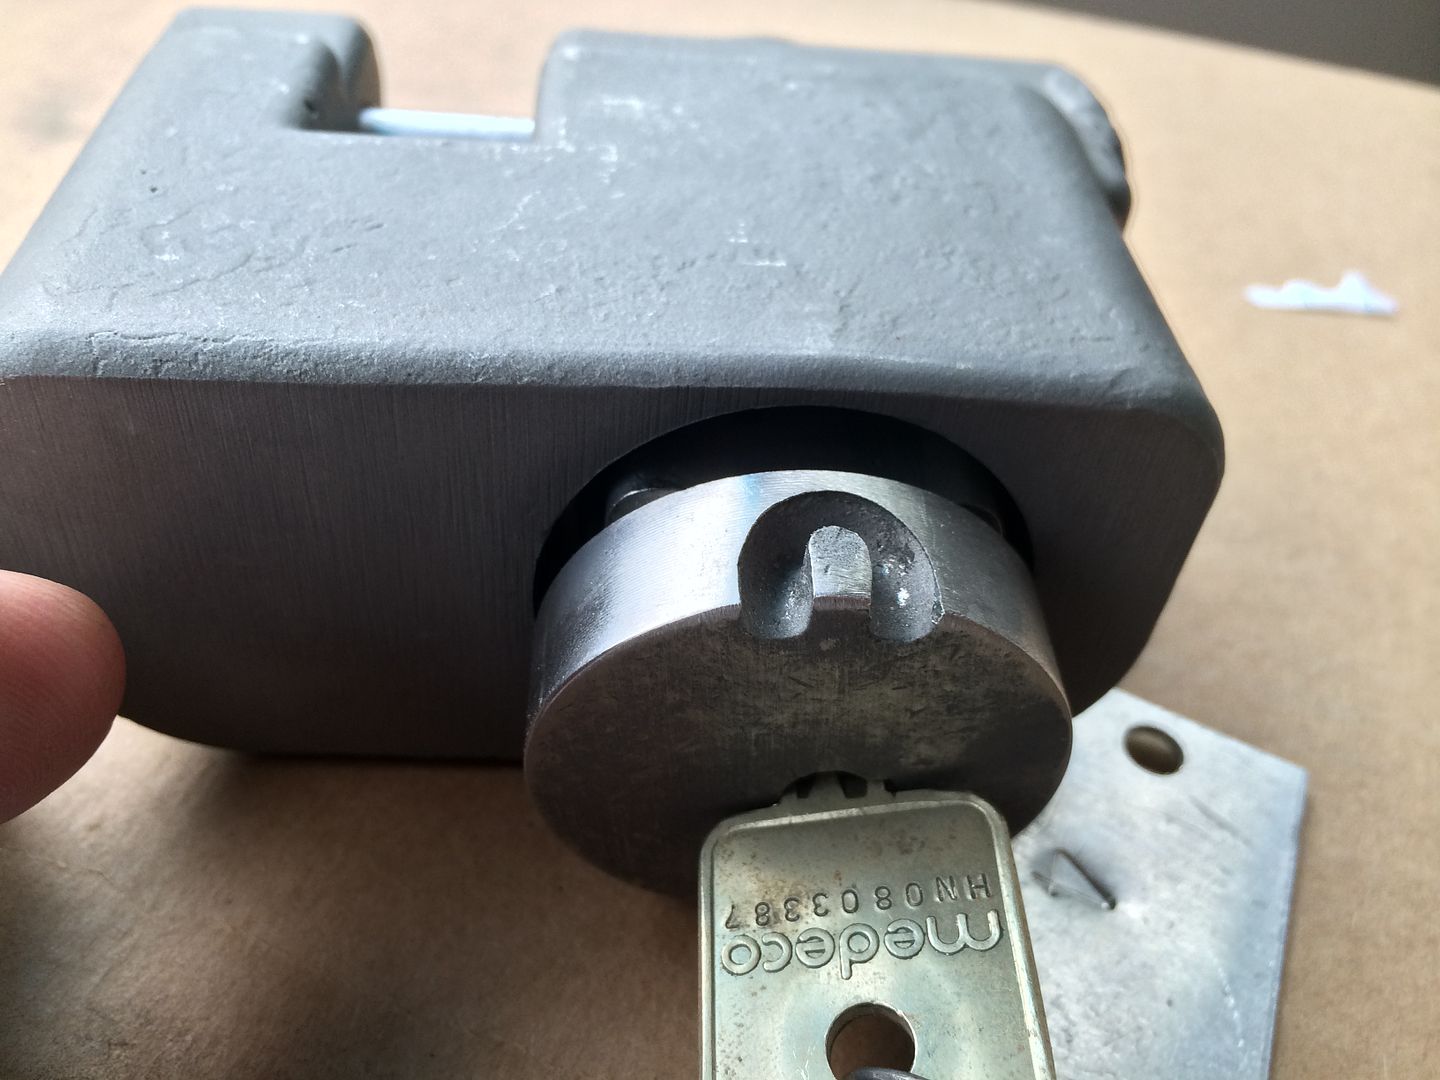
When the operational key is used, the shackle is drawn away from the cut. However, it never protrudes from the lock body.
(If you want to see it close, look at the last three pictures in reverse order).
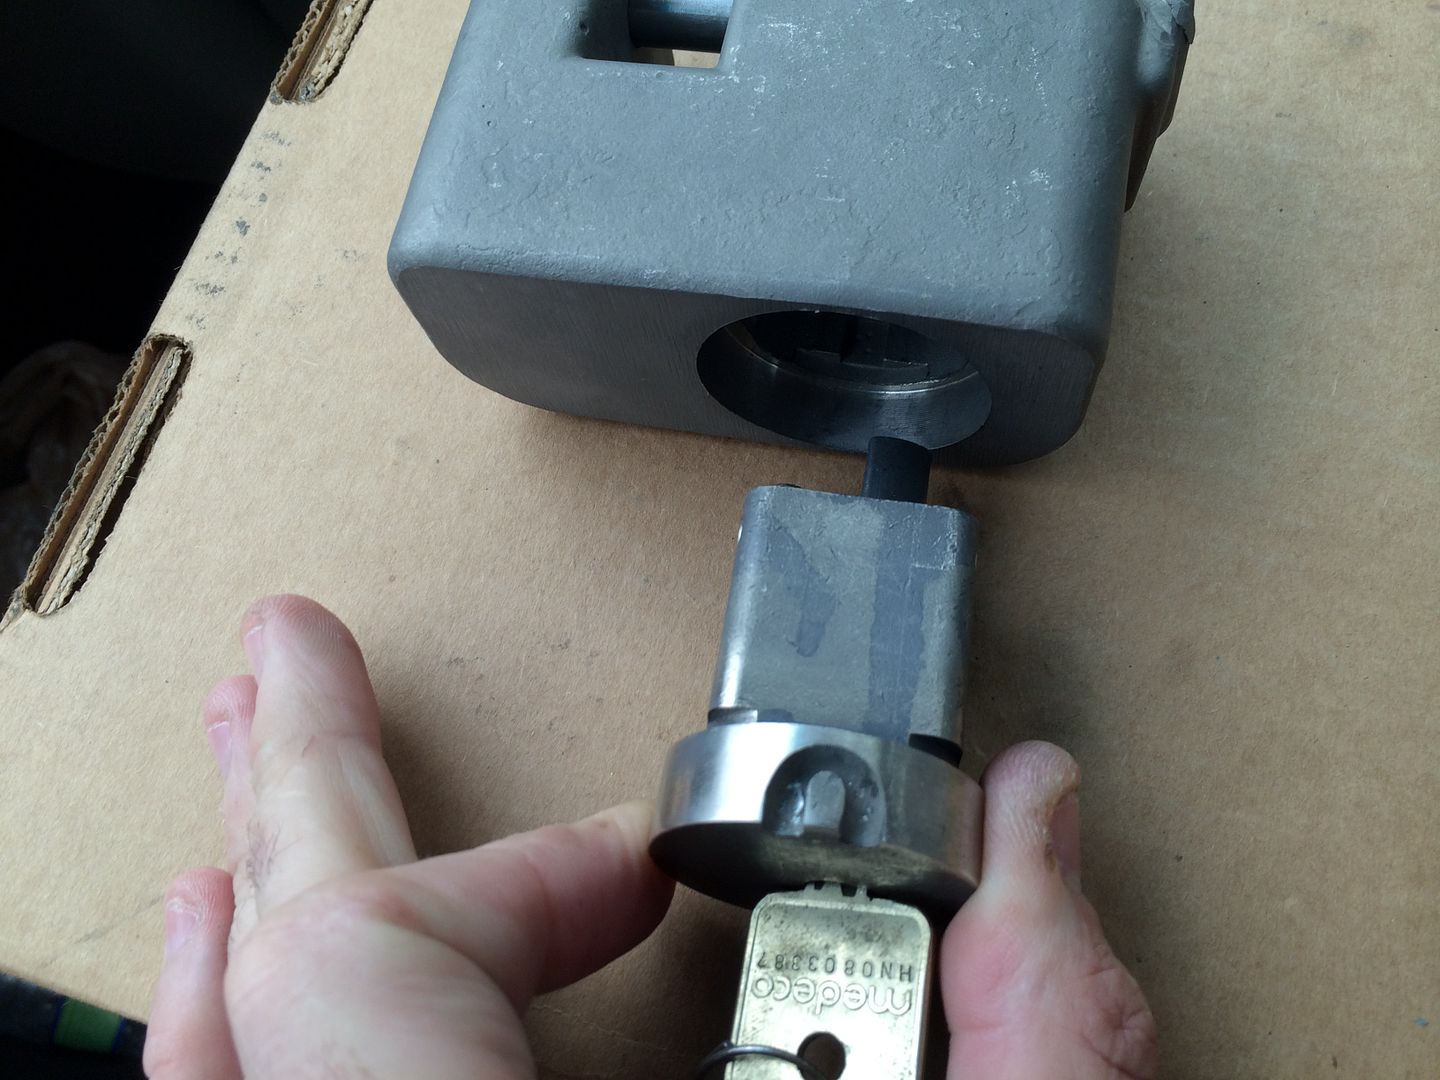
The control key, of course, can be used to remove the plug to service the lock. However, it also is used to install or remove the included chain. Either way, the control key is used the same way.
Turn it 7 degrees past the lock position (opposite direction from opening) until it stops.
And pull the key outwards.
We will stop here so we can install the chain, which is included.
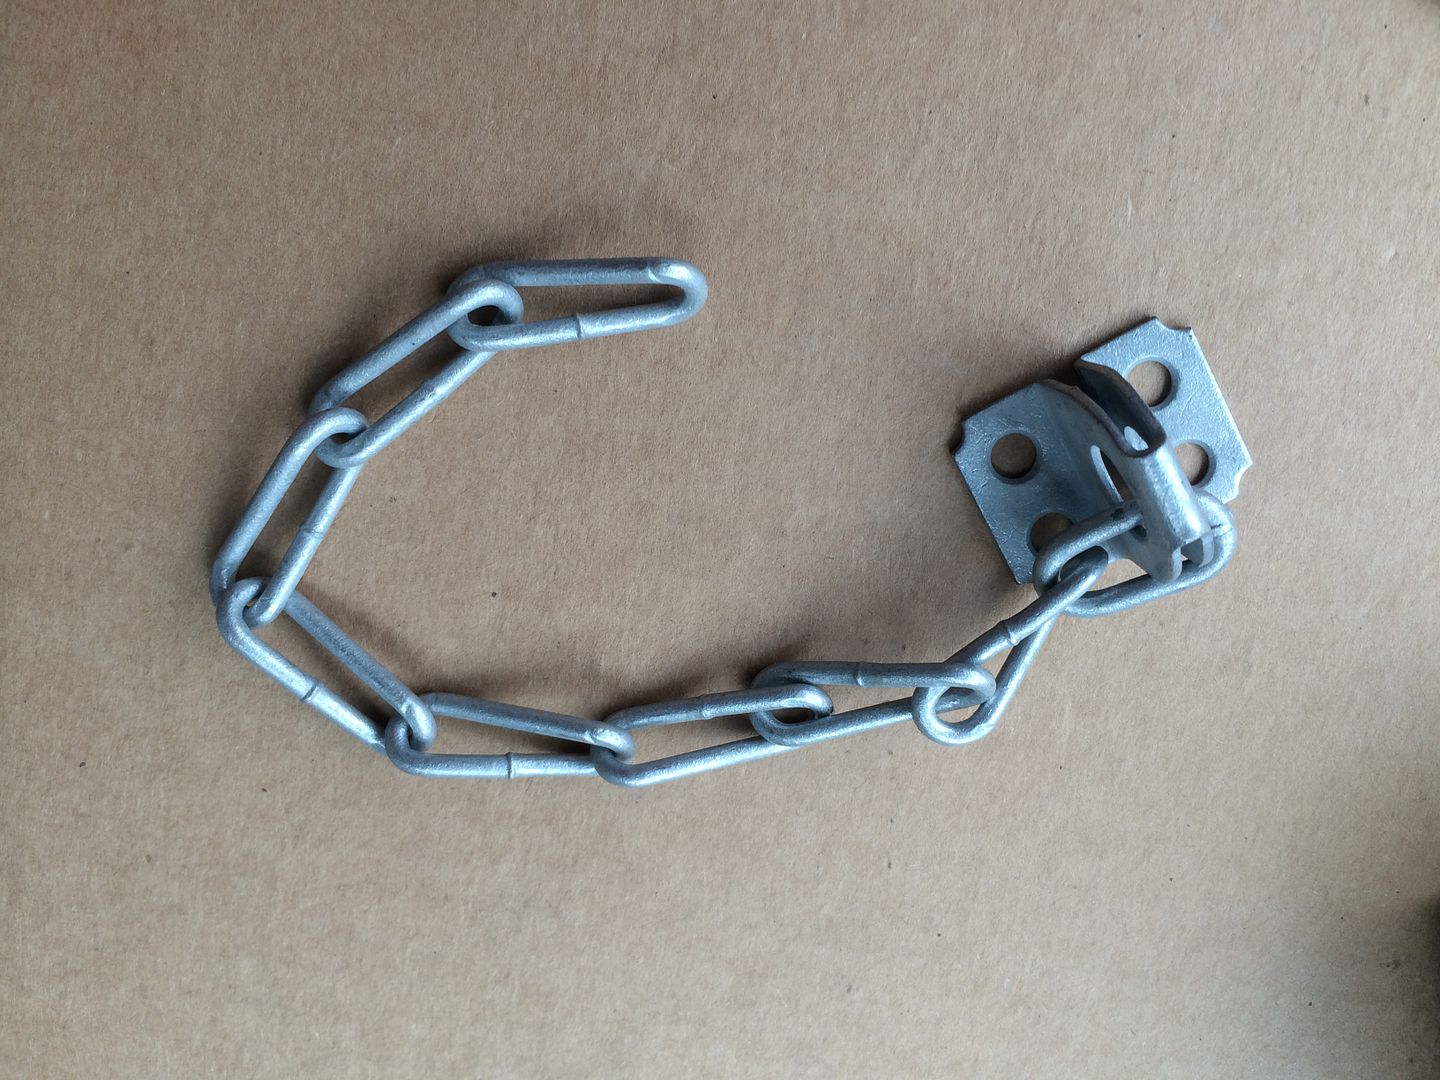
Put the chain link into the groove cut for it, and reinstall the plug.

Now for the real disassembly. Use the control key to remove the plug.
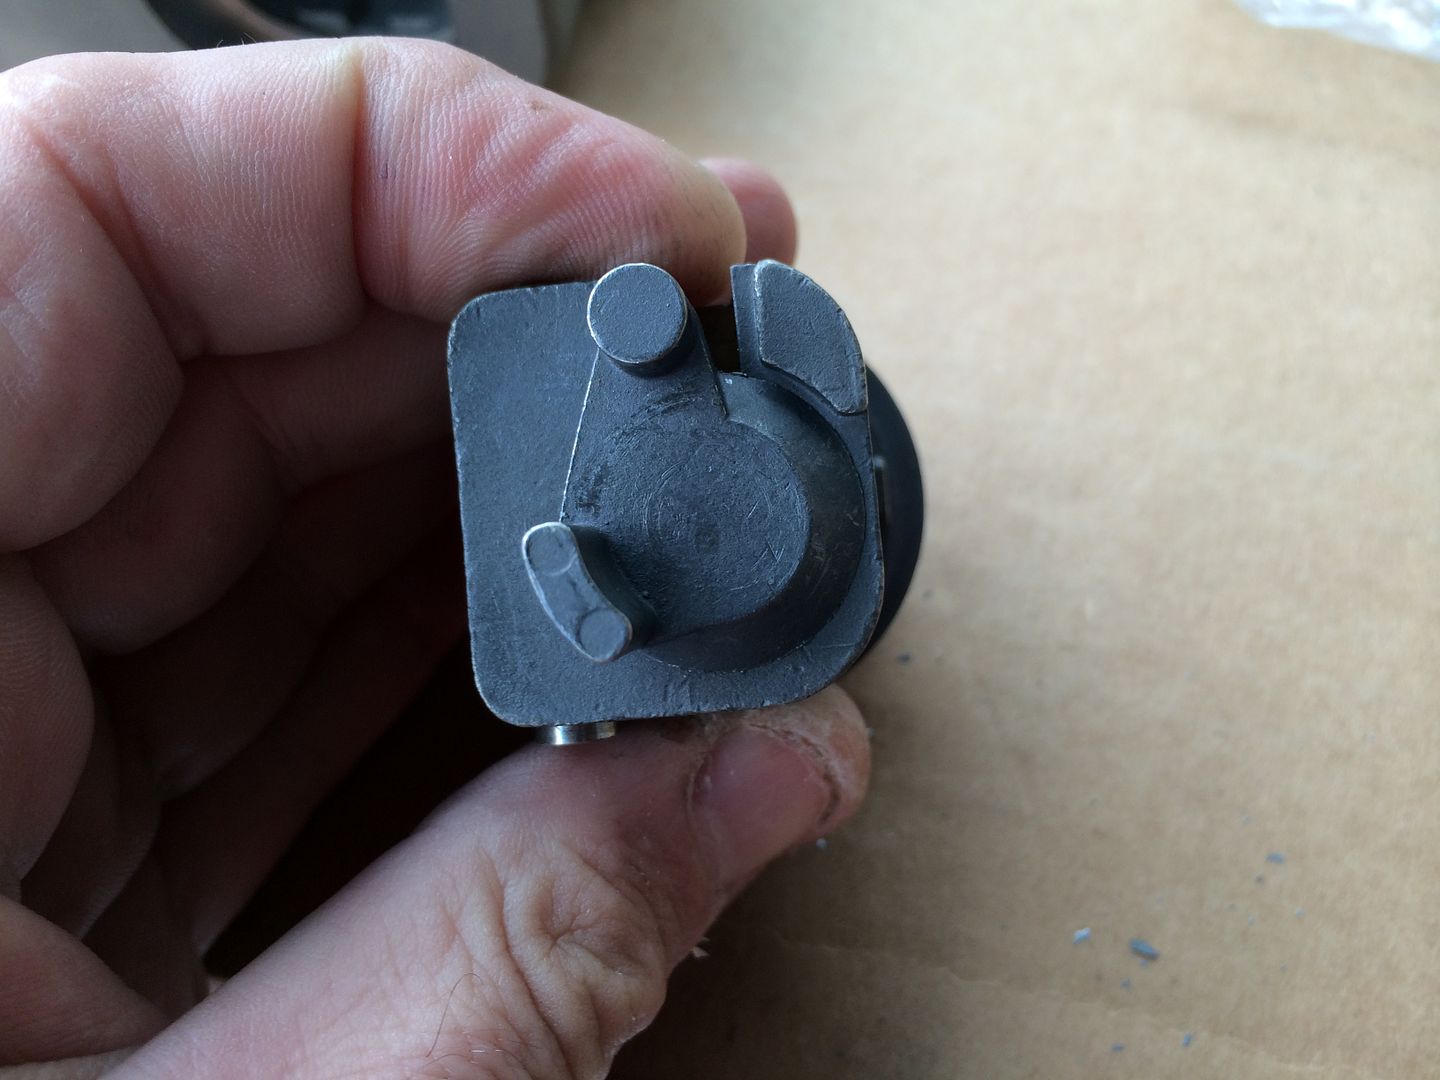
The four sides of the plug:
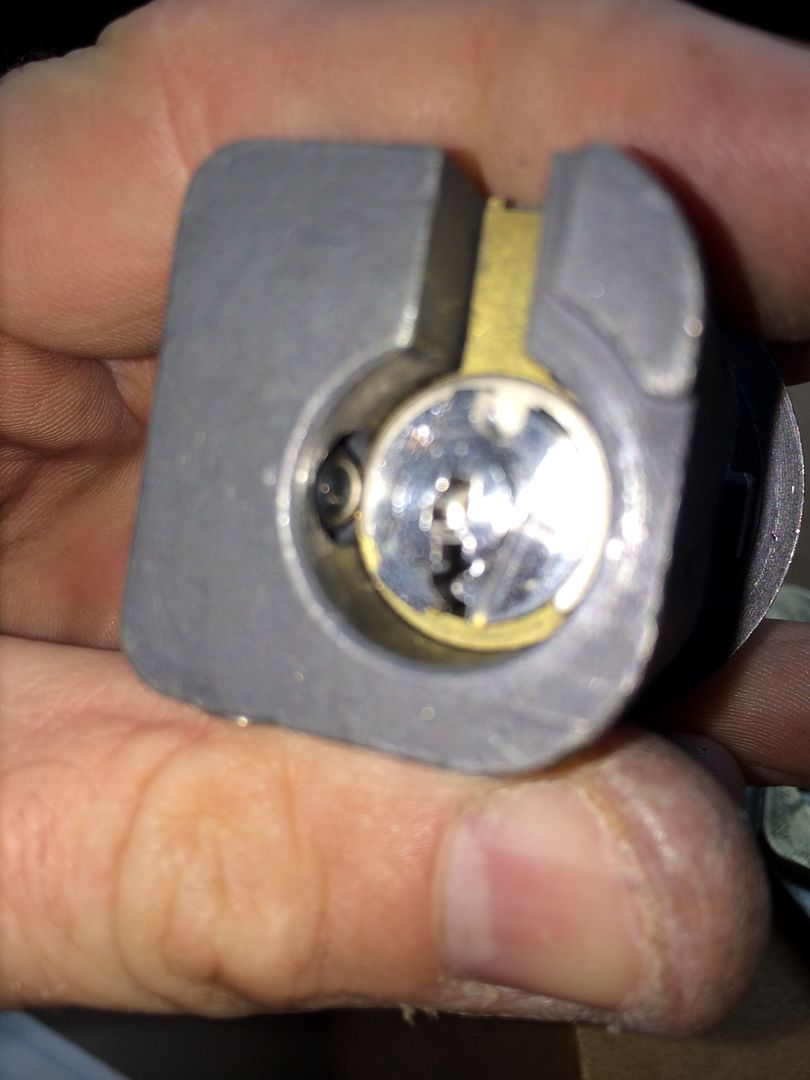
In this picture, the top of the KIK cylinder can be seen.
This is the back of the plug, looking directly at the pawl. Will show it as it turns to the unlock position.
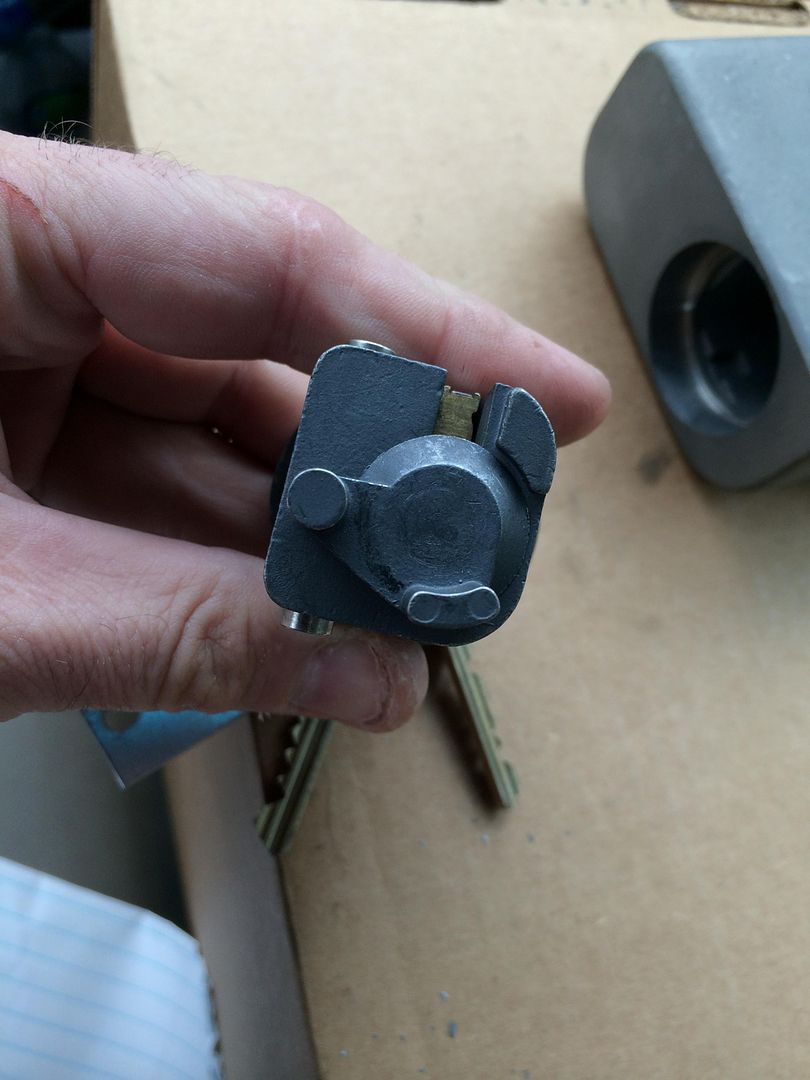

Now remove the pawl.
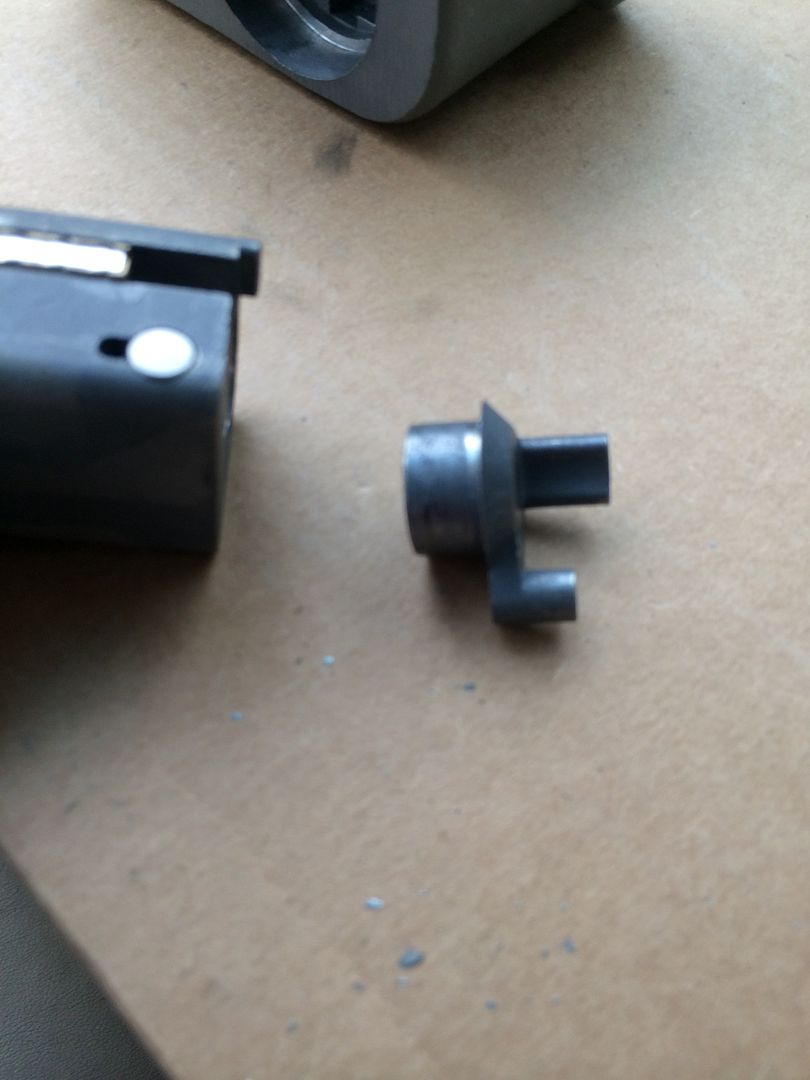
This is the side of the pawl that meshes with the KIK cylinder tail. Also notice the cutout on the left of the picture. We will come to what that is for later.
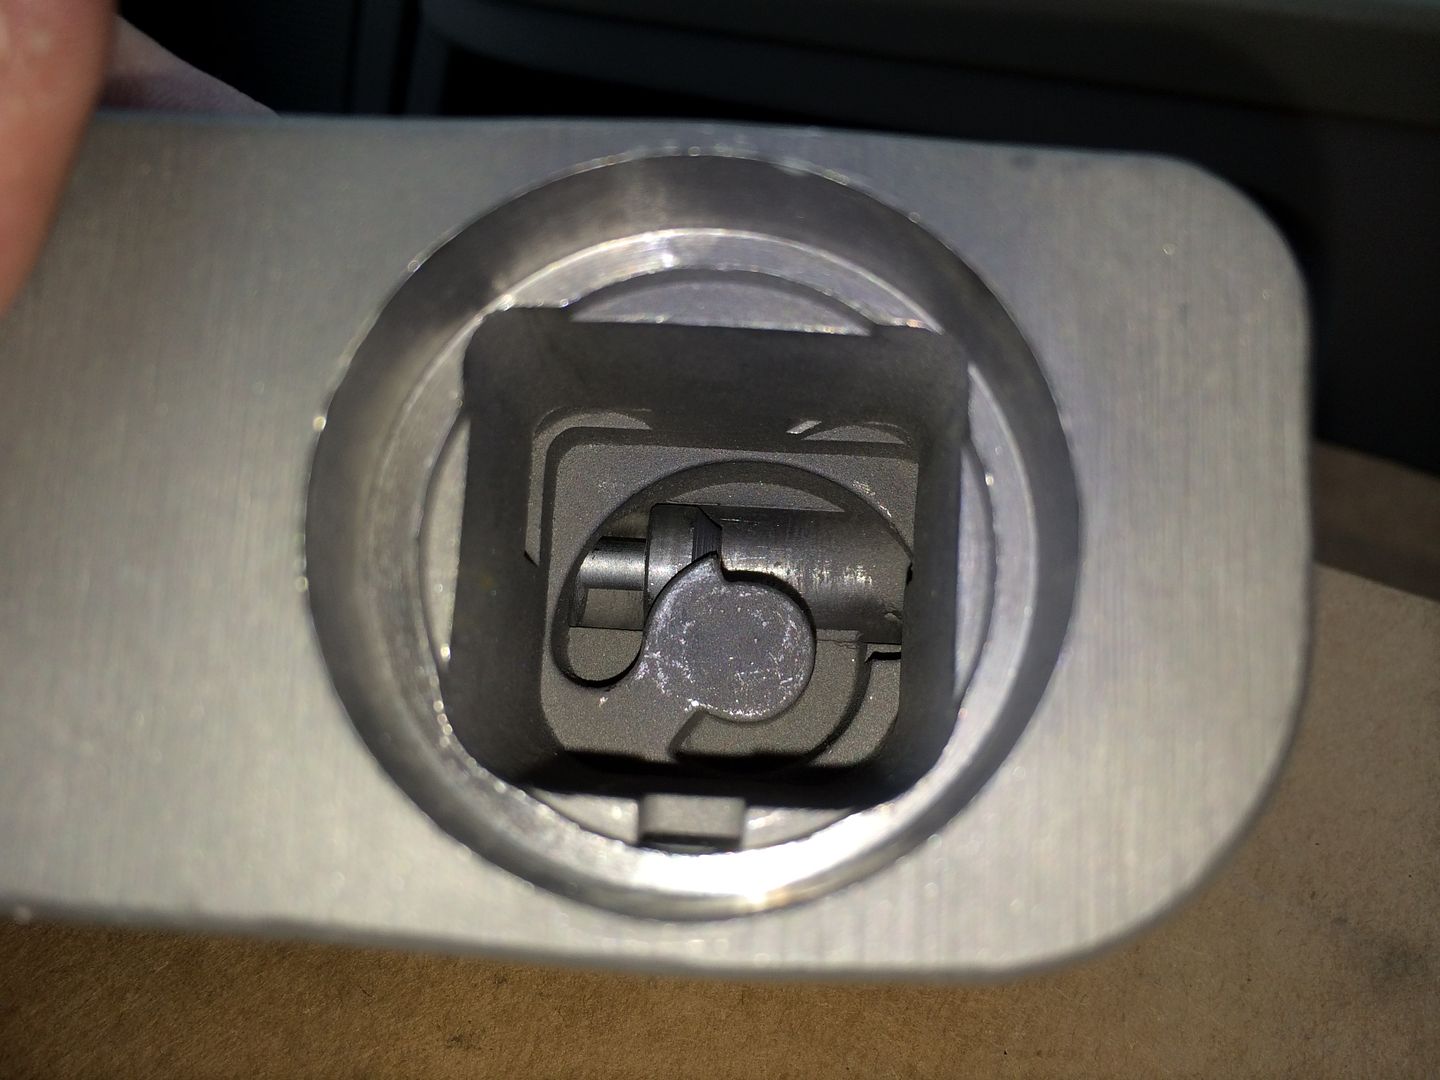
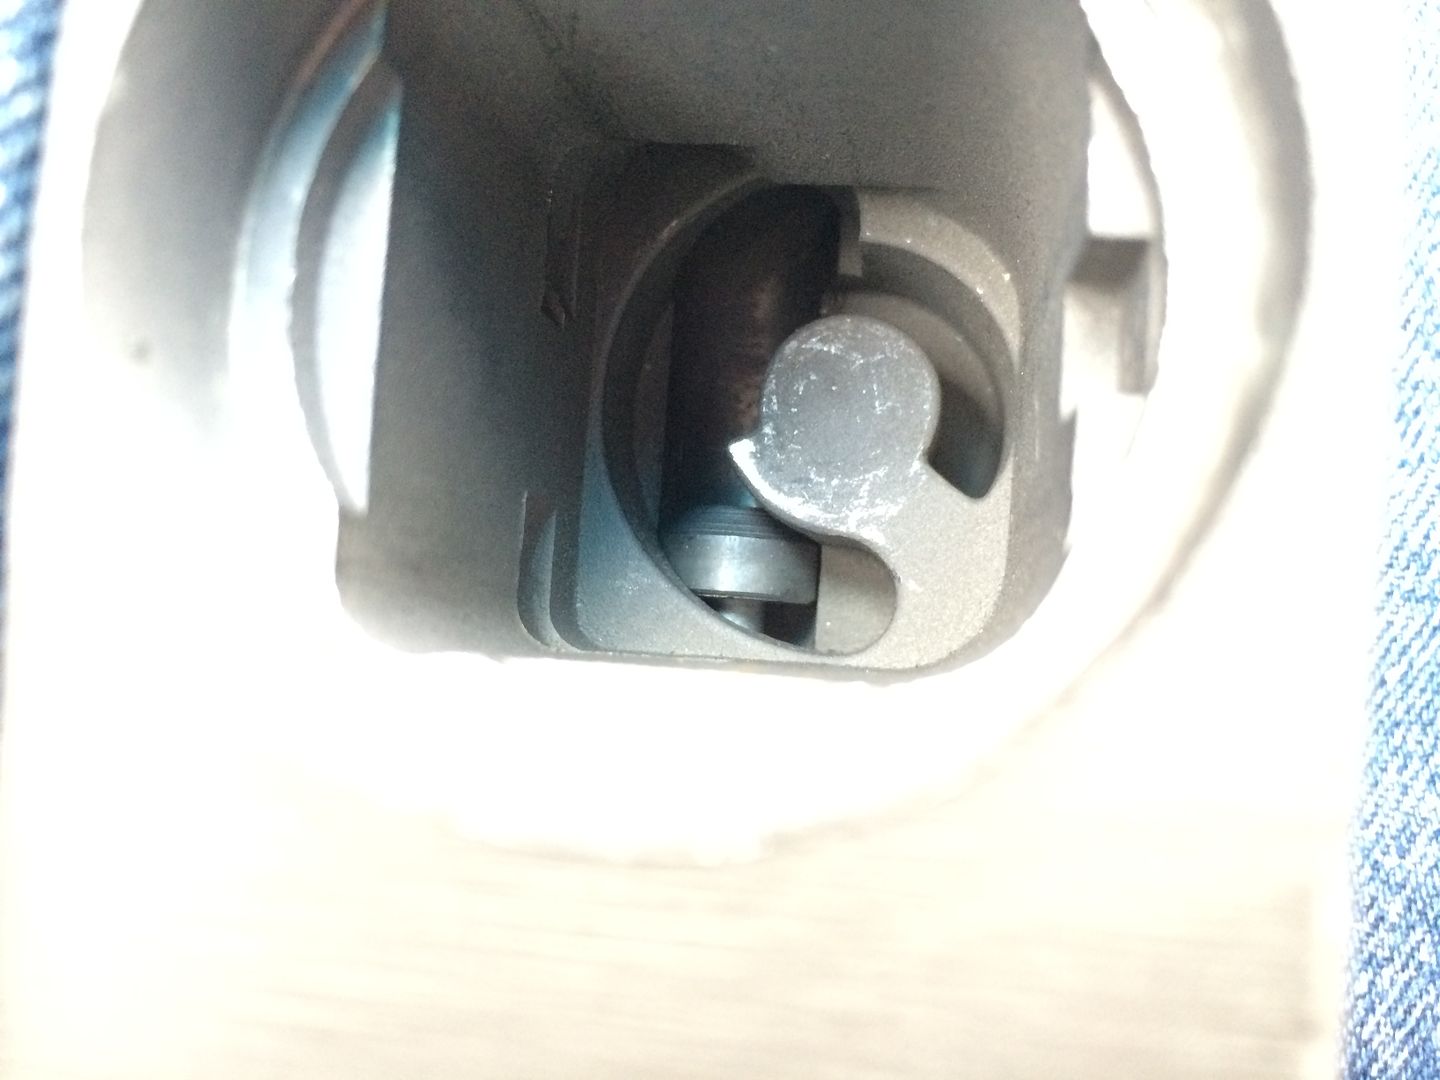
Removing the plug leaves a hole almost large enough to fit a Master No. 3 into.
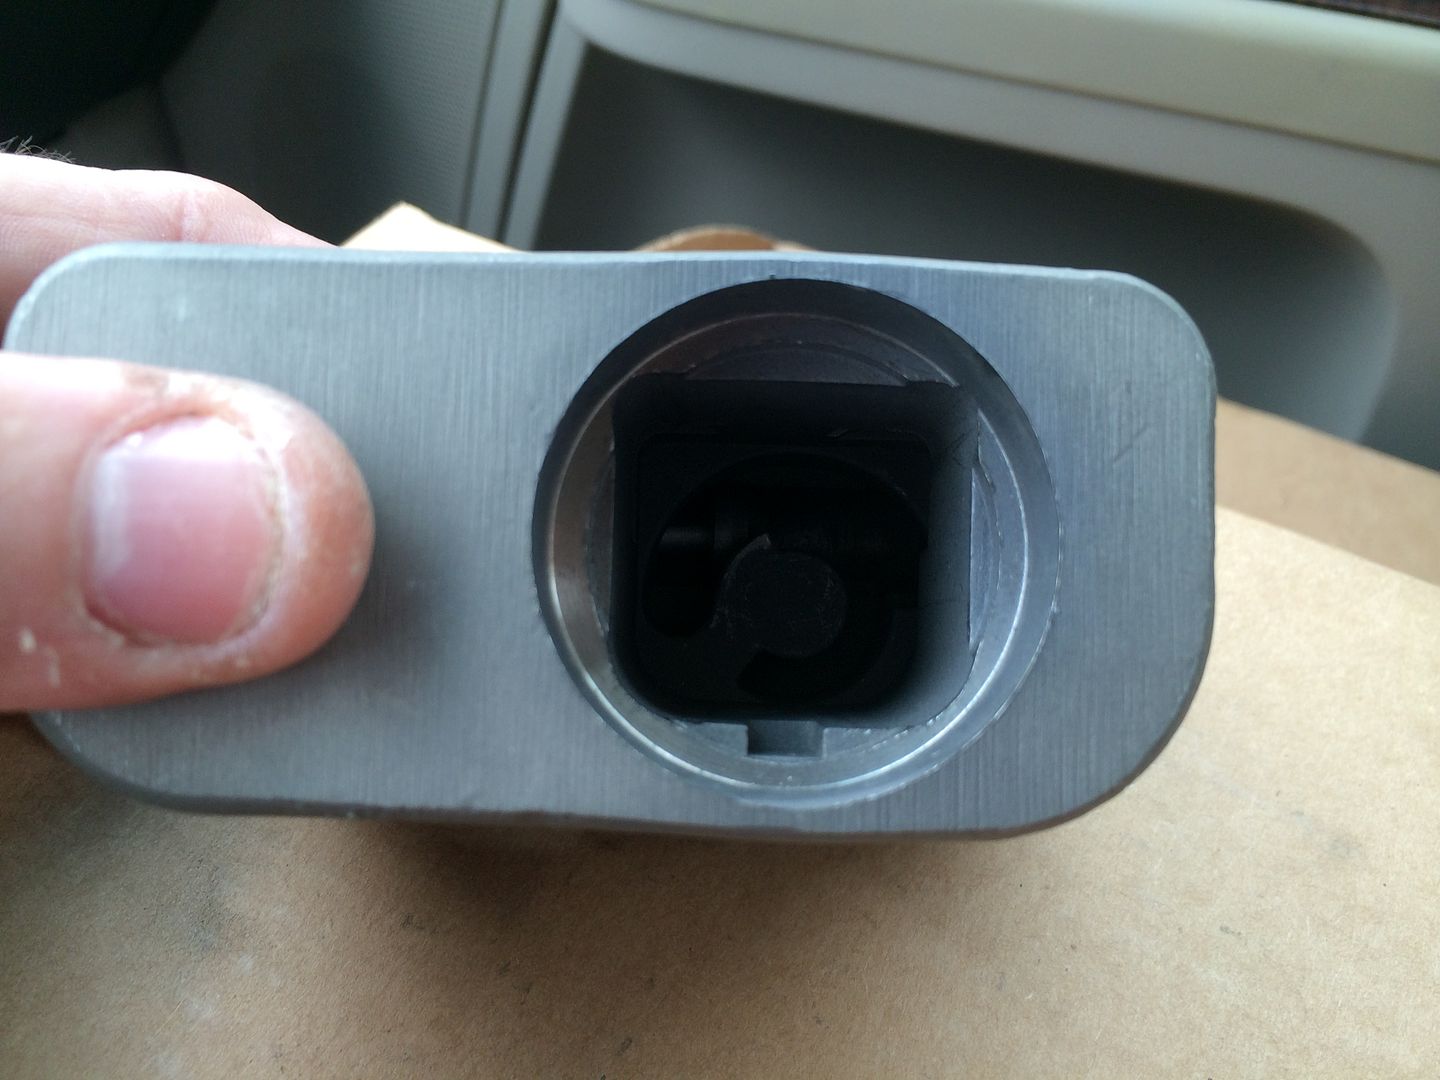
Inside the lock body, you can see at the bottom of the hole, the notch that the plug aligns with, the circular cutouts that the pawl fits into, and horizontally you can see the shackle. At the top left and top right corners, you can see cutouts deep within the lock. Those are what the locking bars fit into that hold the plug into the lock body.
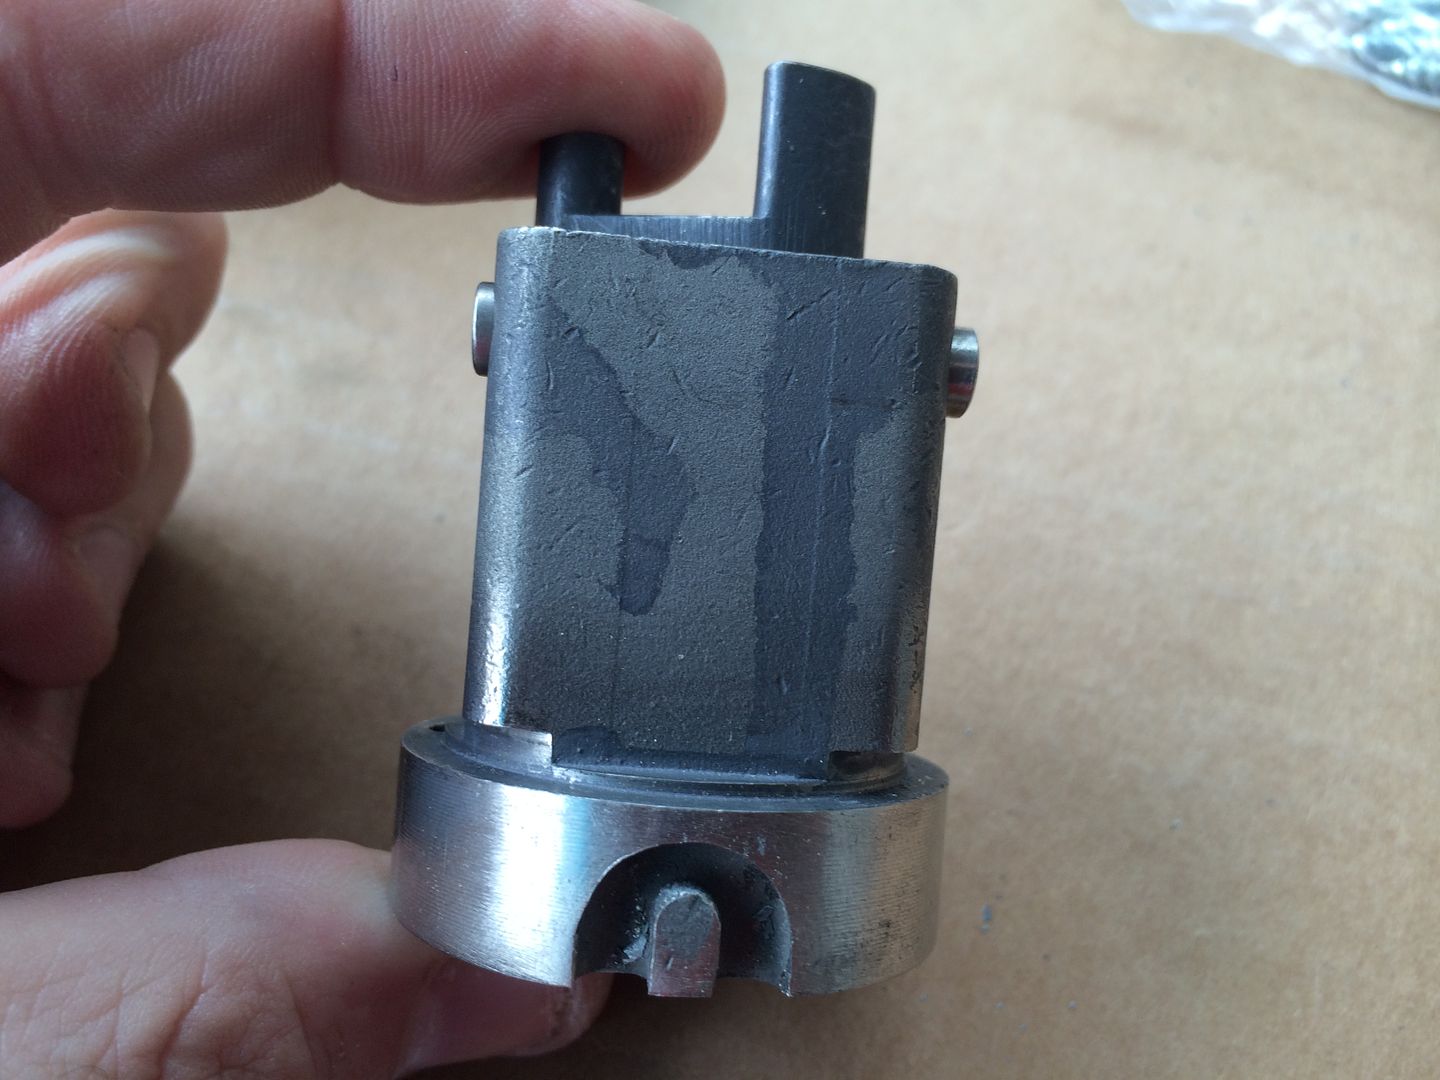
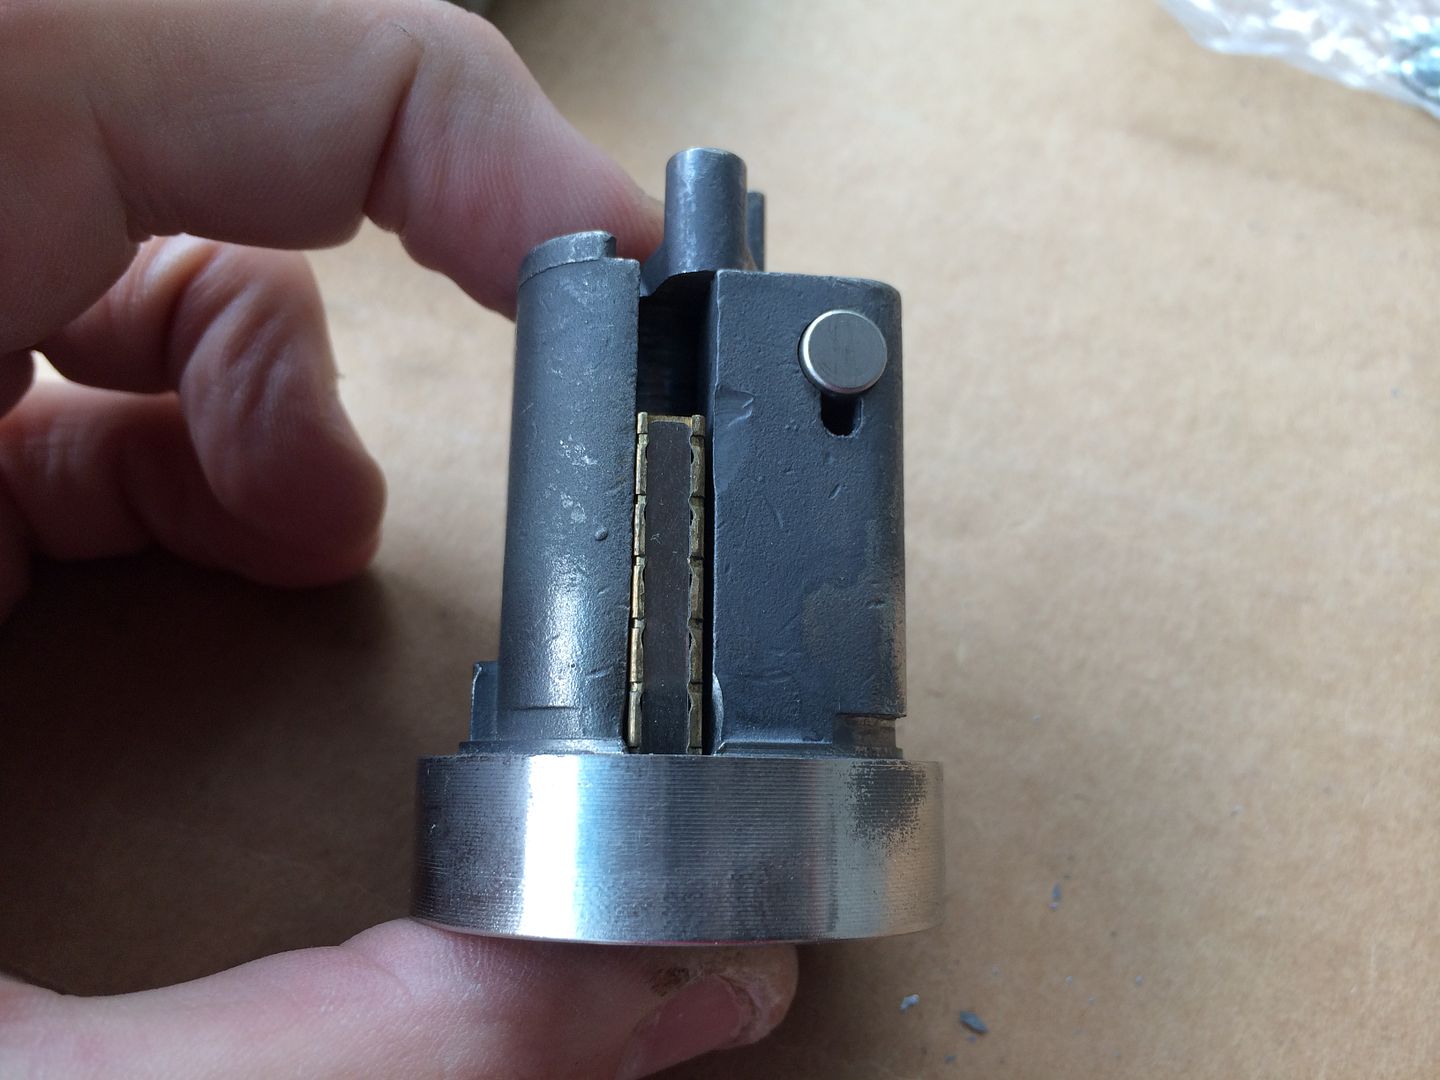
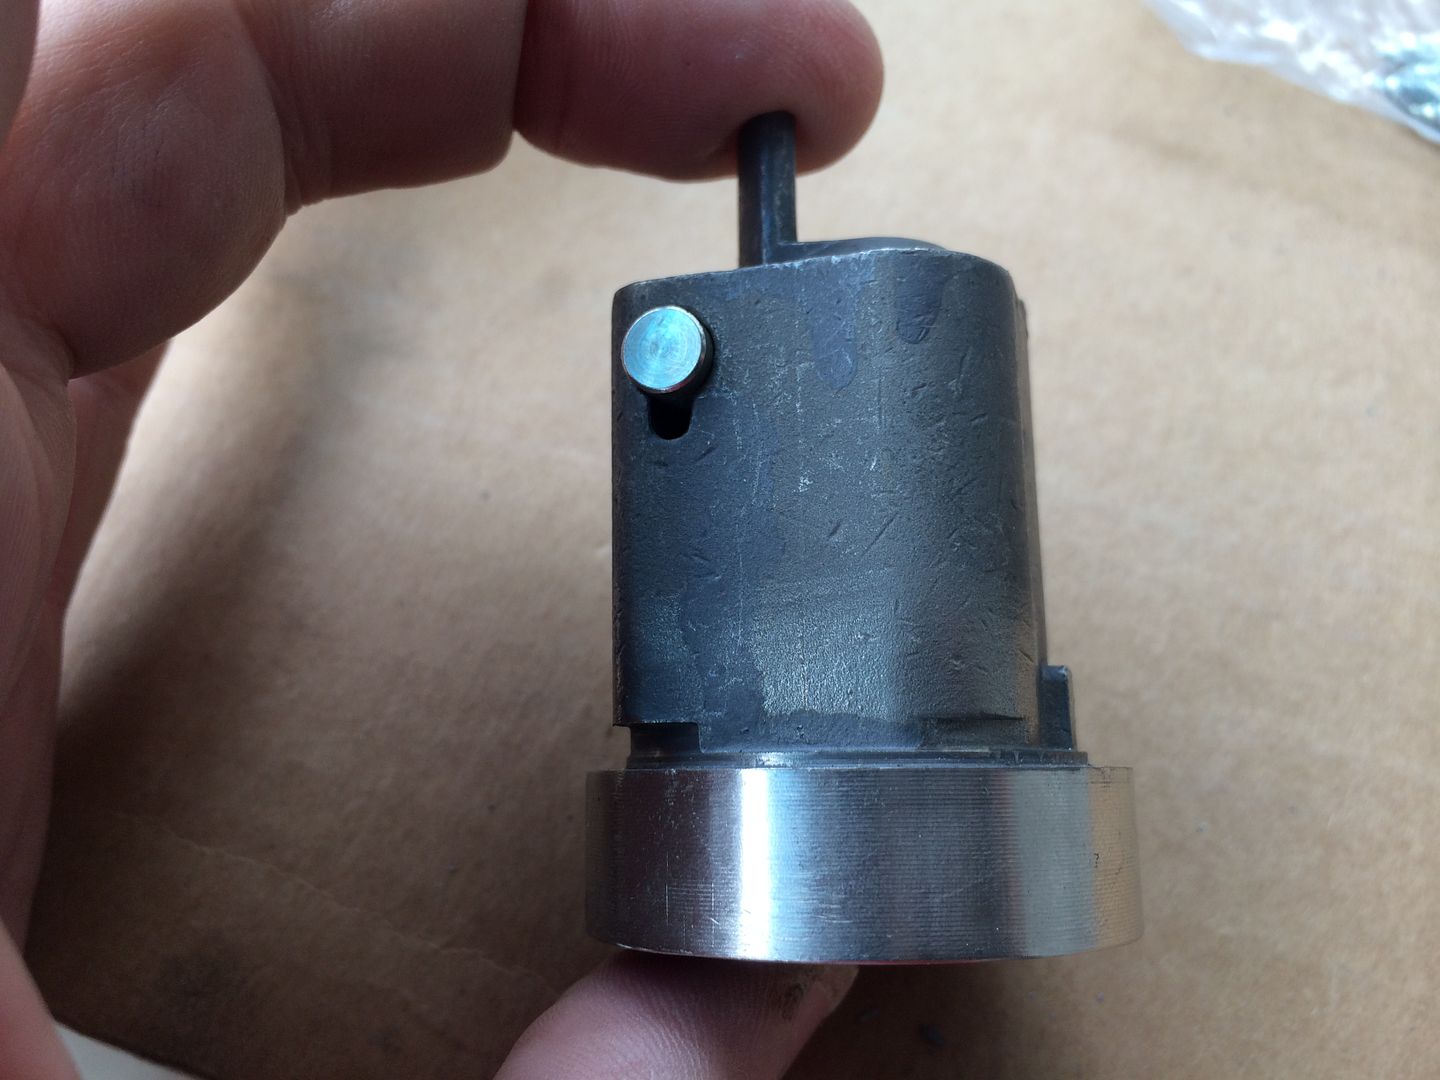
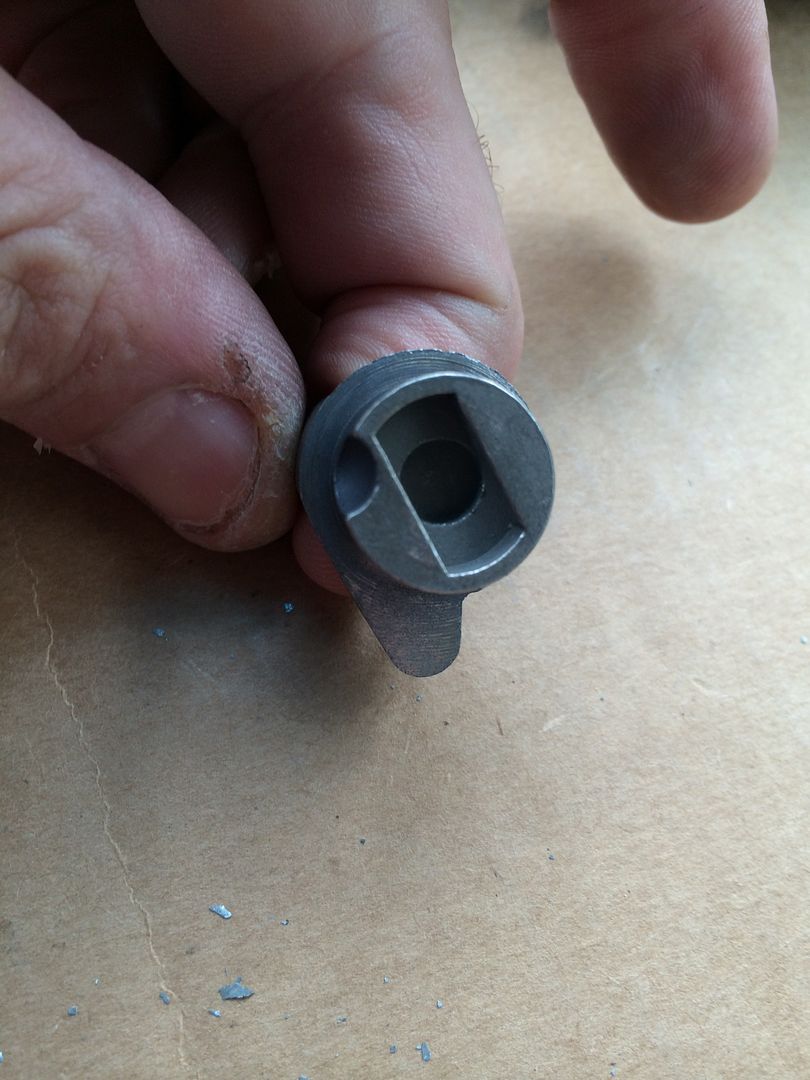
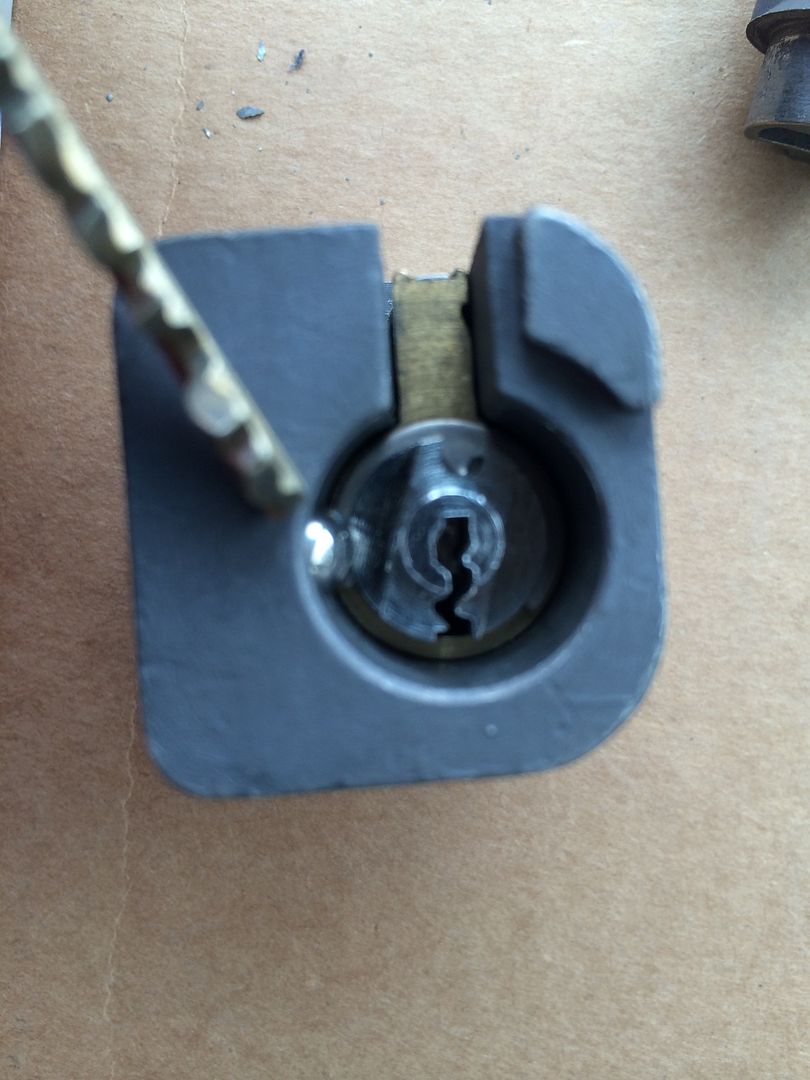
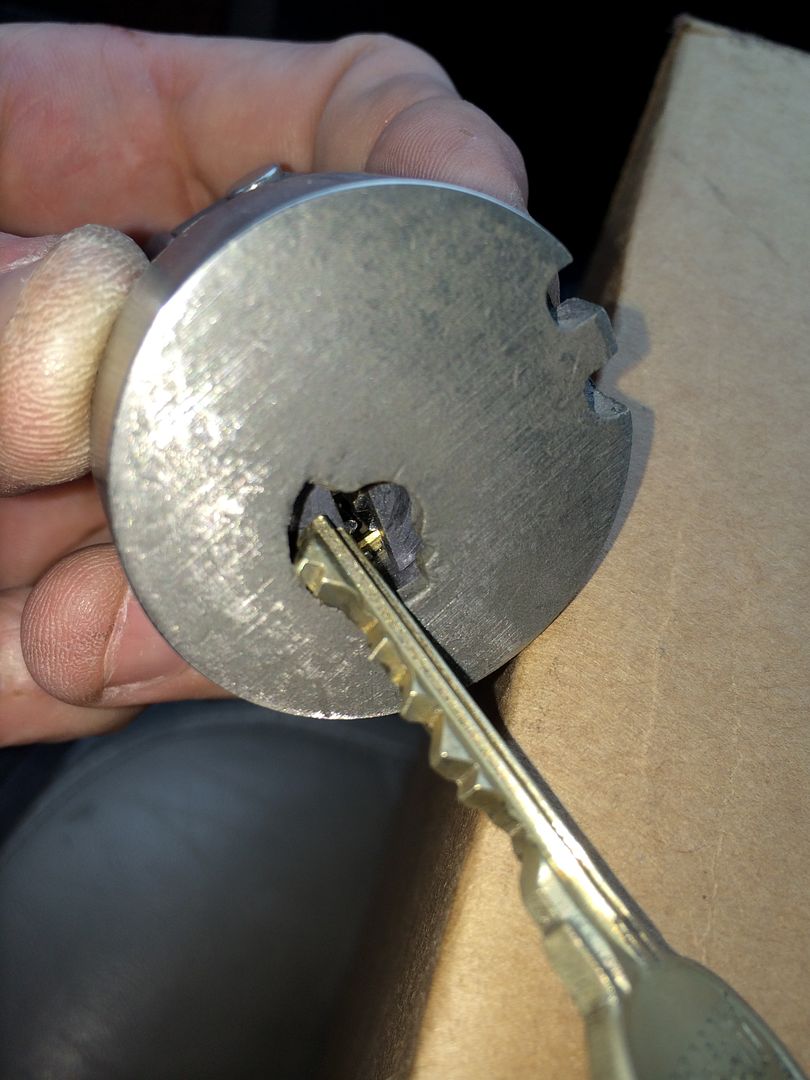
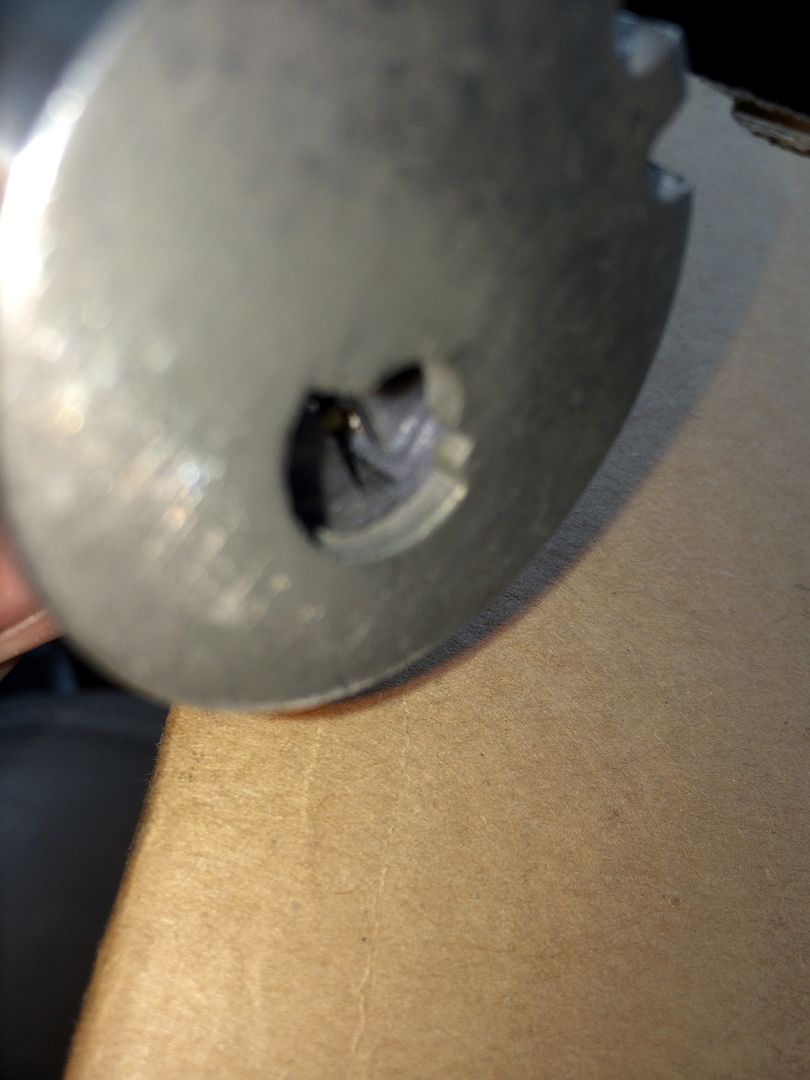
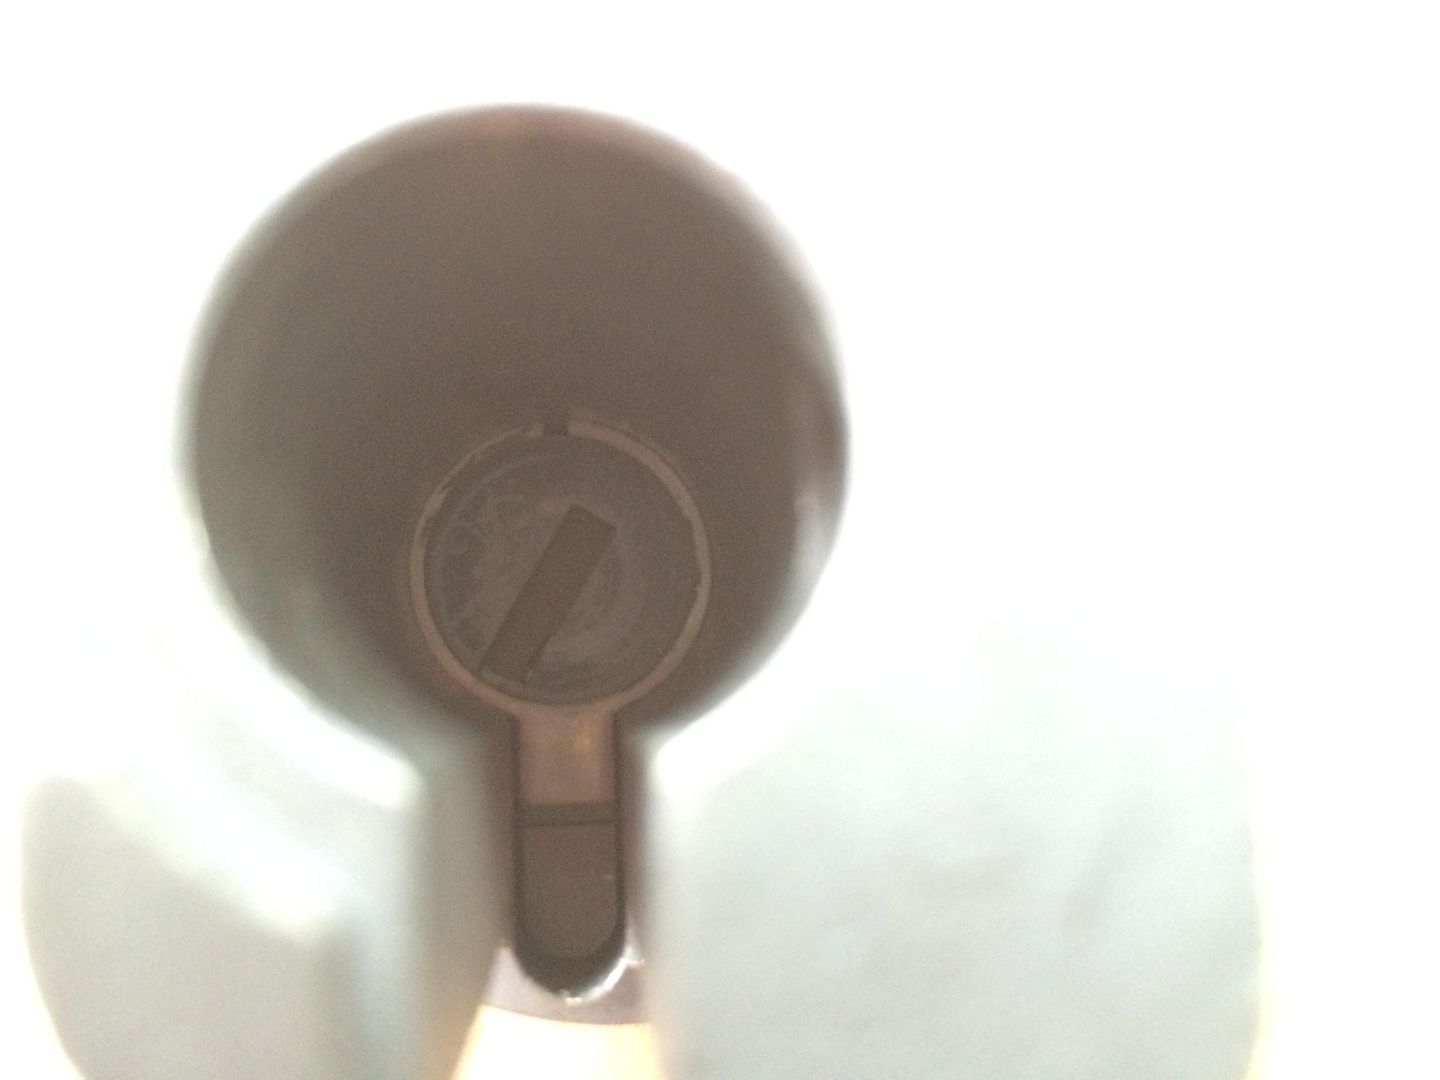
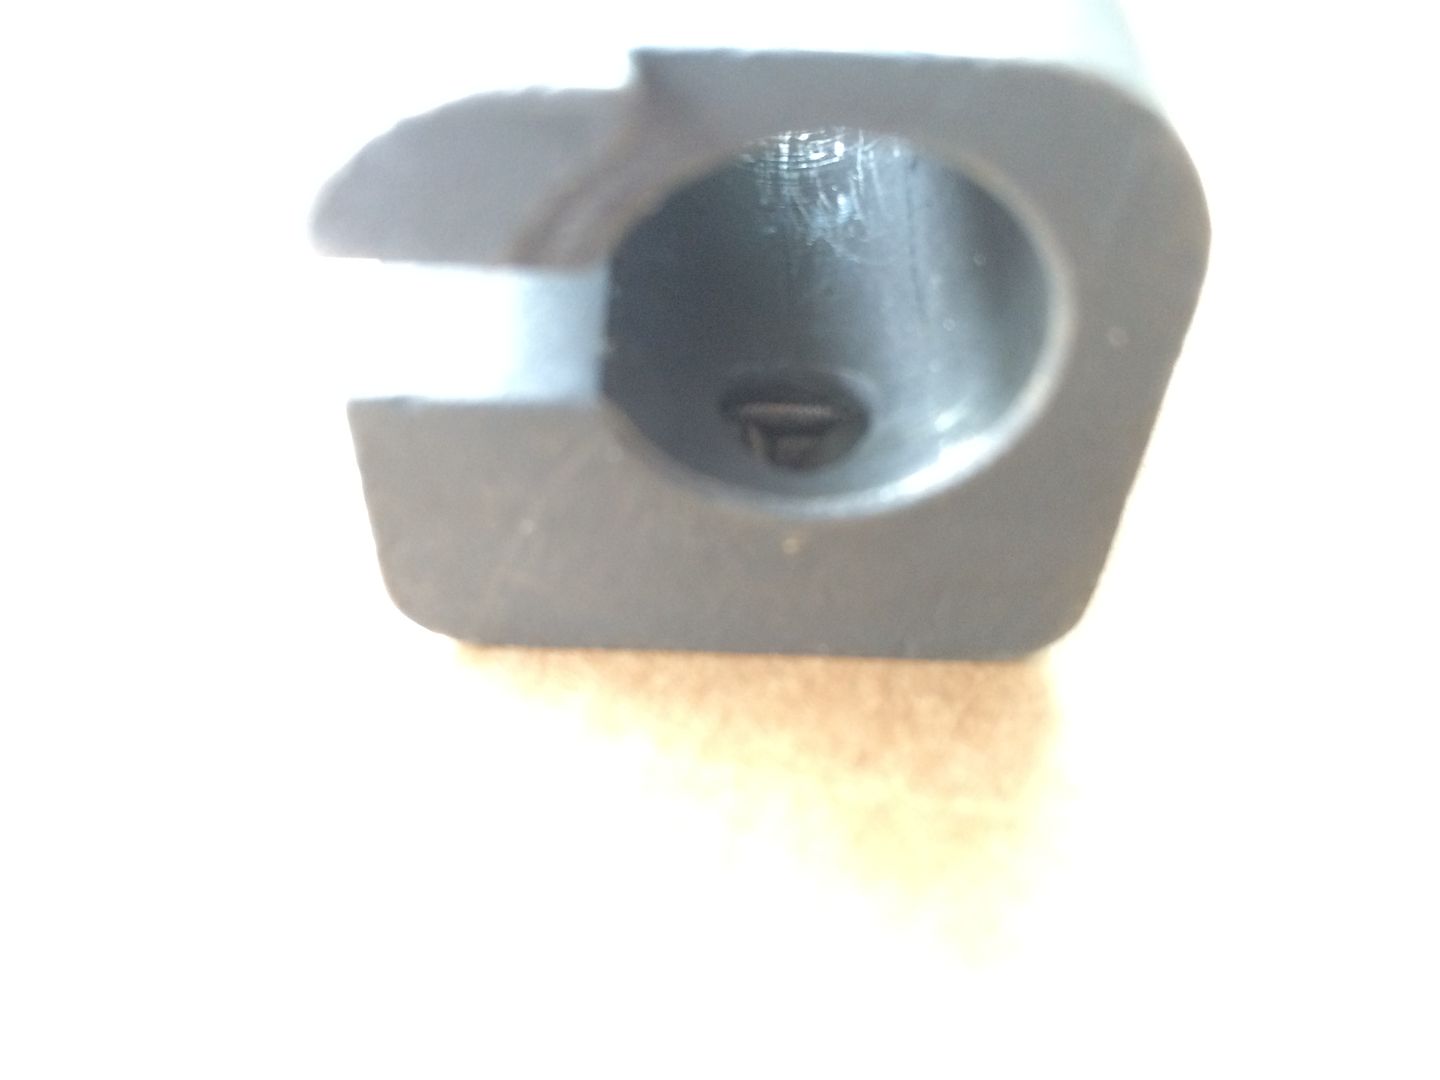
This is the back end of the plug. You can see the tail end of the KIK cylinder. On the right side you see a bearing. That bearing fits into the cutout in the pawl when the key is turned to the control position.
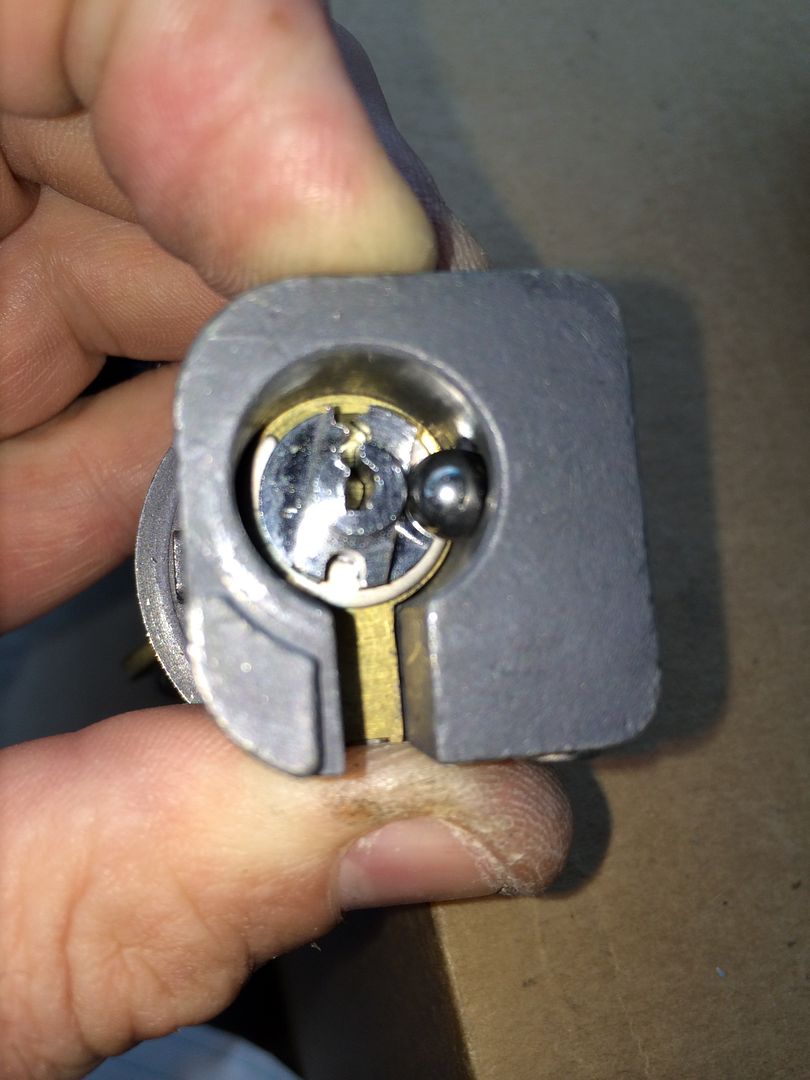
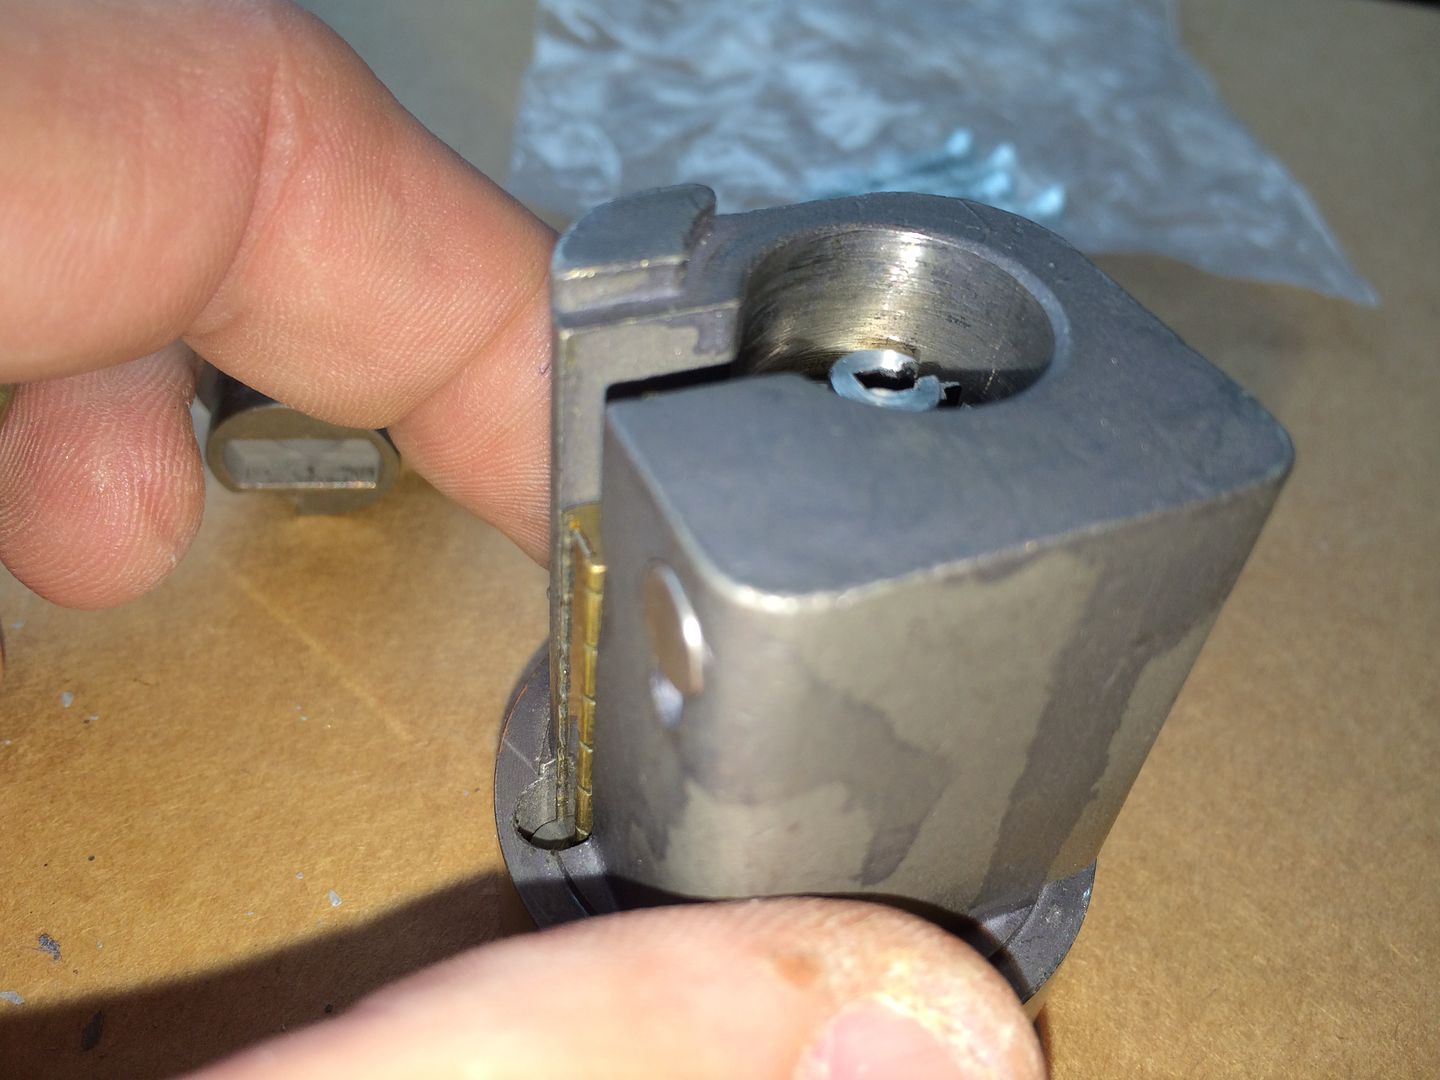
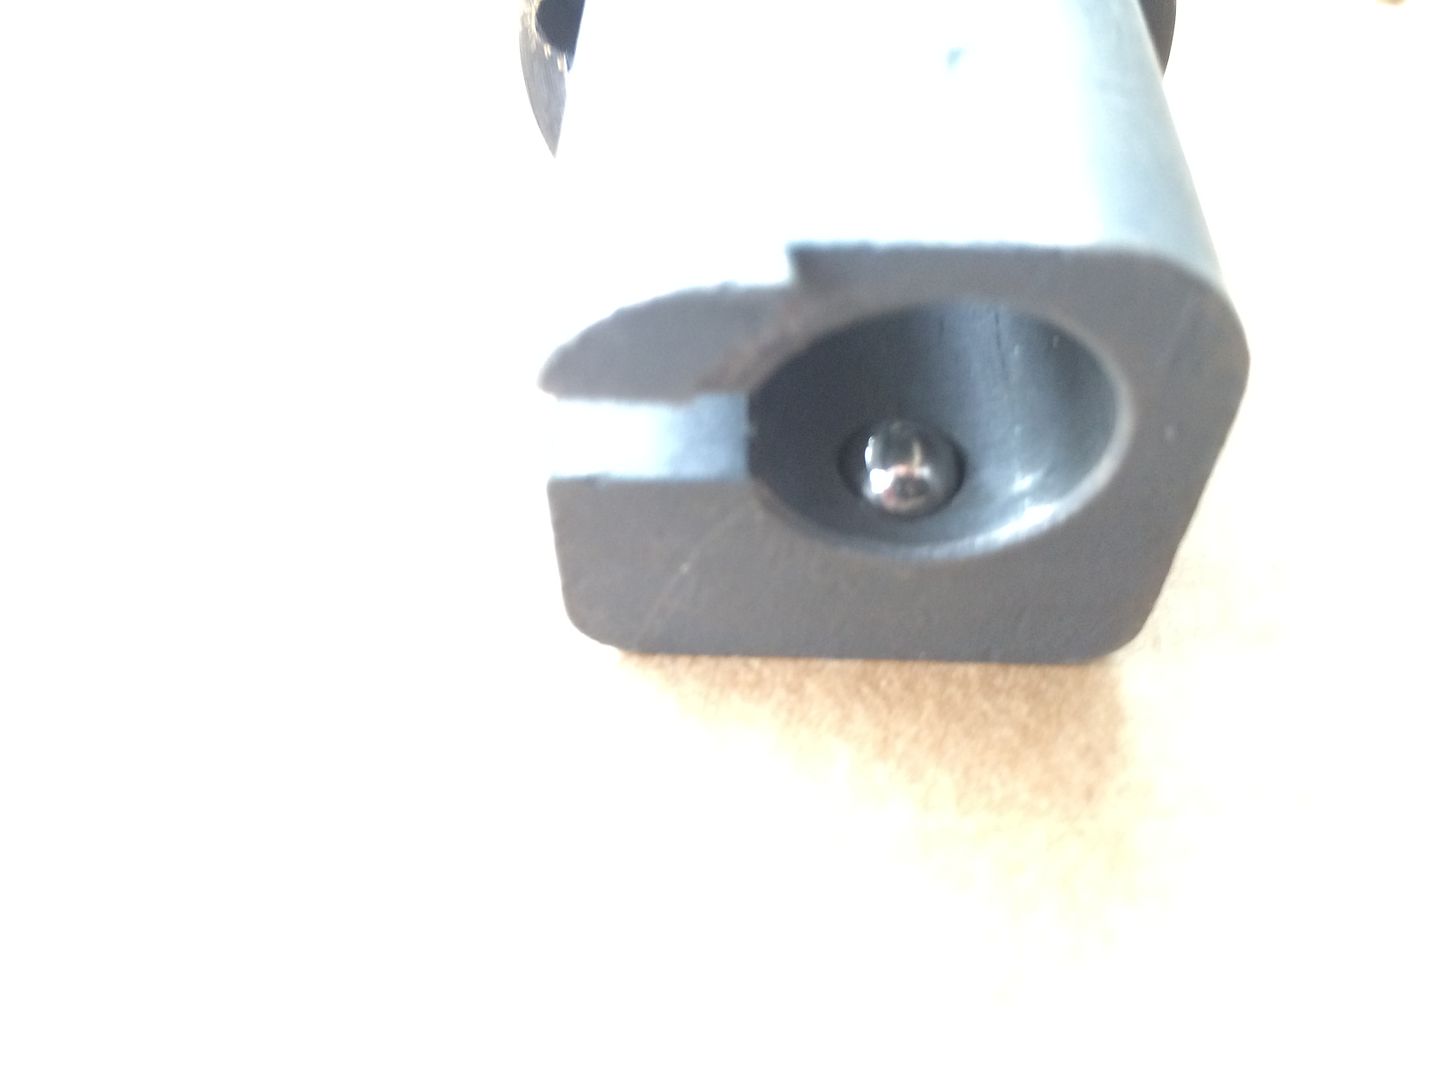
This is the bearing, being pointed to with a key.
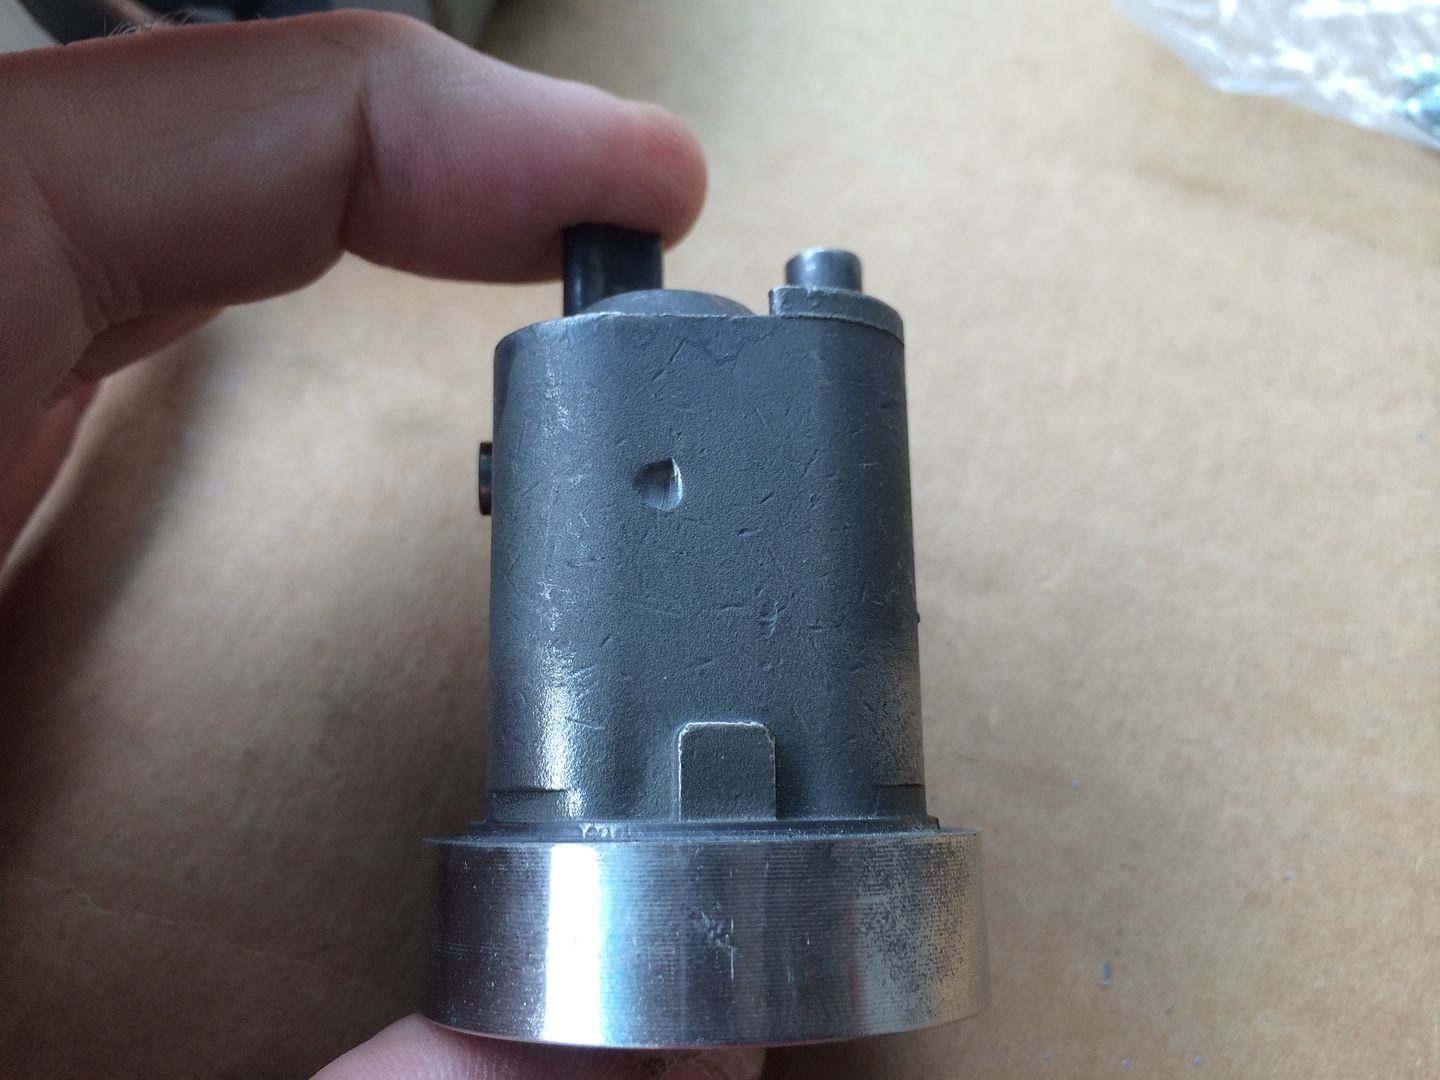
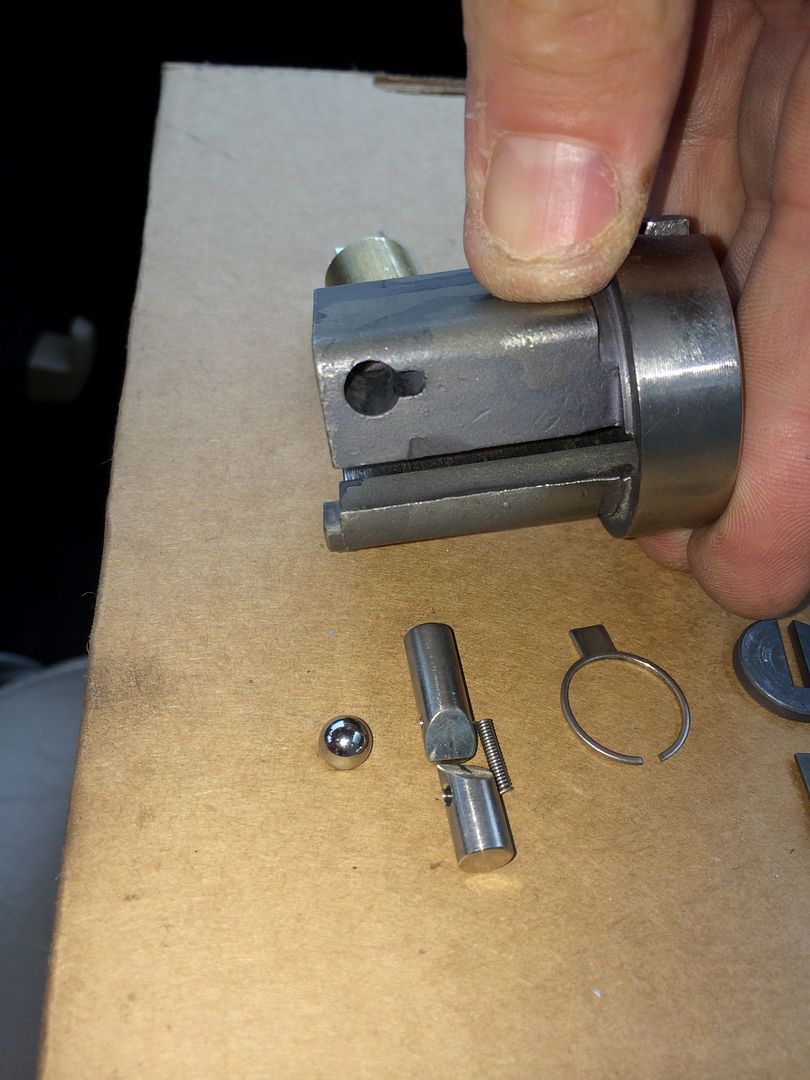
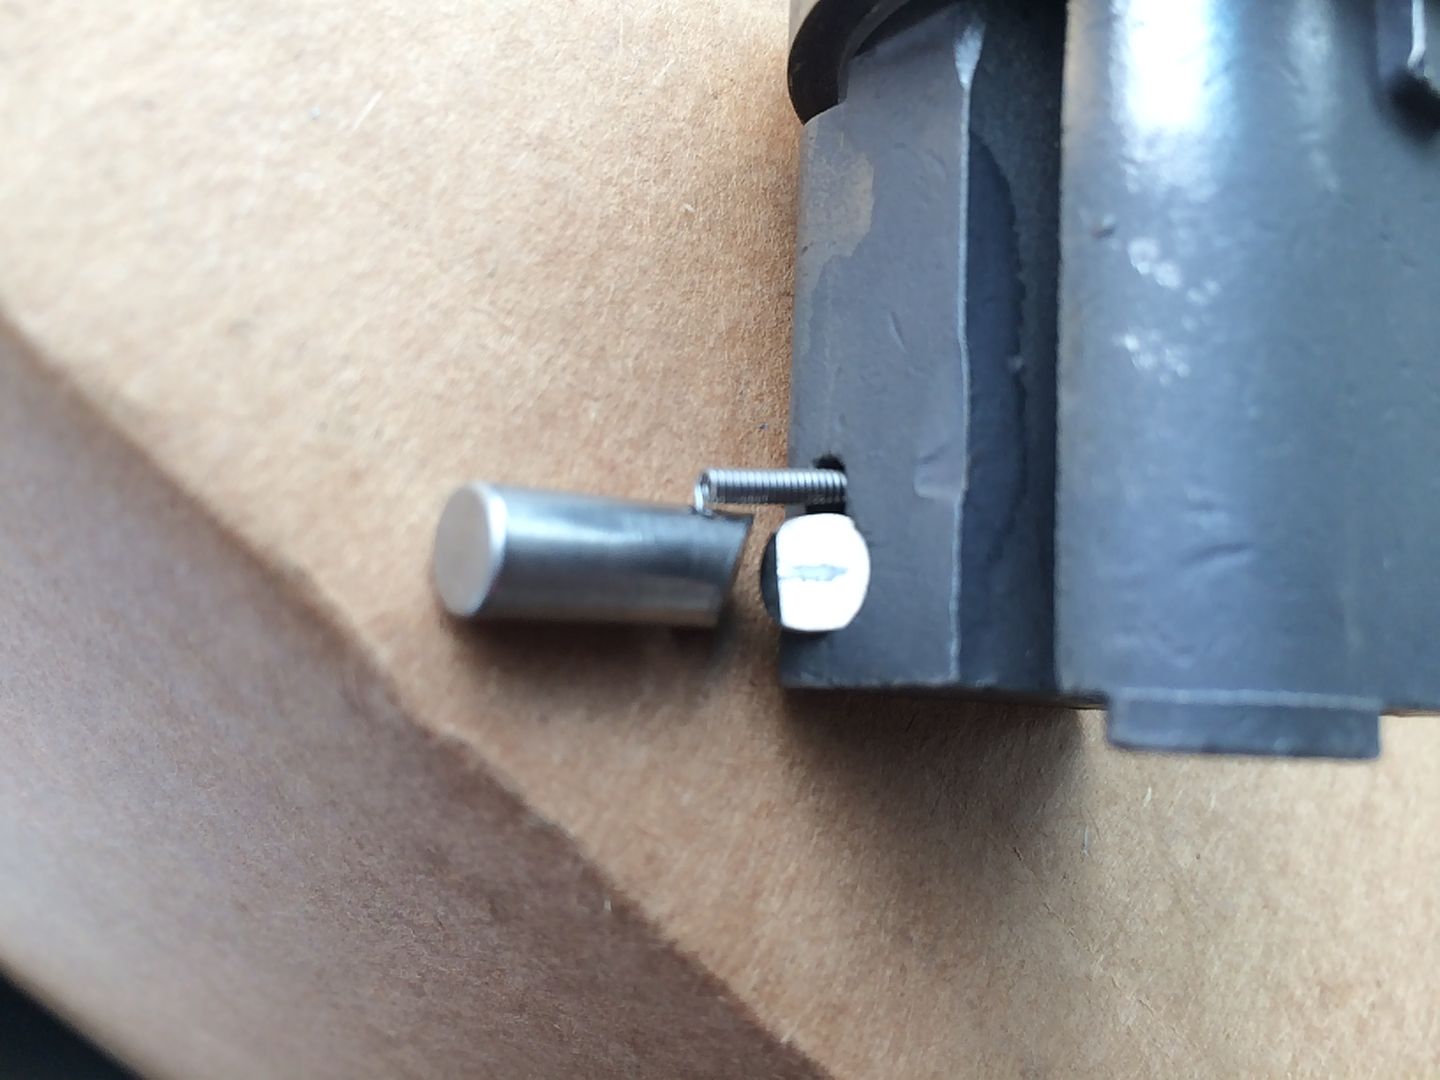
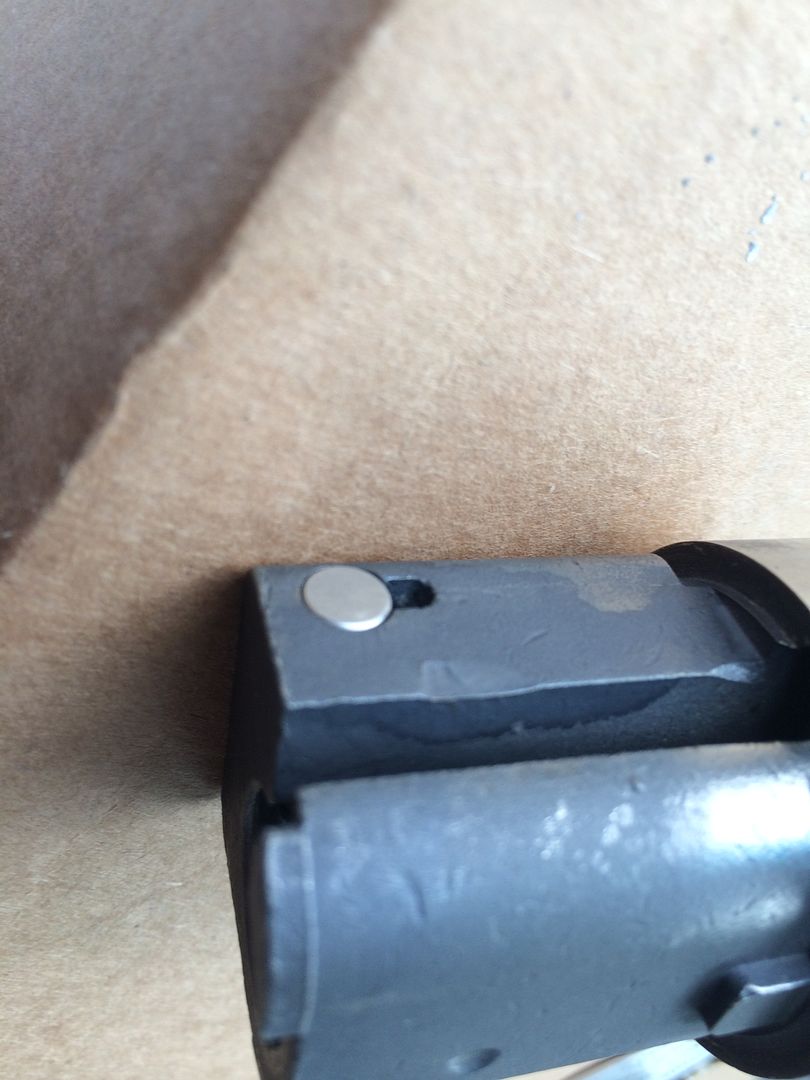
Now what does at bearing interact with? When the pawl is not in the locked position, it pushes on two tapered pins. When not in the lock body, the pins stick out both sides of the plug.
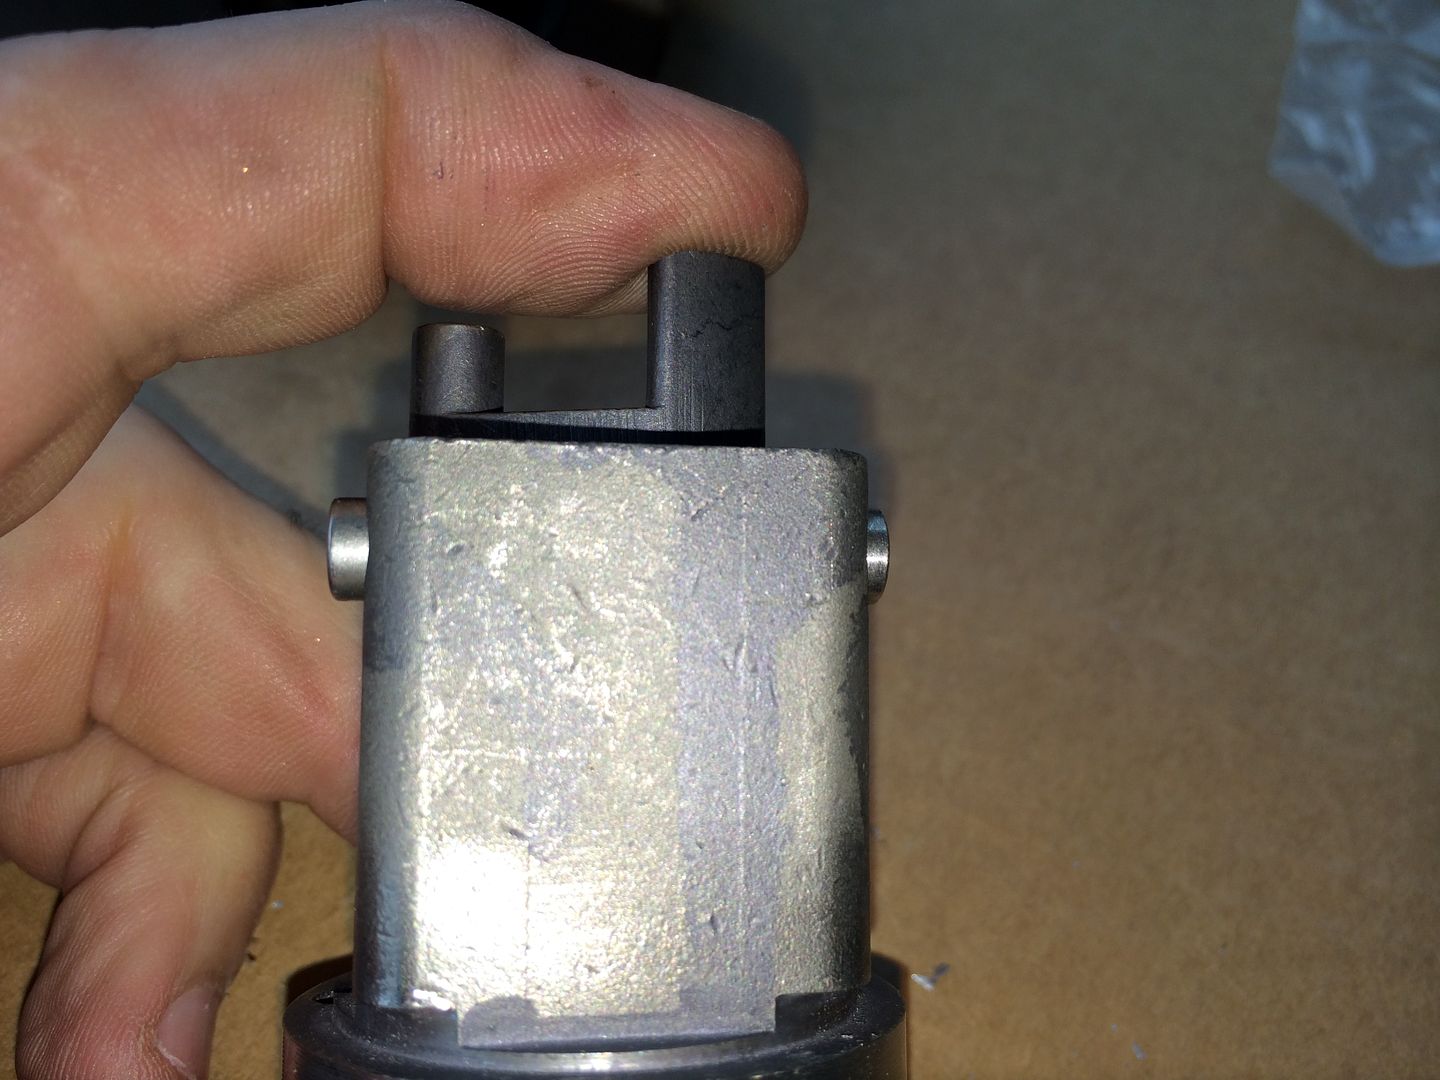
When the pawl is in the control position, the pins sit flush with the sides of the plug. These pins are what keeps the plug in the lock.

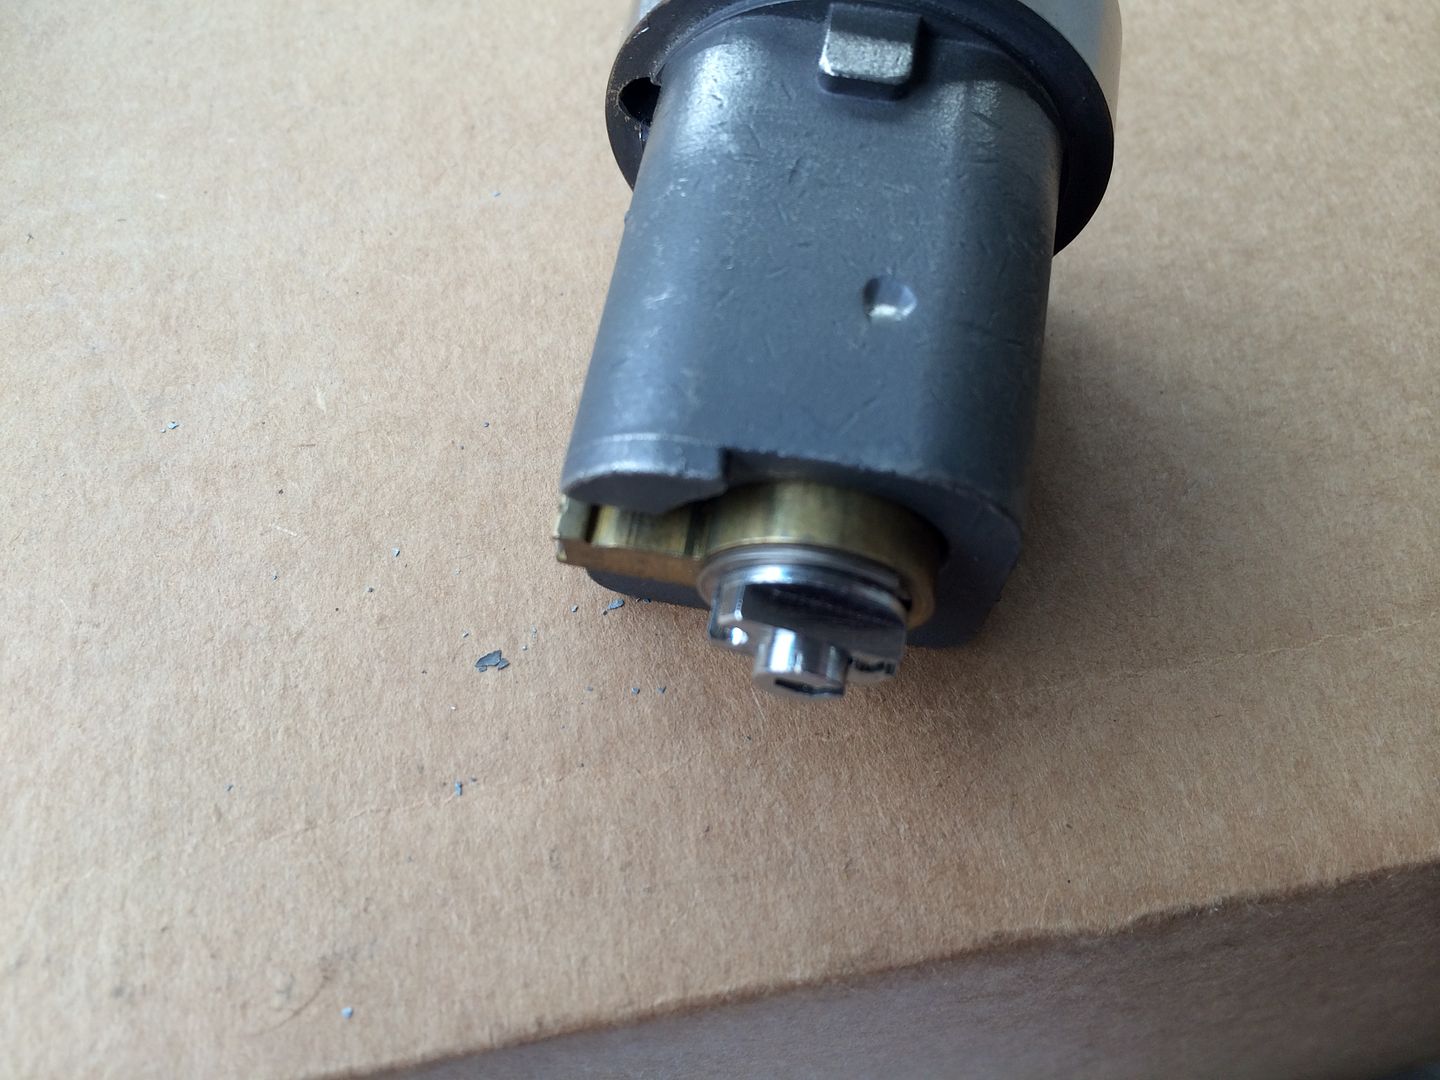
With the pawl removed, use the key (or anything that will fit through the hole in the plug) (fgarci, knock it off! ) to push the KIK cylinder towards the back of the plug.
You might need to push the bearing in in order for the KIK cylinder to get passed it.
Now remove the KIK cylinder. WARNING - the bearing will want to fall out and roll between the passenger seat and the center console and be a total pain to get out. This can be avoided by not doing disassembly and pictures on top of a cardboard box on the passenger seat of your car. Don’t ask. Just be careful with that bearing.
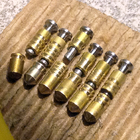
There are more parts that can fall out as well. And they will. But not be such a pain. Here are the parts. (The bearing is slightly forced into the cardboard box to keep it from rolling. Again. )
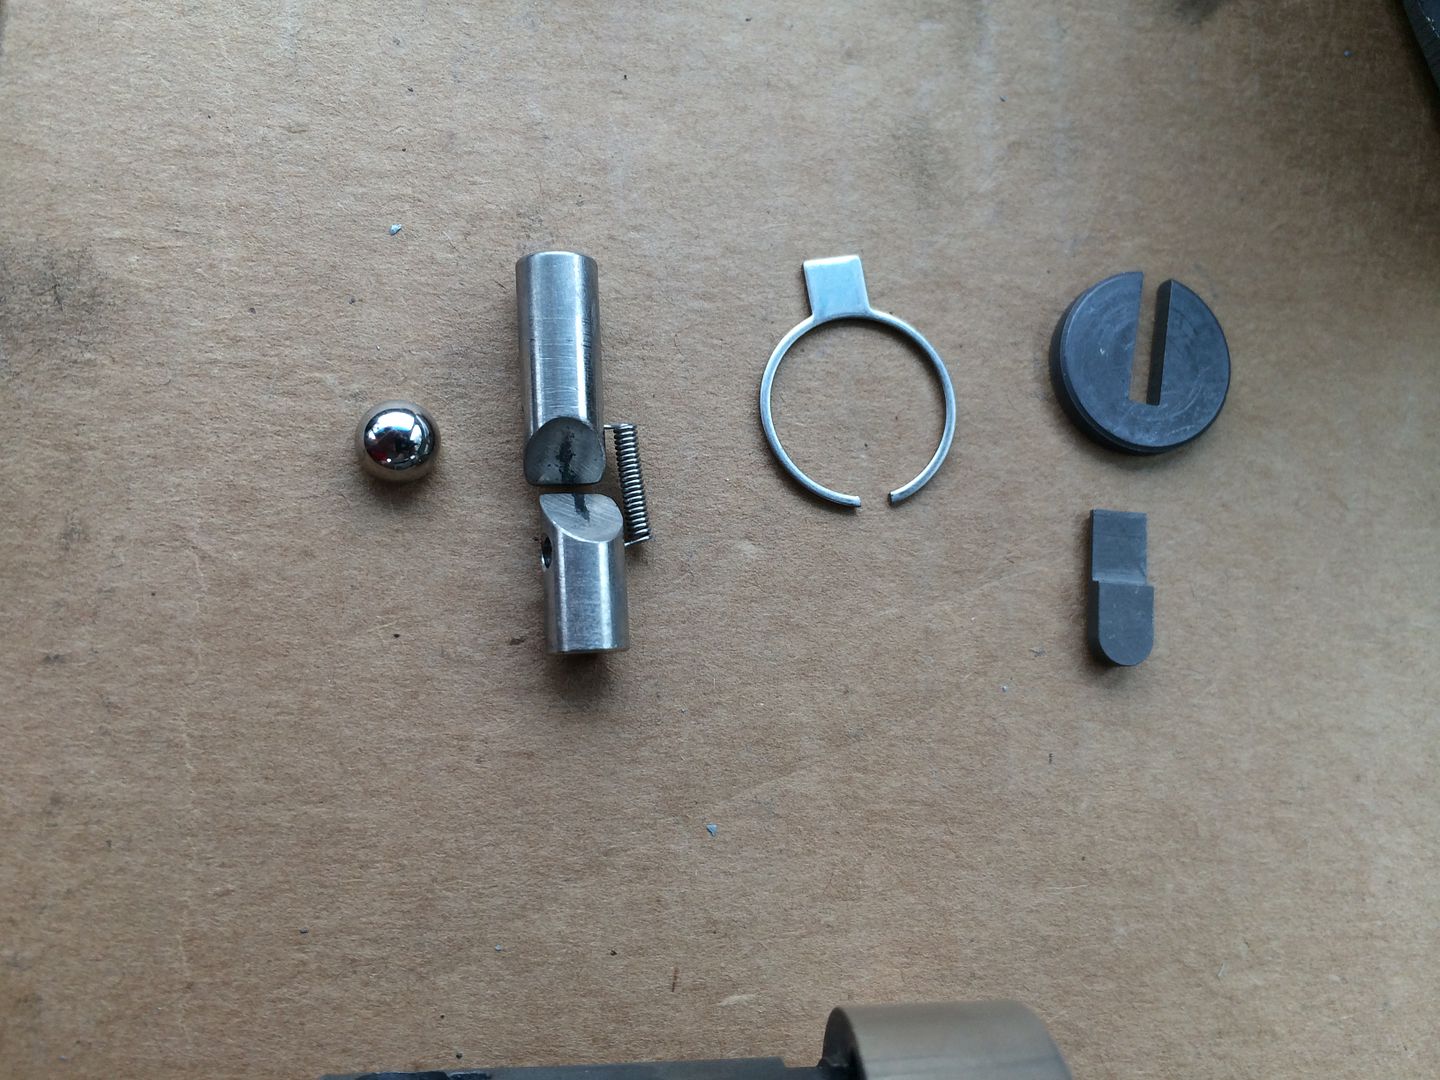
The pins with the spring attached fit into the slot at the top left of this picture. Yes, these are the pins with the wedge shaped ramps that the bearing (remember the bearing?) pushes outwards to lock the plug in the lock body.
For reassembly, place the plug with the keyway facing down. Drop the round drill protection disc of hardened steel into the hole. Now use the key (because in your car you don’t have any tools to work on this lock) to flip it again and again until it finally sits flat at the bottom of the cutout. It should only take 8 or 9 flips to finally have it drop in flat like any other part would logically do.
Now, if you look three pictures up at the parts we are reinstalling, you see the small hardened steel part below the round disc we just installed? Now you get to have fun putting this one back in. Think the round disc in the above step was tough to get lined up? Hah! Anyway, put it into the plug with the stepped edge facing you. This is drill protection for the bible of the KIK cylinder. Here it is in position.
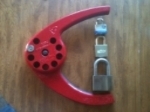
Now put this doohickey in. Its job is to keep the parts you just installed in place.
Here it is in place. It encircles the disc, and fits into the lower stepped position of the doohickey. (Excuse the technical jargon).
Good! Now the parts will stay in place for the next steps.
OK, put the pins with springs back into the plug. The spring will only fit in one way, so that will help you with that part. The two pins are different lengths. You will see that one side of the plug is wider than the other. Longer end goes on that side.
The wedge shaped ramps on the center section between the pins will now line up with where the bearing goes.
OK, now you can put the bearing in.
And push the KIK cylinder back in. It will force the bearing to the side as it goes.
When it sits flush, you will notice that the keyway does not line up with that drill protection disc.
No big deal. Just use the key to turn the drill protection disc until it lines up with the keyway.
While you are fiddling with the rest of the lock, the shackle flops loosely inside the lock body.
Locked:
Partly moved:
Unlocked:
Tip the lock so the shackle is in the locked position. Install the pawl onto the back of the plug. Hold the lock body with the opening facing down, and the lock plug with the pawl facing up. Slide it in as far as it will go. (ARF-GEF, not you, too!!! ).
Now use the control key. Insert it fully, and turn the key to the control position. The pins should now retract, and the plug can be pushed home.
The key will not want to turn back and be released yet. Keep turning (gently), and slide the shackle slightly towards the unlocked position. After a few millimeters, the key will release, and you can remove the control key. Now try the operational key and see that it works.
OK, so maybe you don't want to use this beast as a luggage lock. It weighs 4.75 pounds (2.16 kilograms).
Was lucky enough to recieve 5 of them. Only one was for me, but it makes for a great 'family shot'. For scale, included an American 748 padlock and a Master No. 3 padlock.
If that American padlock seems comparably sized, keep in mind that it weighs less than half of the Hi-Shear. It is quite a bit smaller.
The instructions for disassembly are included!
OK, you people know how much I hate pictures in my write-ups. But Oldfast will strangle me if he does not get gutshots.
Outside of the lock:
Where the lock body was drilled for assembly, they weld it together rather than just put in a plug.
The plug is kinds big, too.
Yes, this lock uses the Medeco keys. The 'operational key', as they call it on the instruction sheet, is on top, and the control key on the bottom. The difference, just as with the S&G military locks, is in the lower part of the control key. The shoulder is cut back. So the control key can also work as an operational key, and an operational key can be modified into a control key.
When the operational key is used, the shackle is drawn away from the cut. However, it never protrudes from the lock body.
(If you want to see it close, look at the last three pictures in reverse order).
The control key, of course, can be used to remove the plug to service the lock. However, it also is used to install or remove the included chain. Either way, the control key is used the same way.
Turn it 7 degrees past the lock position (opposite direction from opening) until it stops.
And pull the key outwards.
We will stop here so we can install the chain, which is included.
Put the chain link into the groove cut for it, and reinstall the plug.
Now for the real disassembly. Use the control key to remove the plug.
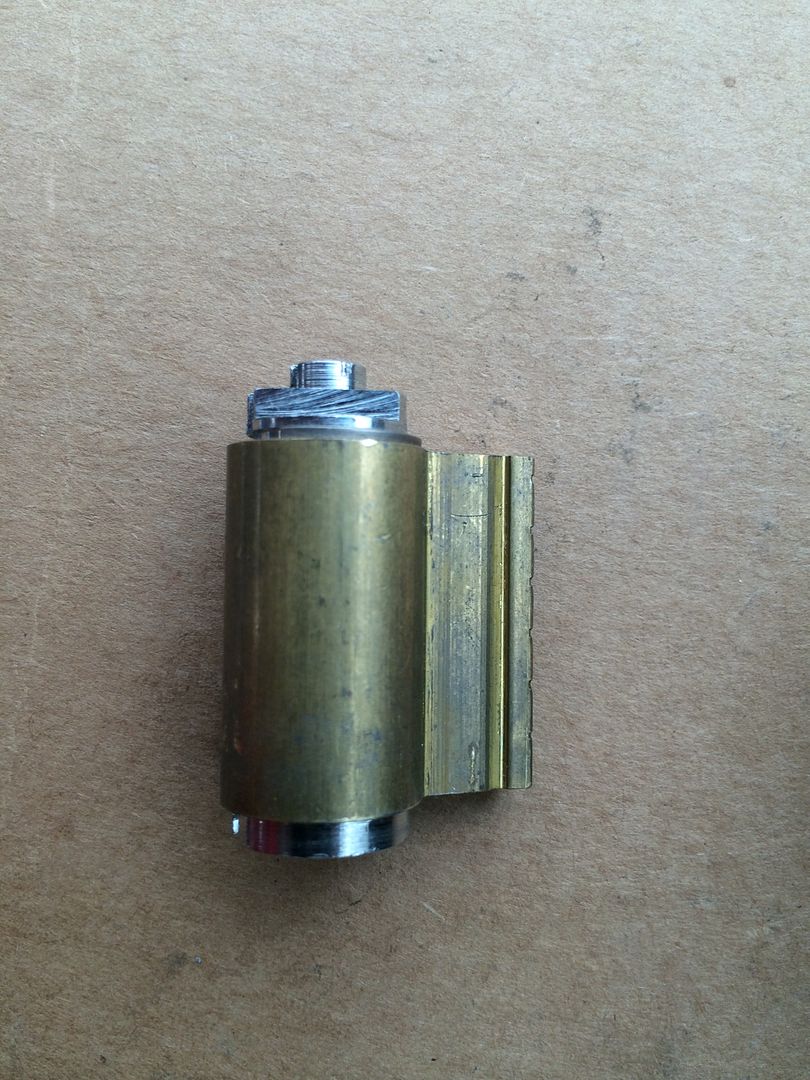
The four sides of the plug:
In this picture, the top of the KIK cylinder can be seen.
This is the back of the plug, looking directly at the pawl. Will show it as it turns to the unlock position.
Now remove the pawl.
This is the side of the pawl that meshes with the KIK cylinder tail. Also notice the cutout on the left of the picture. We will come to what that is for later.
Removing the plug leaves a hole almost large enough to fit a Master No. 3 into.
Inside the lock body, you can see at the bottom of the hole, the notch that the plug aligns with, the circular cutouts that the pawl fits into, and horizontally you can see the shackle. At the top left and top right corners, you can see cutouts deep within the lock. Those are what the locking bars fit into that hold the plug into the lock body.
This is the back end of the plug. You can see the tail end of the KIK cylinder. On the right side you see a bearing. That bearing fits into the cutout in the pawl when the key is turned to the control position.
This is the bearing, being pointed to with a key.
Now what does at bearing interact with? When the pawl is not in the locked position, it pushes on two tapered pins. When not in the lock body, the pins stick out both sides of the plug.
When the pawl is in the control position, the pins sit flush with the sides of the plug. These pins are what keeps the plug in the lock.
With the pawl removed, use the key (or anything that will fit through the hole in the plug) (fgarci, knock it off!
You might need to push the bearing in in order for the KIK cylinder to get passed it.
Now remove the KIK cylinder. WARNING - the bearing will want to fall out and roll between the passenger seat and the center console and be a total pain to get out. This can be avoided by not doing disassembly and pictures on top of a cardboard box on the passenger seat of your car. Don’t ask. Just be careful with that bearing.
There are more parts that can fall out as well. And they will. But not be such a pain. Here are the parts. (The bearing is slightly forced into the cardboard box to keep it from rolling. Again. )
The pins with the spring attached fit into the slot at the top left of this picture. Yes, these are the pins with the wedge shaped ramps that the bearing (remember the bearing?) pushes outwards to lock the plug in the lock body.
For reassembly, place the plug with the keyway facing down. Drop the round drill protection disc of hardened steel into the hole. Now use the key (because in your car you don’t have any tools to work on this lock) to flip it again and again until it finally sits flat at the bottom of the cutout. It should only take 8 or 9 flips to finally have it drop in flat like any other part would logically do.
Now, if you look three pictures up at the parts we are reinstalling, you see the small hardened steel part below the round disc we just installed? Now you get to have fun putting this one back in. Think the round disc in the above step was tough to get lined up? Hah! Anyway, put it into the plug with the stepped edge facing you. This is drill protection for the bible of the KIK cylinder. Here it is in position.
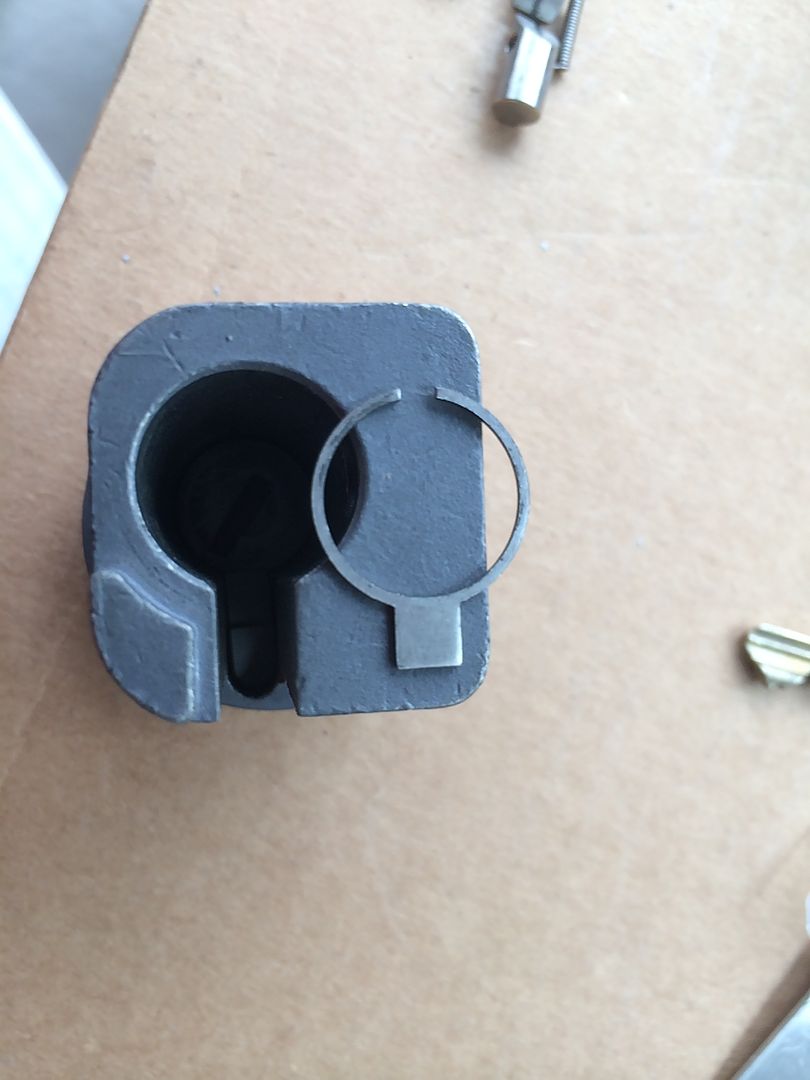
Now put this doohickey in. Its job is to keep the parts you just installed in place.
Here it is in place. It encircles the disc, and fits into the lower stepped position of the doohickey. (Excuse the technical jargon).
Good! Now the parts will stay in place for the next steps.
OK, put the pins with springs back into the plug. The spring will only fit in one way, so that will help you with that part. The two pins are different lengths. You will see that one side of the plug is wider than the other. Longer end goes on that side.
The wedge shaped ramps on the center section between the pins will now line up with where the bearing goes.
OK, now you can put the bearing in.
And push the KIK cylinder back in. It will force the bearing to the side as it goes.
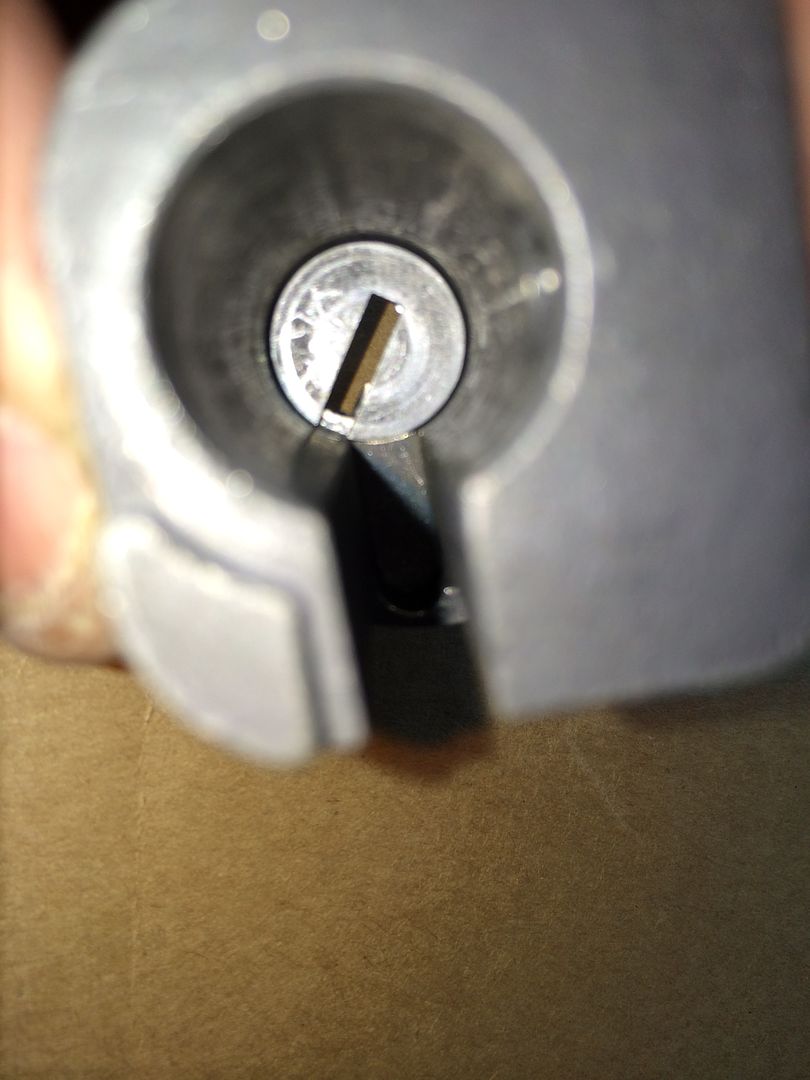
When it sits flush, you will notice that the keyway does not line up with that drill protection disc.
No big deal. Just use the key to turn the drill protection disc until it lines up with the keyway.
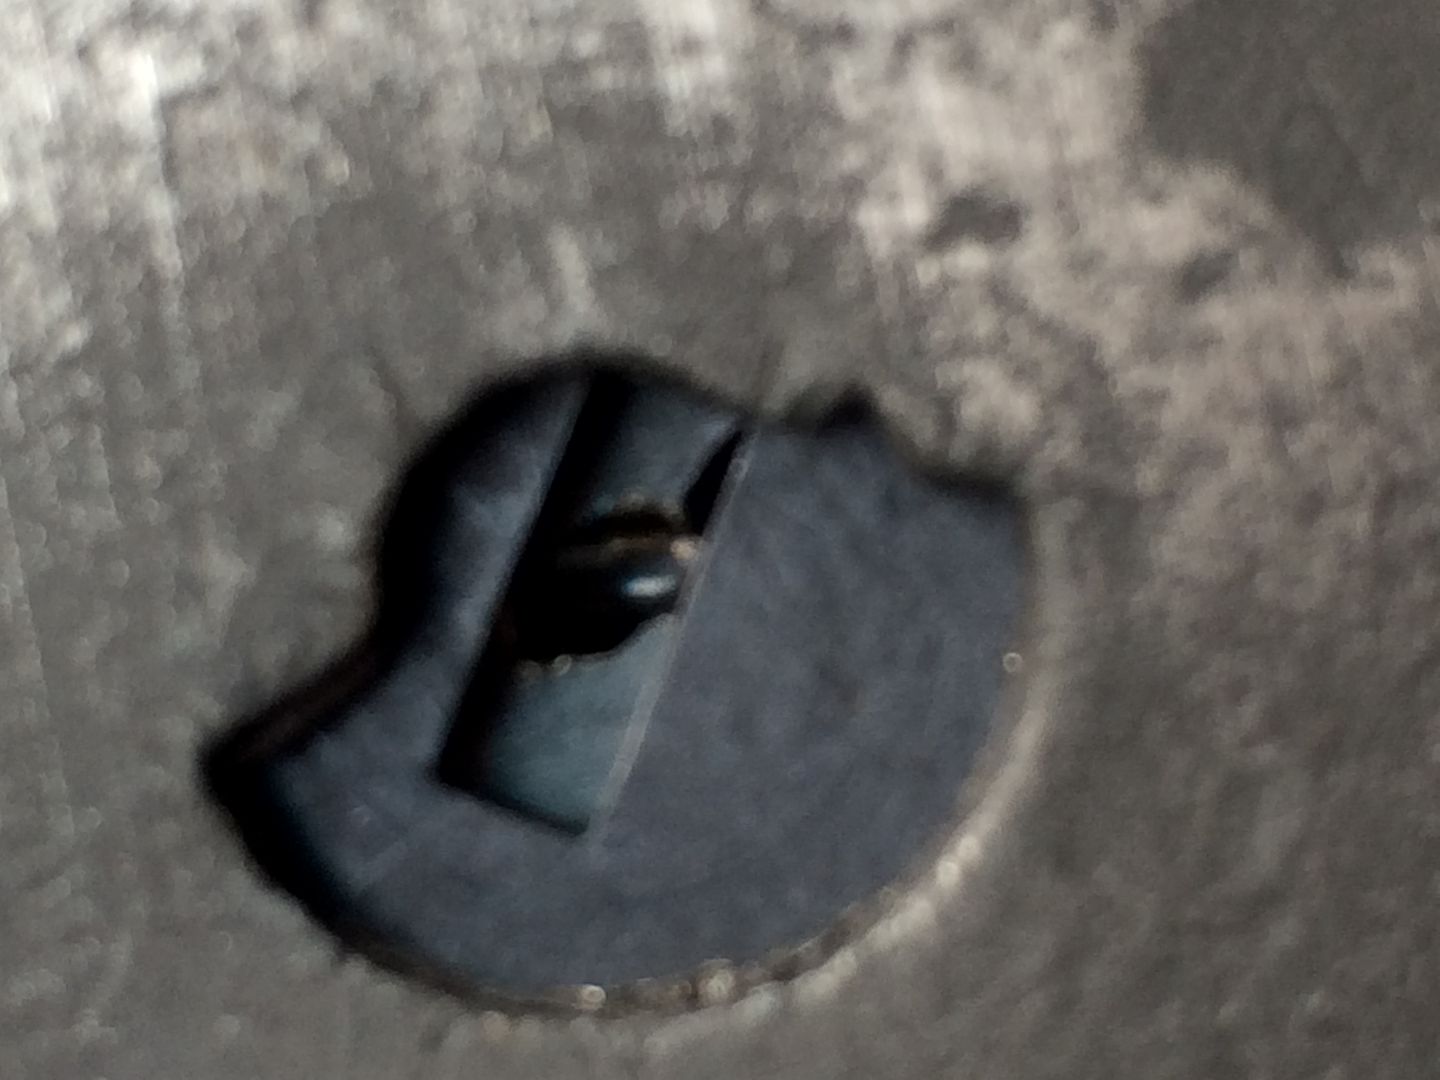
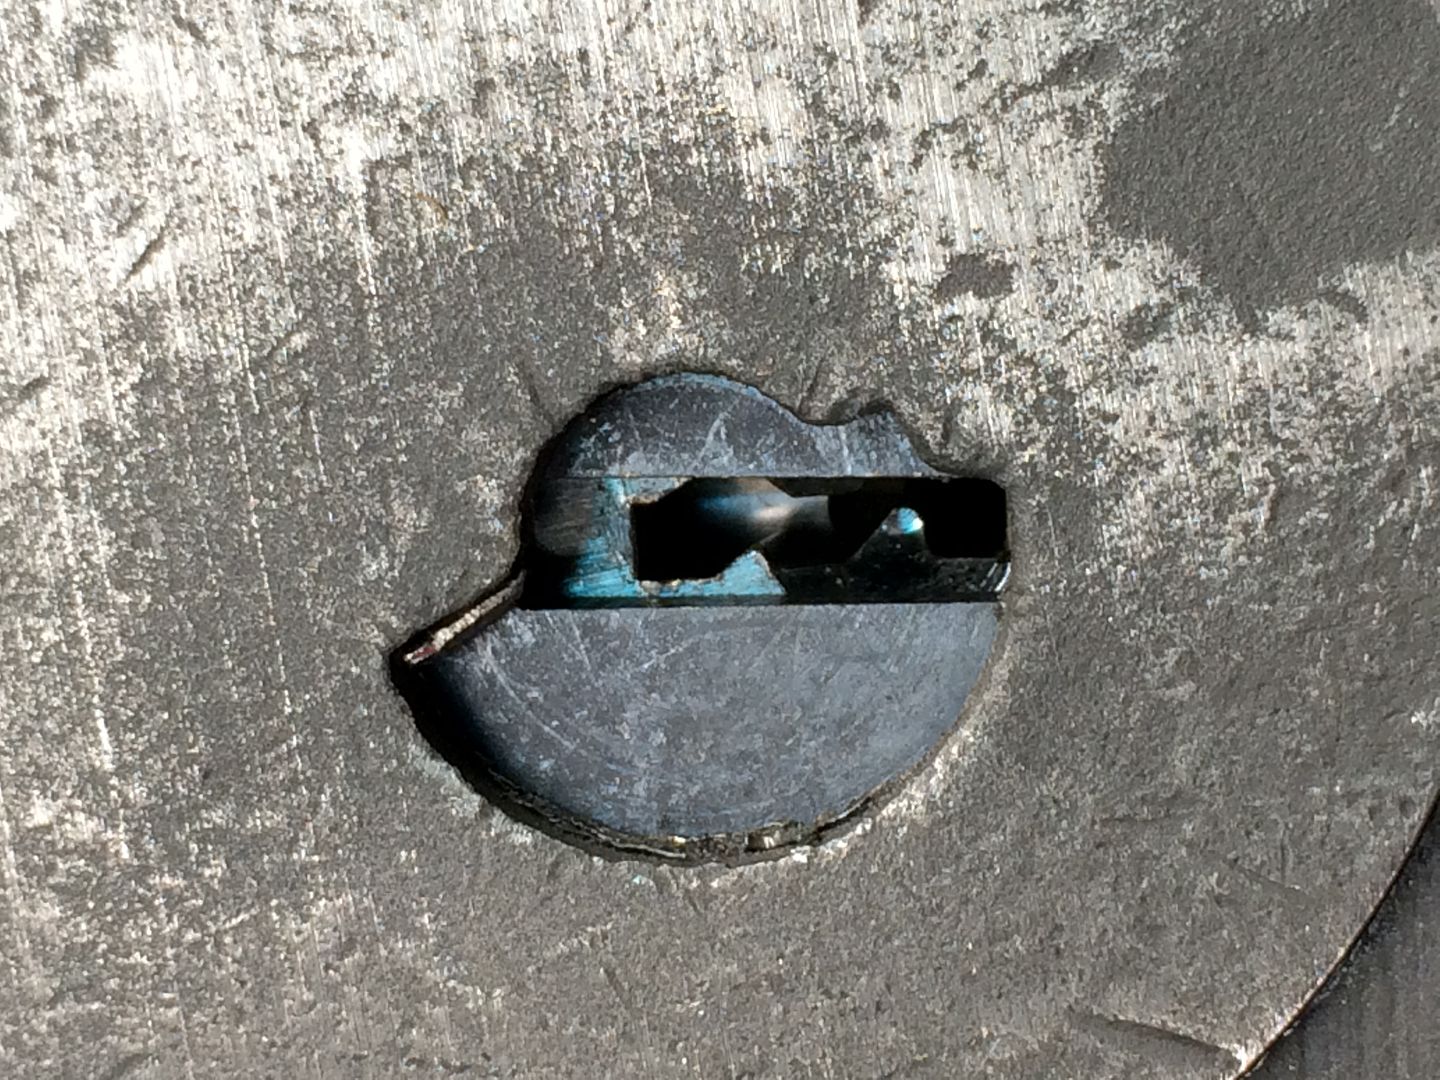
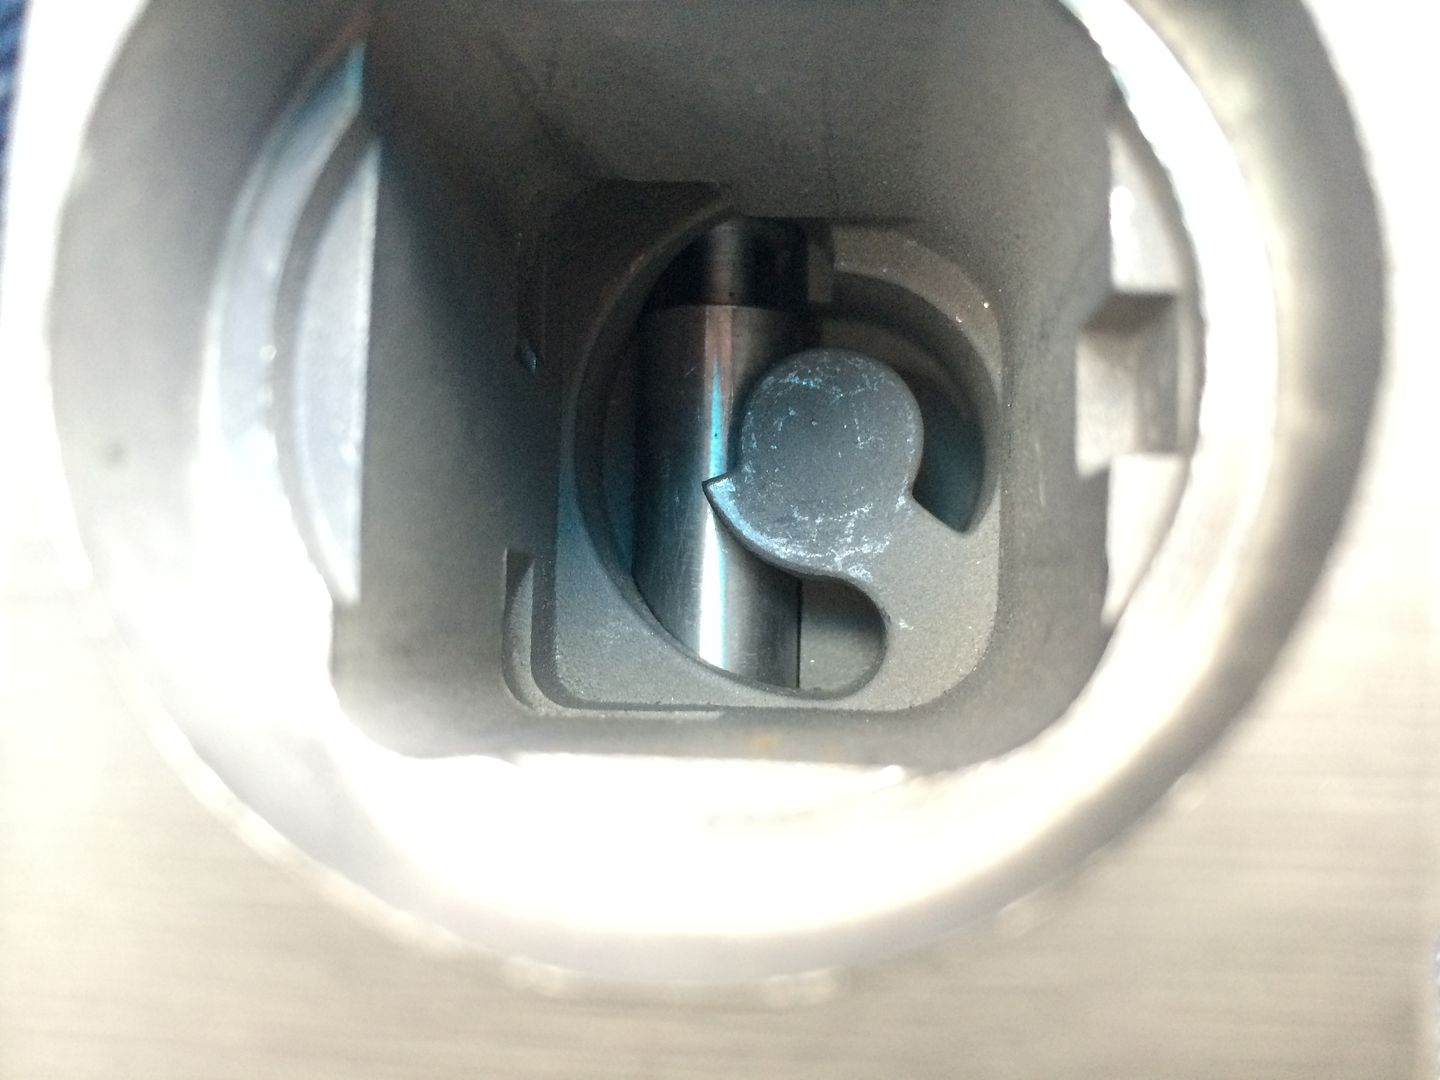
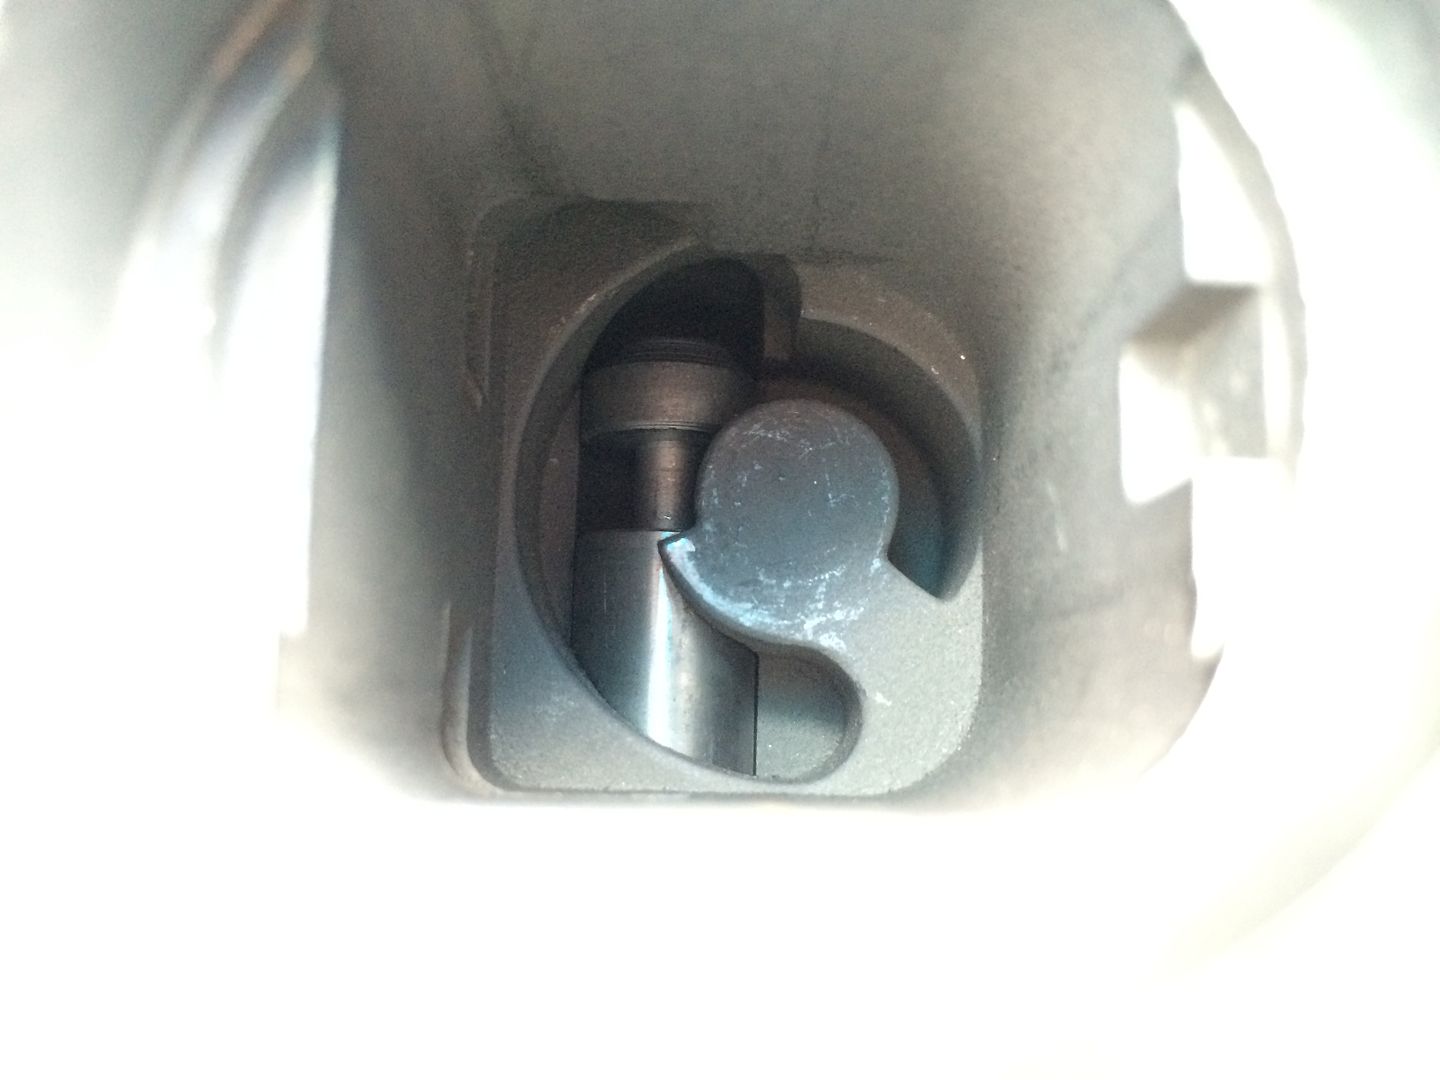
While you are fiddling with the rest of the lock, the shackle flops loosely inside the lock body.
Locked:
Partly moved:
Unlocked:
Tip the lock so the shackle is in the locked position. Install the pawl onto the back of the plug. Hold the lock body with the opening facing down, and the lock plug with the pawl facing up. Slide it in as far as it will go. (ARF-GEF, not you, too!!! ).
Now use the control key. Insert it fully, and turn the key to the control position. The pins should now retract, and the plug can be pushed home.
The key will not want to turn back and be released yet. Keep turning (gently), and slide the shackle slightly towards the unlocked position. After a few millimeters, the key will release, and you can remove the control key. Now try the operational key and see that it works.
Just when you think you've learned it all, that is when you find you haven't learned anything yet.