


![]() Tue Jan 15, 2013 7:43 pm
Tue Jan 15, 2013 7:43 pm
ASSA Twin Combi Gut Shots
My special thanks to Puritanen for trading with me, providing two of these great locks! Created a separate thread due to the number of pictures. Did not want to hijack another thread.
Took apart an ASSA Twin Combi. Took gut-shots to share!
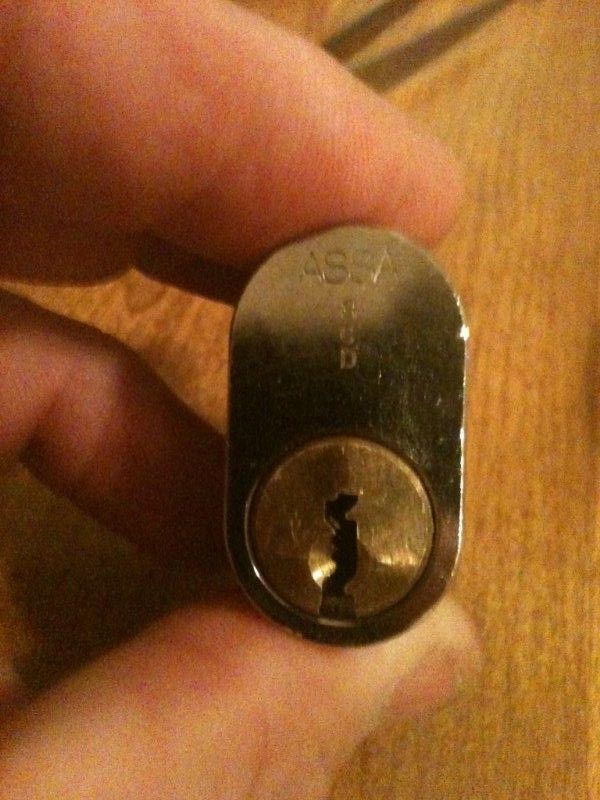
First, the front, top and back of the Scandinavian cylinder:
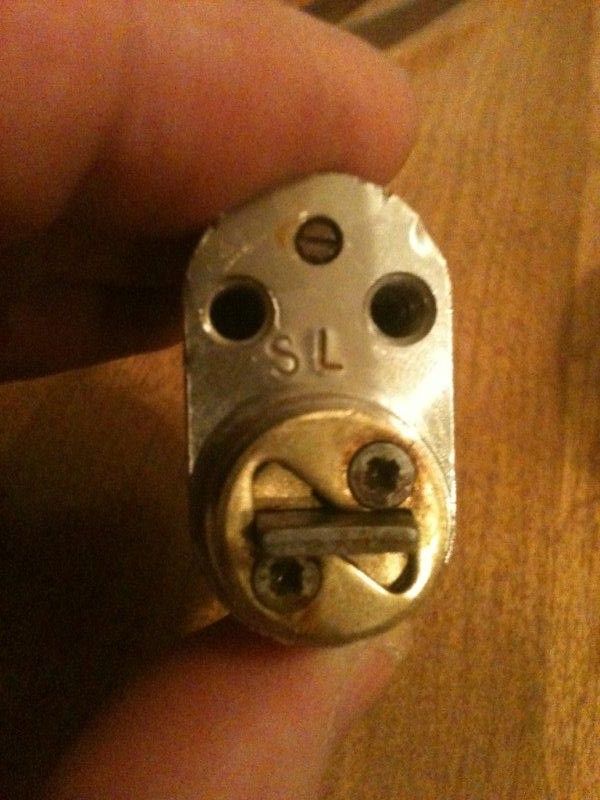
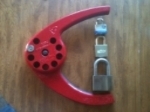
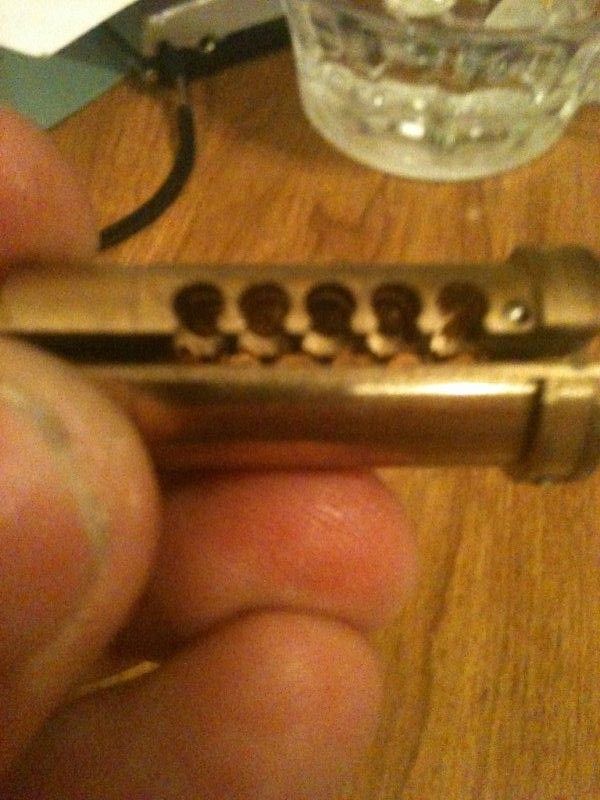
This screw is used instead of caps or screws on the top of the pin stacks, keeping the springs, driver pins and key pins in place! It makes field stripping this lock very easy!
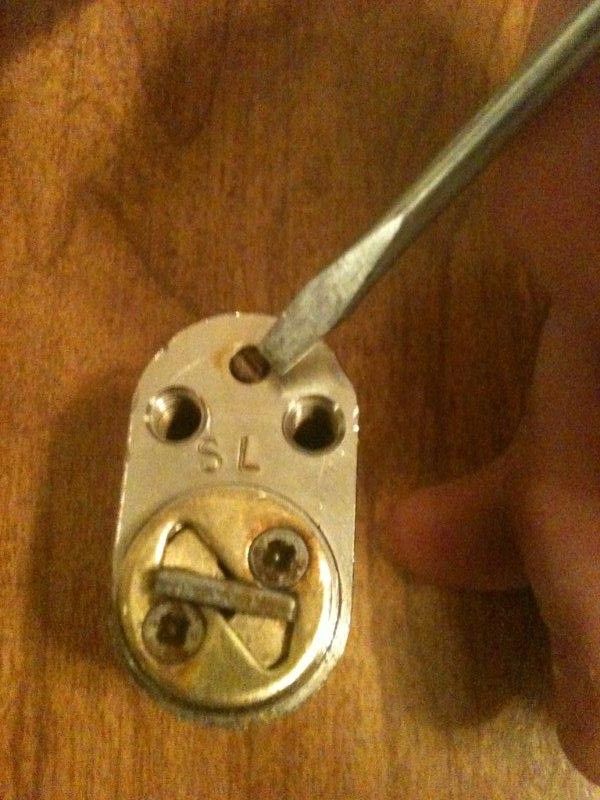
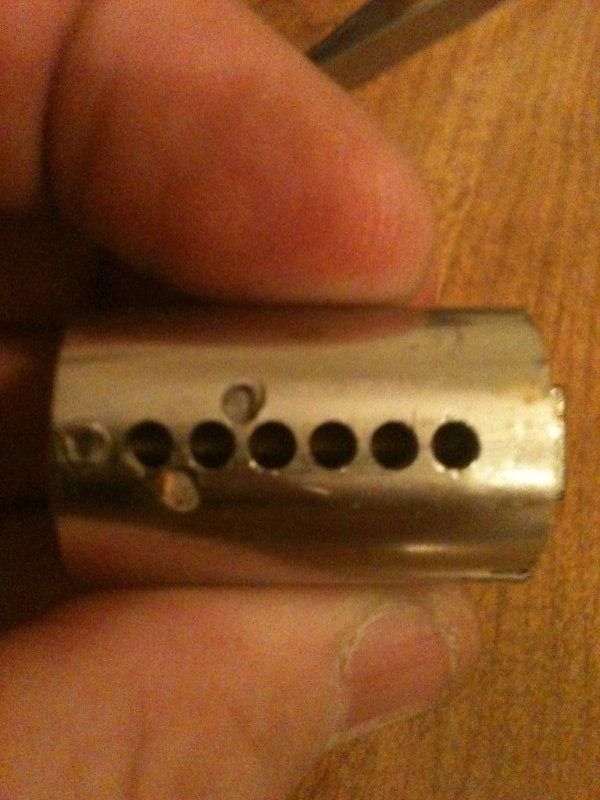
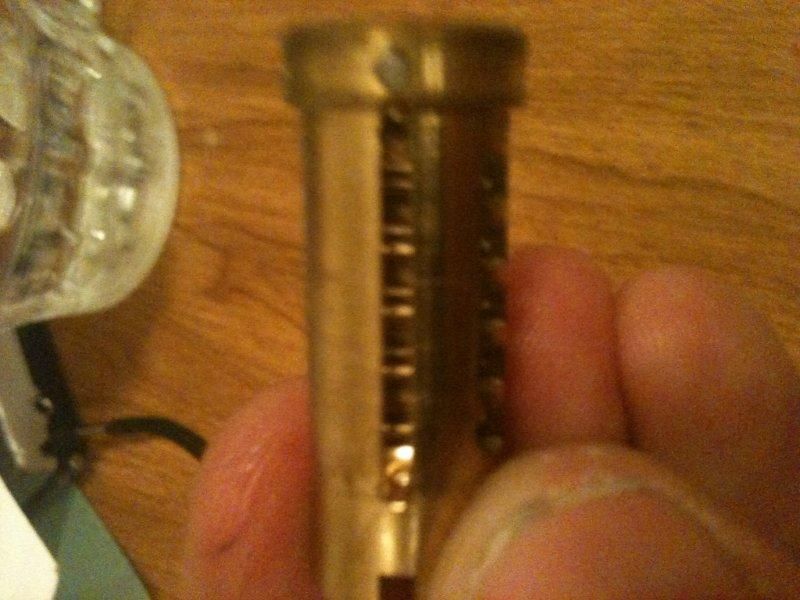
Partly removed, you can see the long stem of the screw blocking only some of the pin channels. The springs did not come flying out when I did this, though I did have to press them down a little to get the pin in when reassembling.
EDIT: When removing the plug, be sure the finger pins do not launch across the room. And be carefull of the sidebar springs, as they are tiny! End edit.
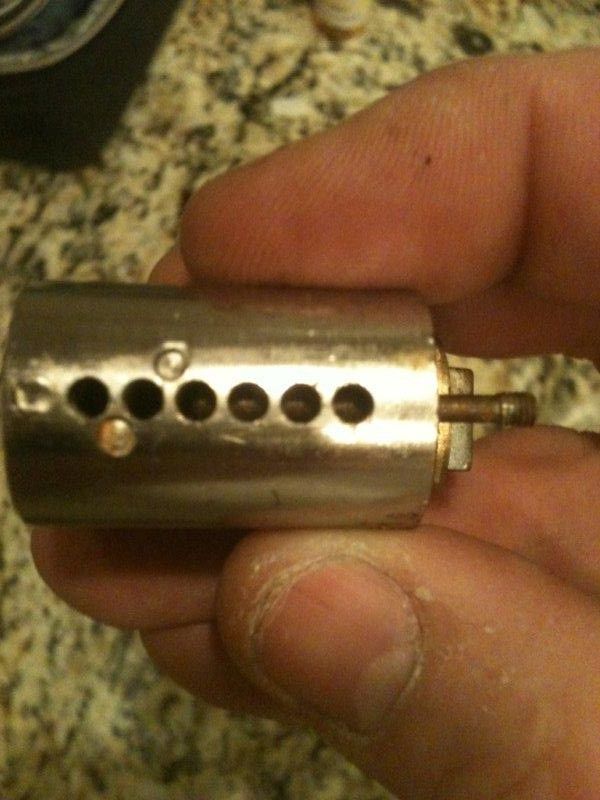
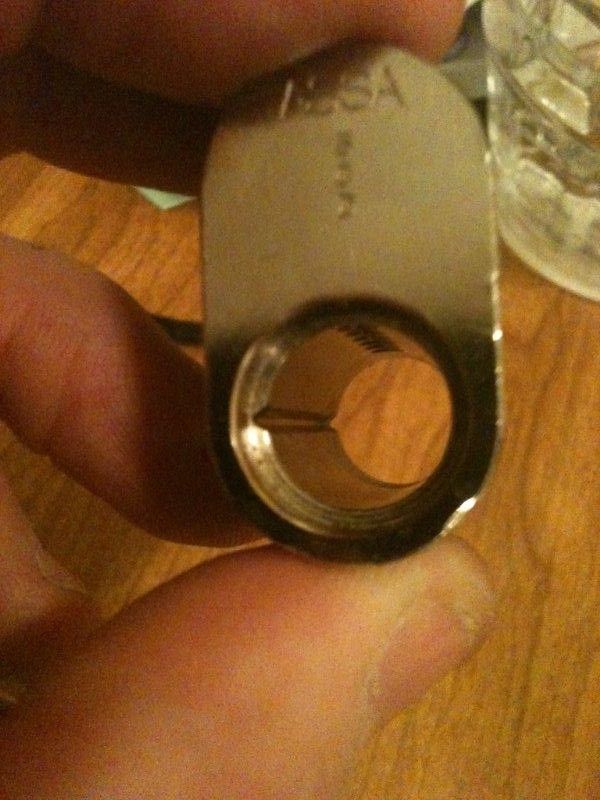
The top of the plug. You can see a couple of anti-drill pins, and another groove that looks like it is for a trap pin, but the cylinder is not drilled for one. Who knows? Note the countermilling in all but one pin channel.
The bottom of the plug. The holes are for the finger pins, which control the sidebar.
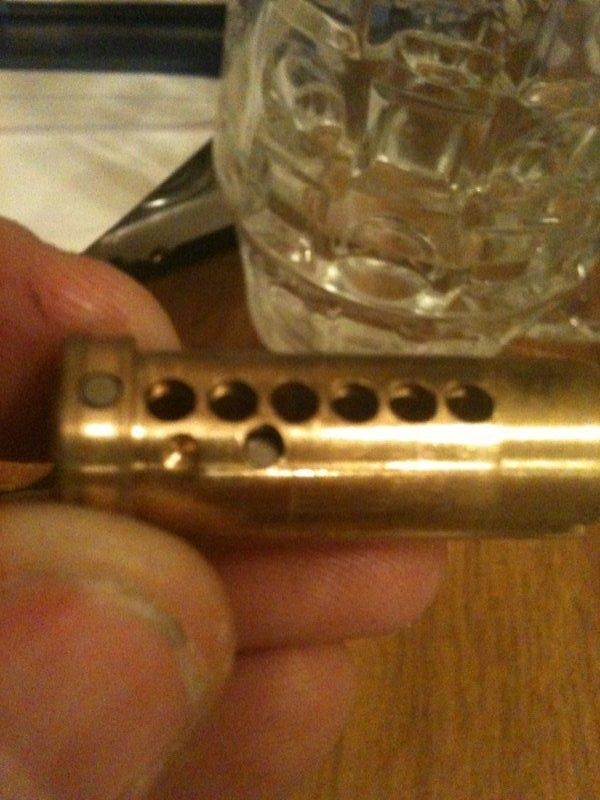
The side of the plug, where the sidebar fits.
Inside the shell:
All the guts. Note the long rod/screw on the left side. That is the screw/rod that retains the springs and pins.

Everybody’s favorites, the pins:
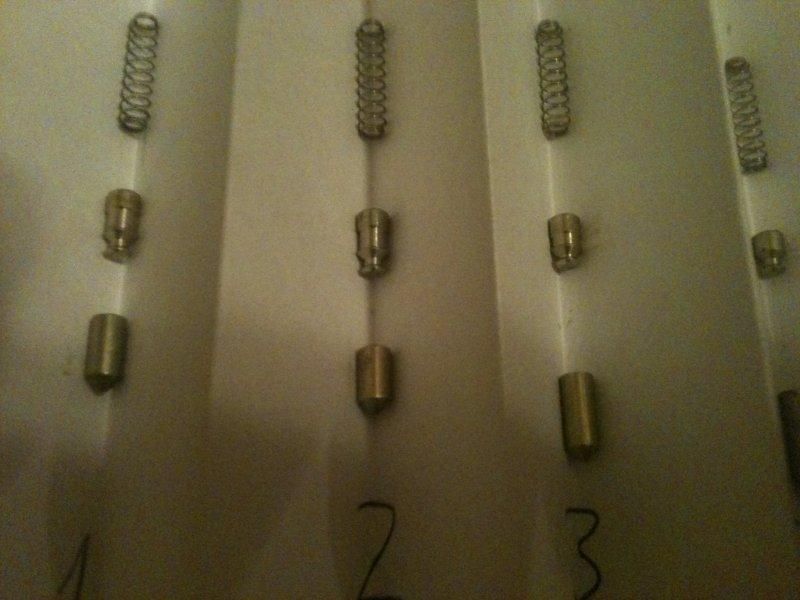
Don’t you just love those drivers?
The finger pins:
And from the top of the finger pins. You can see the holes for the springs:
Sidebar, sidebar springs, plug retainer and cam:

FIN!
Gordon
Took apart an ASSA Twin Combi. Took gut-shots to share!
First, the front, top and back of the Scandinavian cylinder:
This screw is used instead of caps or screws on the top of the pin stacks, keeping the springs, driver pins and key pins in place! It makes field stripping this lock very easy!
Partly removed, you can see the long stem of the screw blocking only some of the pin channels. The springs did not come flying out when I did this, though I did have to press them down a little to get the pin in when reassembling.
EDIT: When removing the plug, be sure the finger pins do not launch across the room. And be carefull of the sidebar springs, as they are tiny! End edit.
The top of the plug. You can see a couple of anti-drill pins, and another groove that looks like it is for a trap pin, but the cylinder is not drilled for one. Who knows? Note the countermilling in all but one pin channel.
The bottom of the plug. The holes are for the finger pins, which control the sidebar.
The side of the plug, where the sidebar fits.
Inside the shell:
All the guts. Note the long rod/screw on the left side. That is the screw/rod that retains the springs and pins.
Everybody’s favorites, the pins:
Don’t you just love those drivers?
The finger pins:
And from the top of the finger pins. You can see the holes for the springs:
Sidebar, sidebar springs, plug retainer and cam:
FIN!
Gordon
Last edited by GWiens2001 on Tue Jan 15, 2013 7:57 pm, edited 2 times in total.
Just when you think you've learned it all, that is when you find you haven't learned anything yet.