


![]() Sat Jan 18, 2014 10:11 pm
Sat Jan 18, 2014 10:11 pm
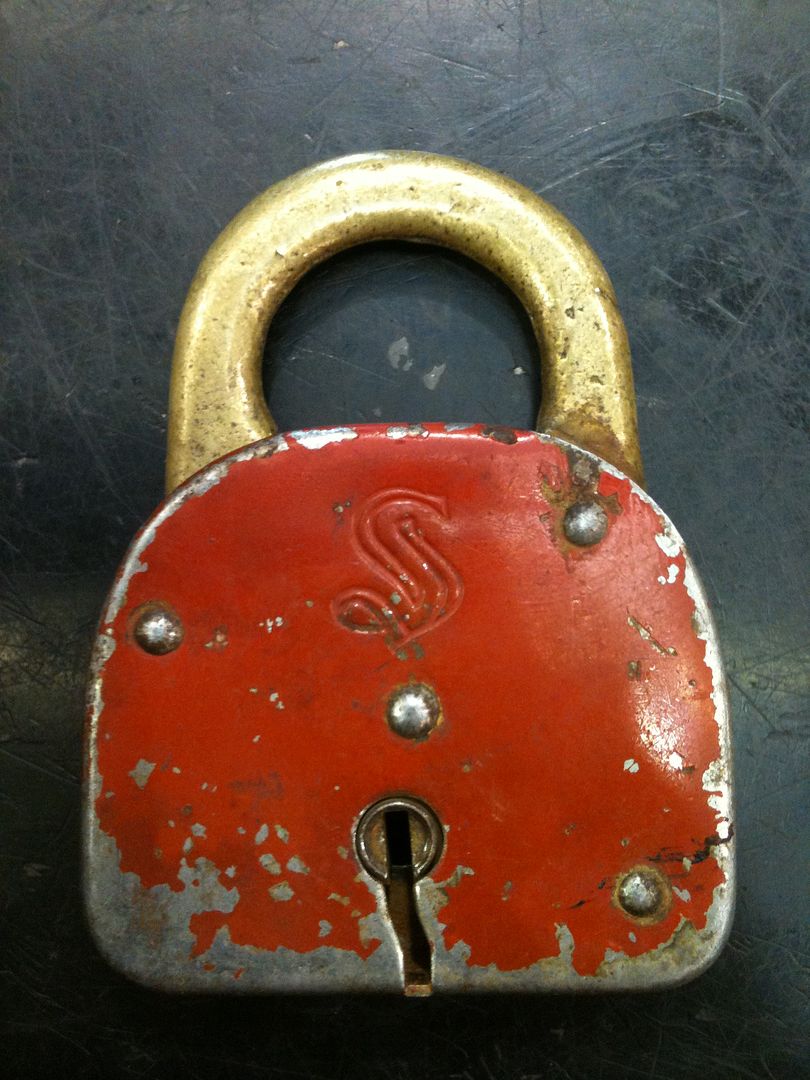
Key made for Slaymaker lever padlock
Slaymaker Lever Padlock Key Made
Received this lock with a bunch of others free. No keys, and they were going to throw them out. Who would want a dozen old locks with no keys? I mean aside from me?
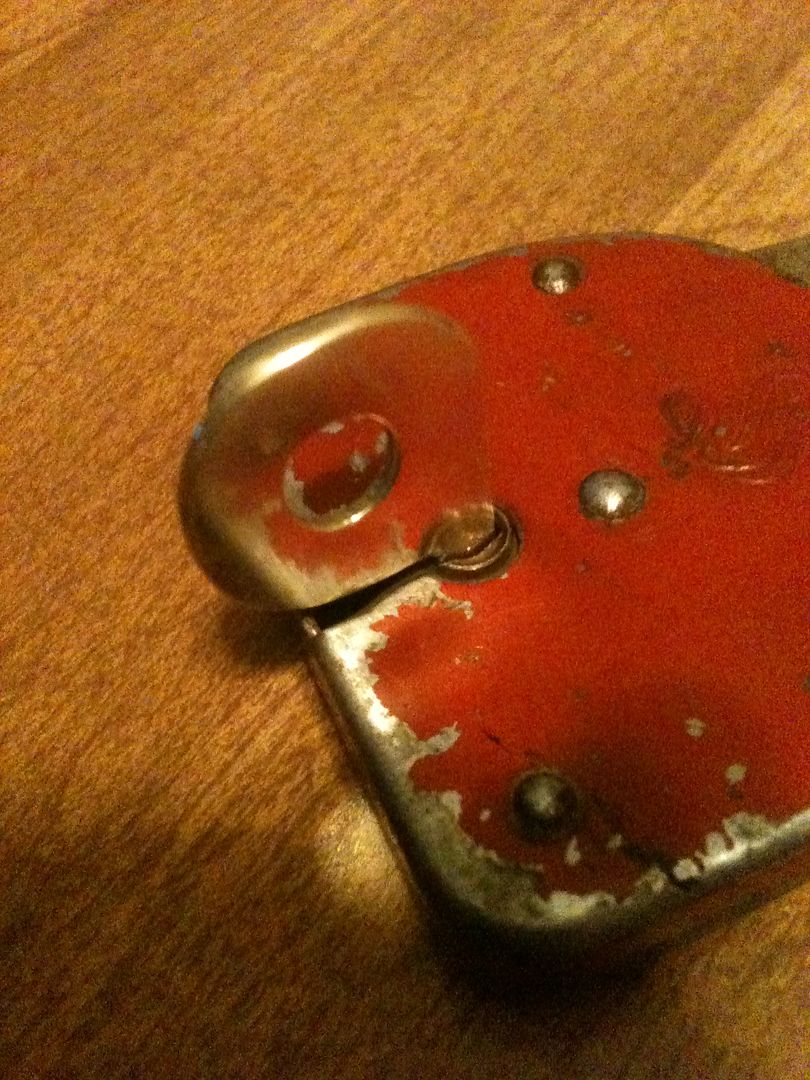
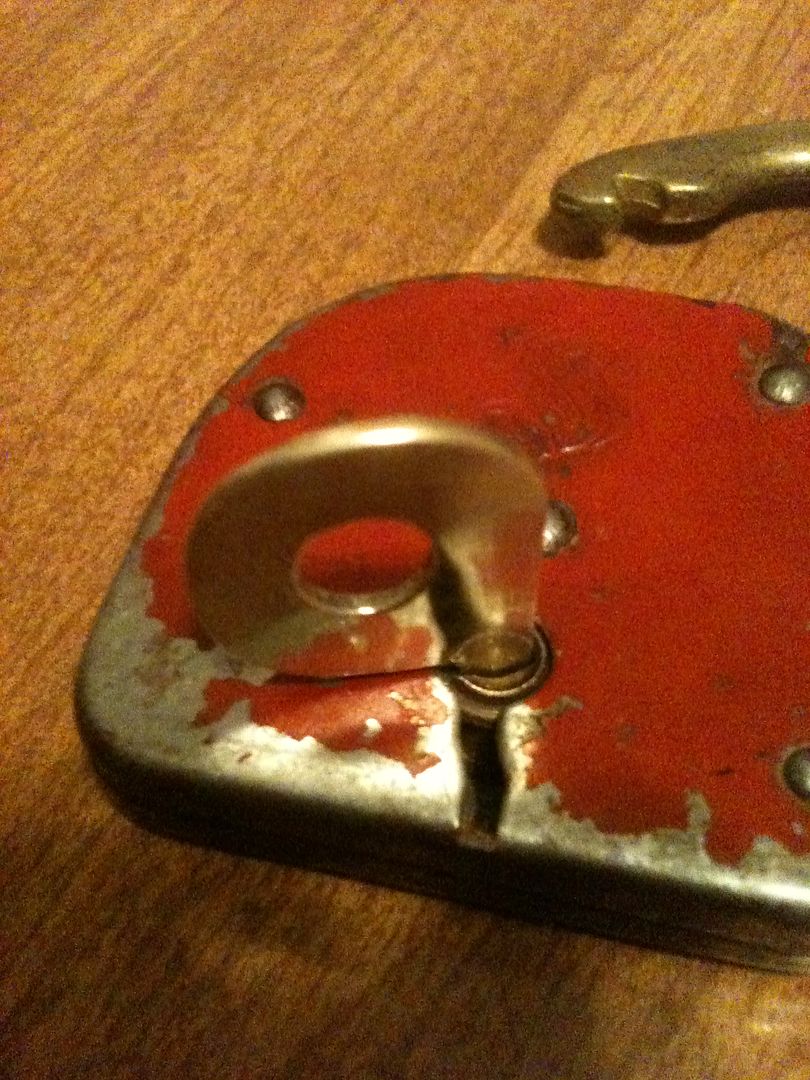
When I got it, the plug would not turn.
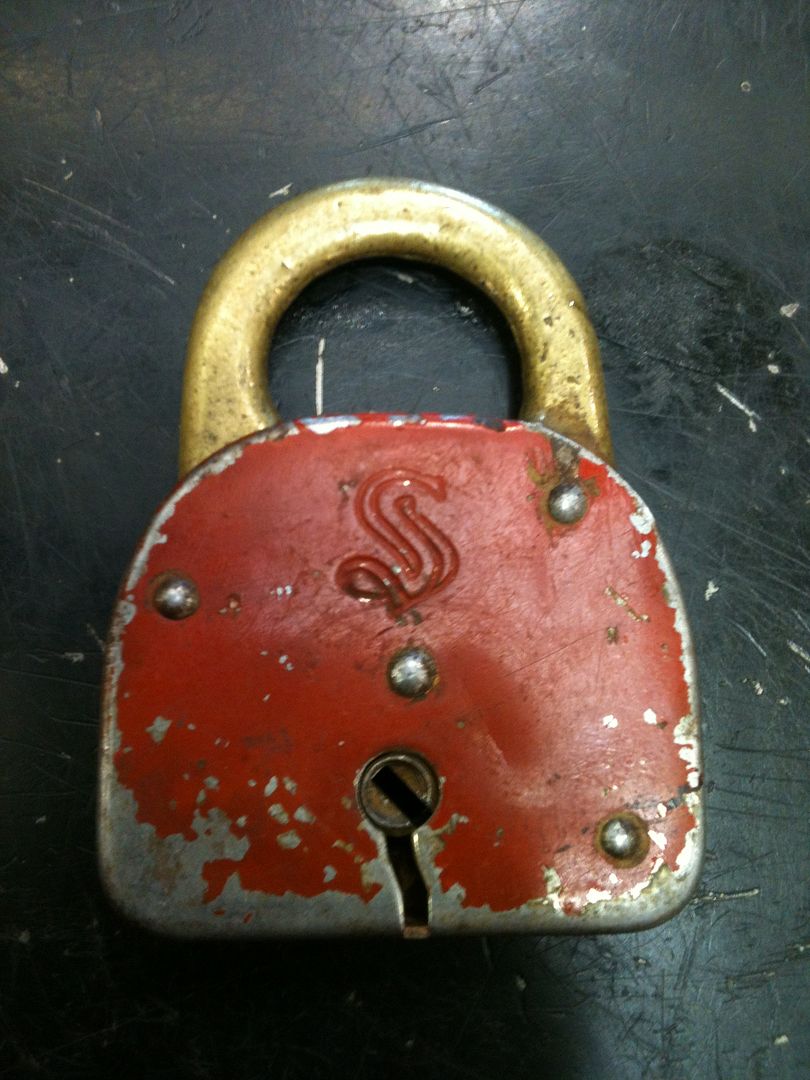
Turned it over, and saw there was glue.

Used a dental pick to carefully remove the glue as best I could, then a tension wrench to get the plug turning easily.
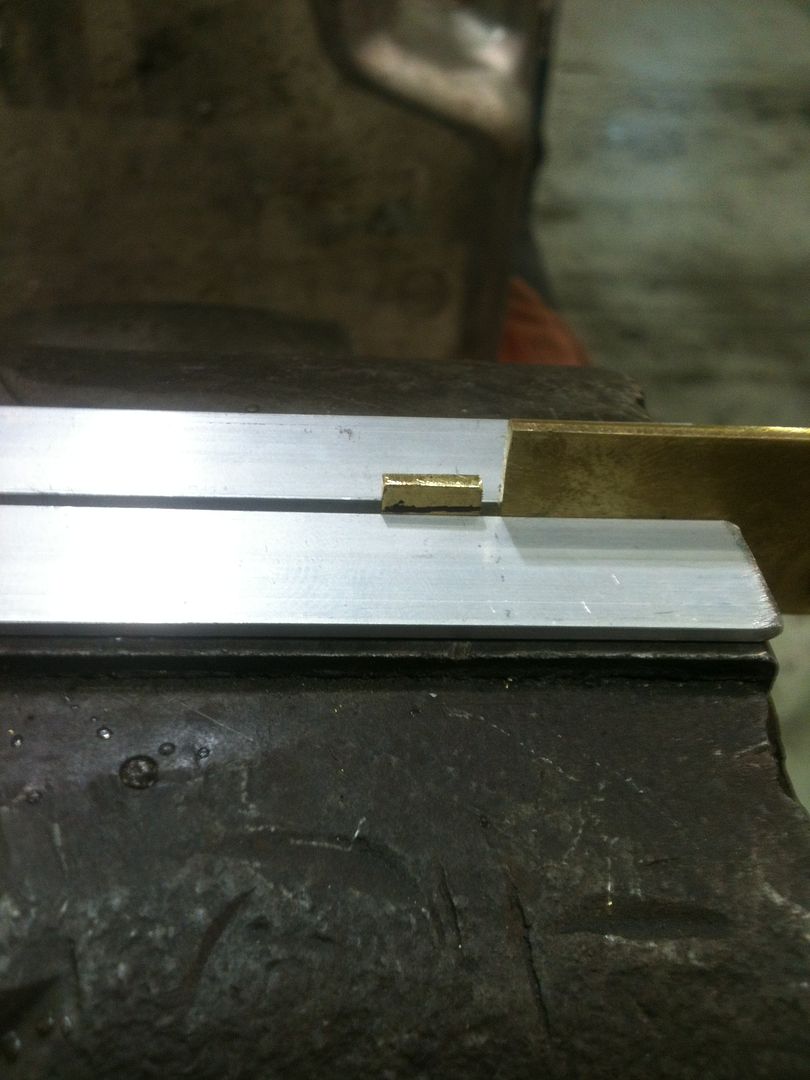
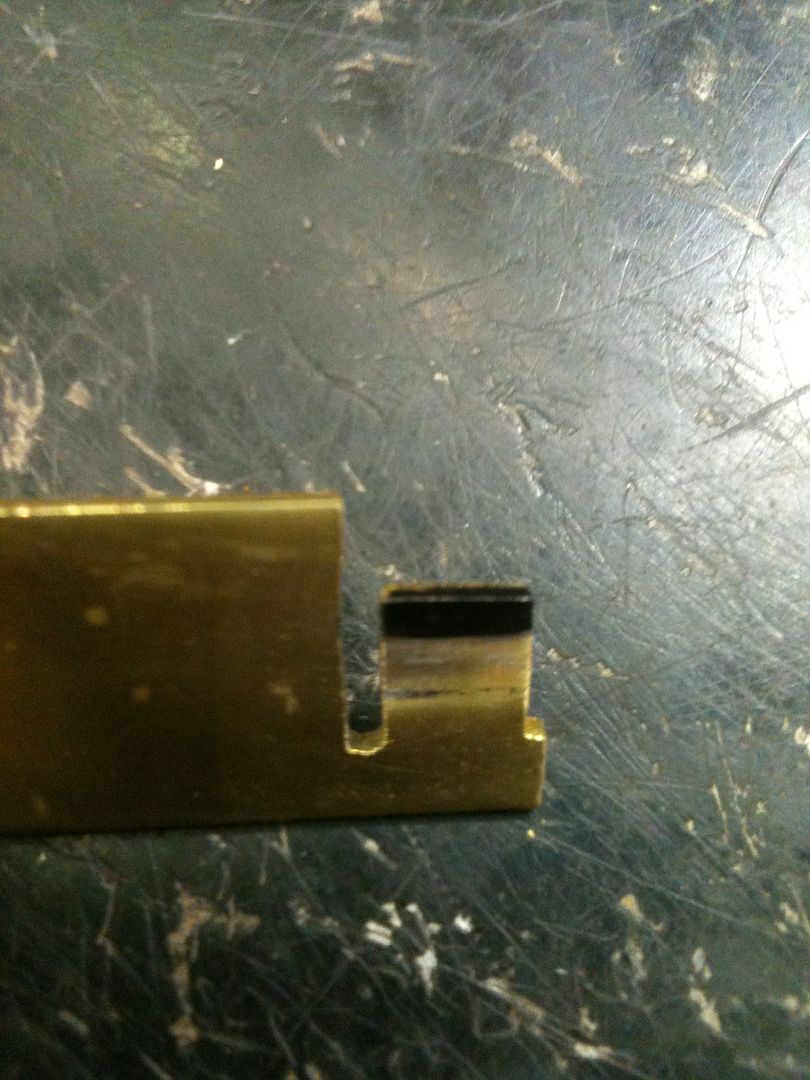
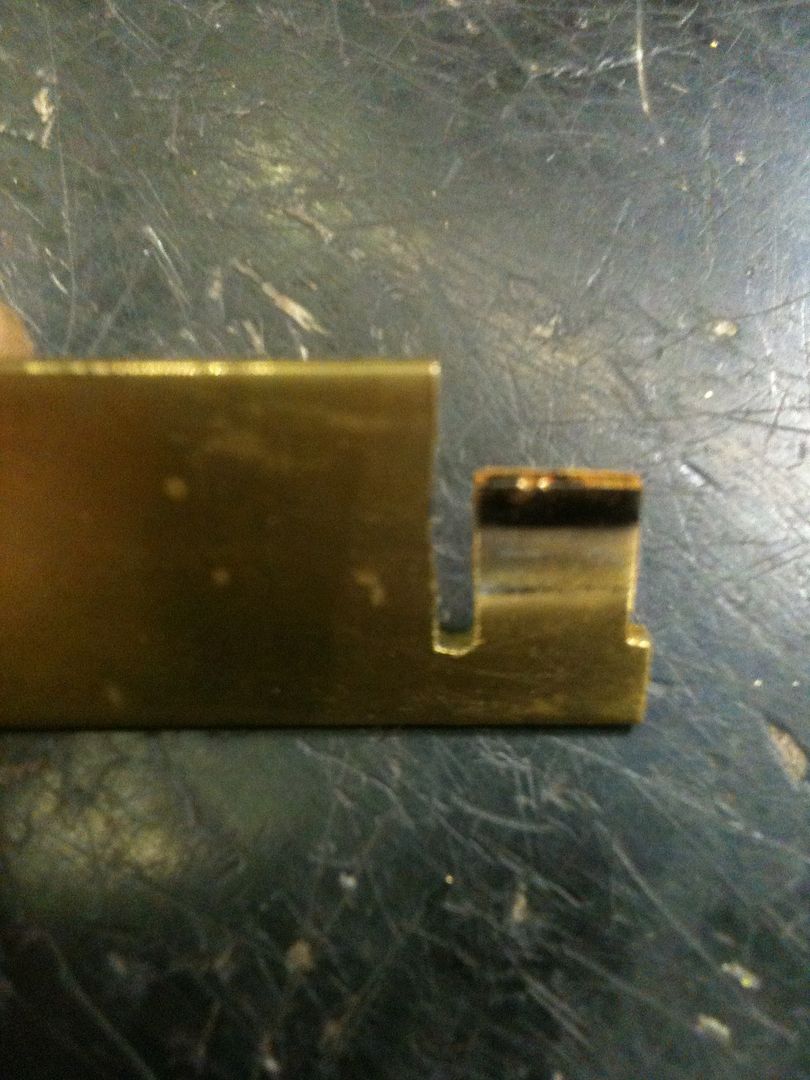
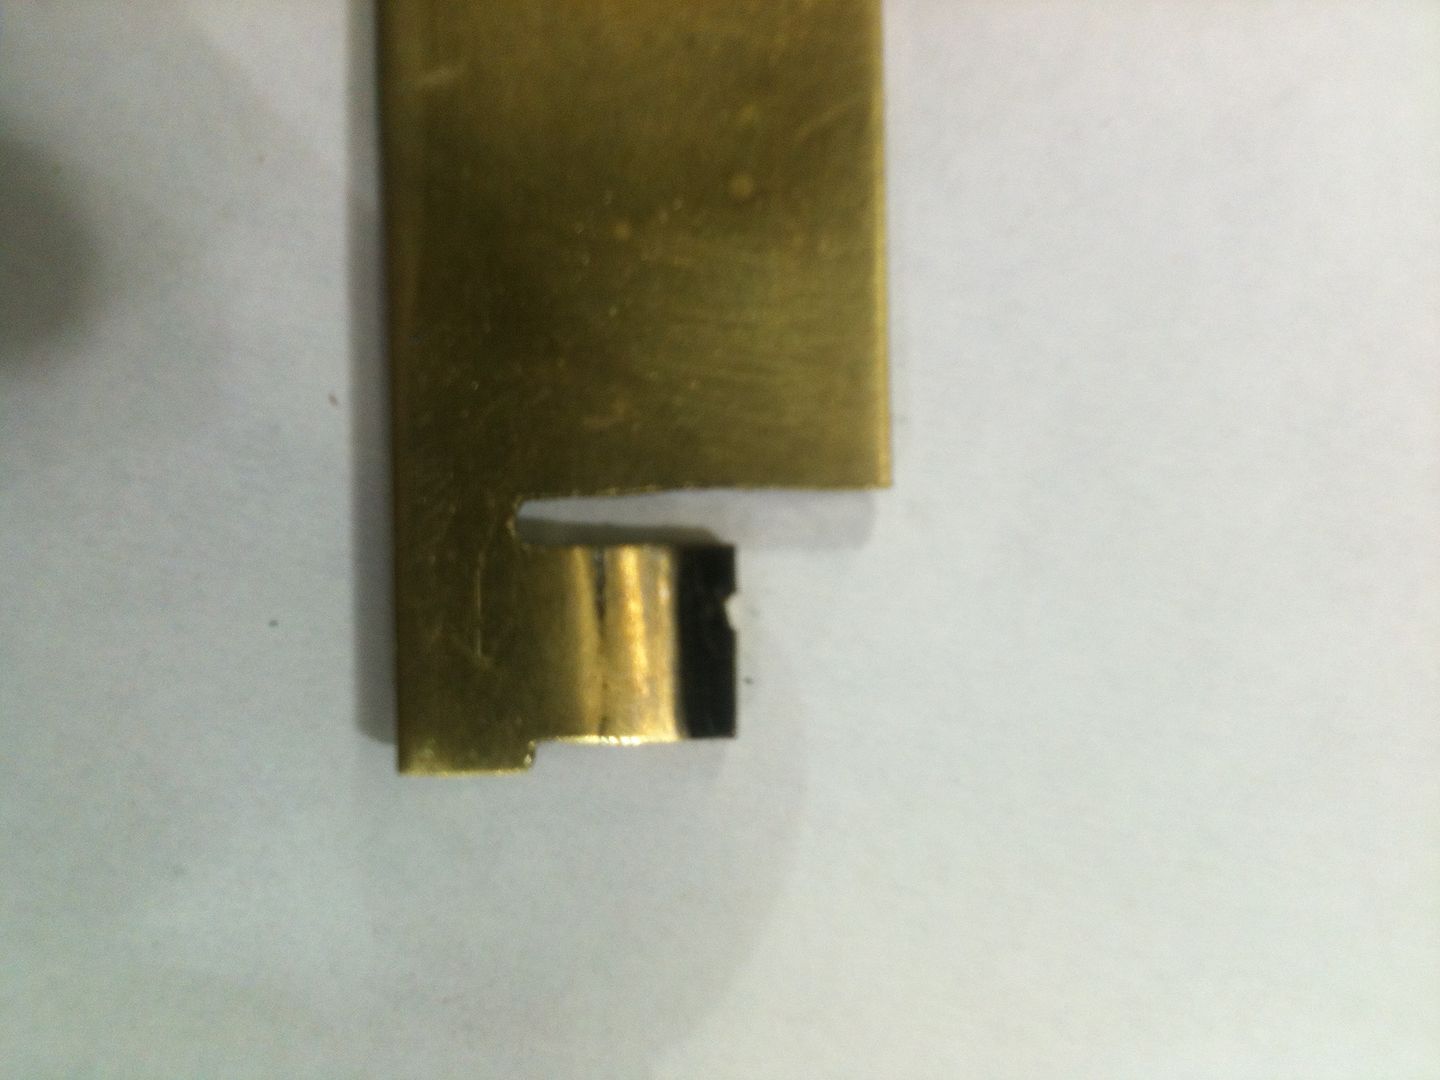
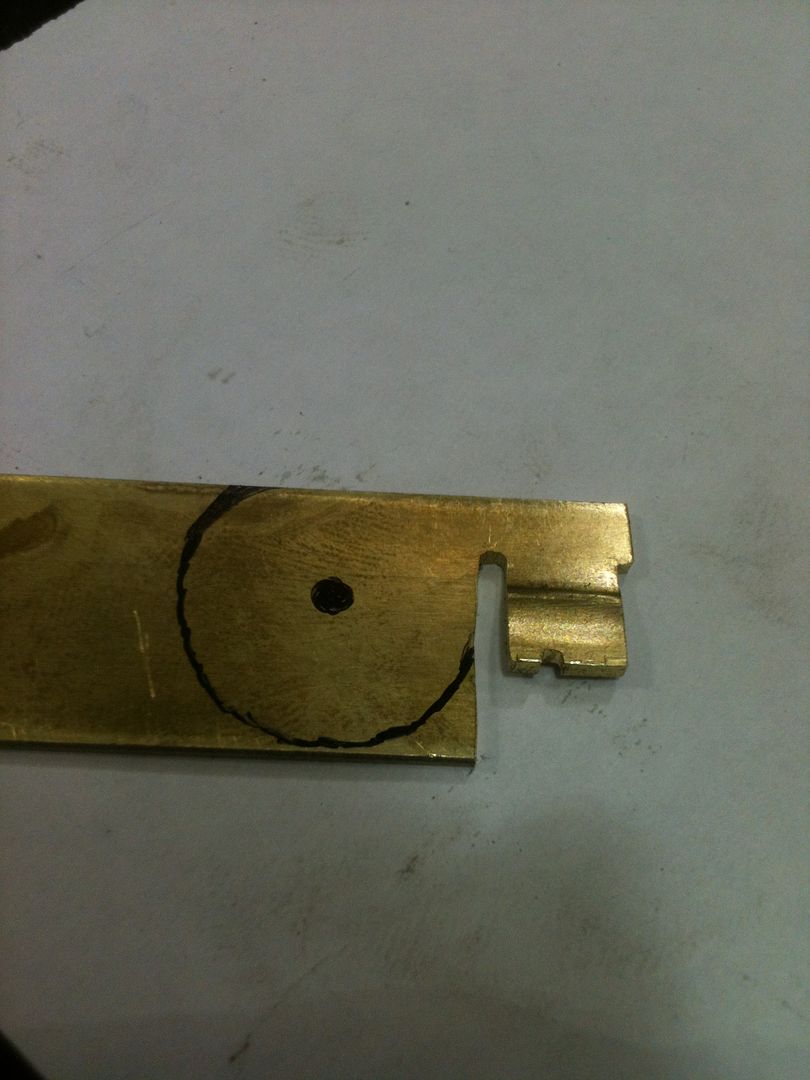
Cut some brass stock of the proper width so there would be a tab a the tip to keep the key aligned.
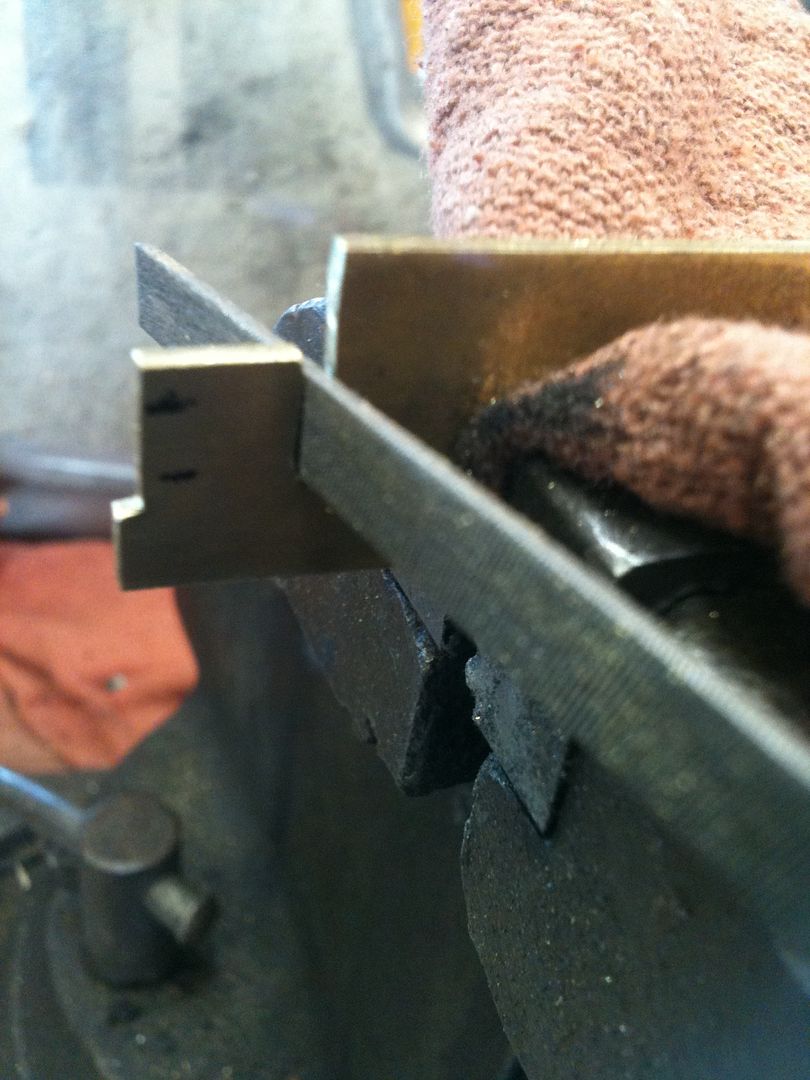
Marked the brass where it needed to be bent...
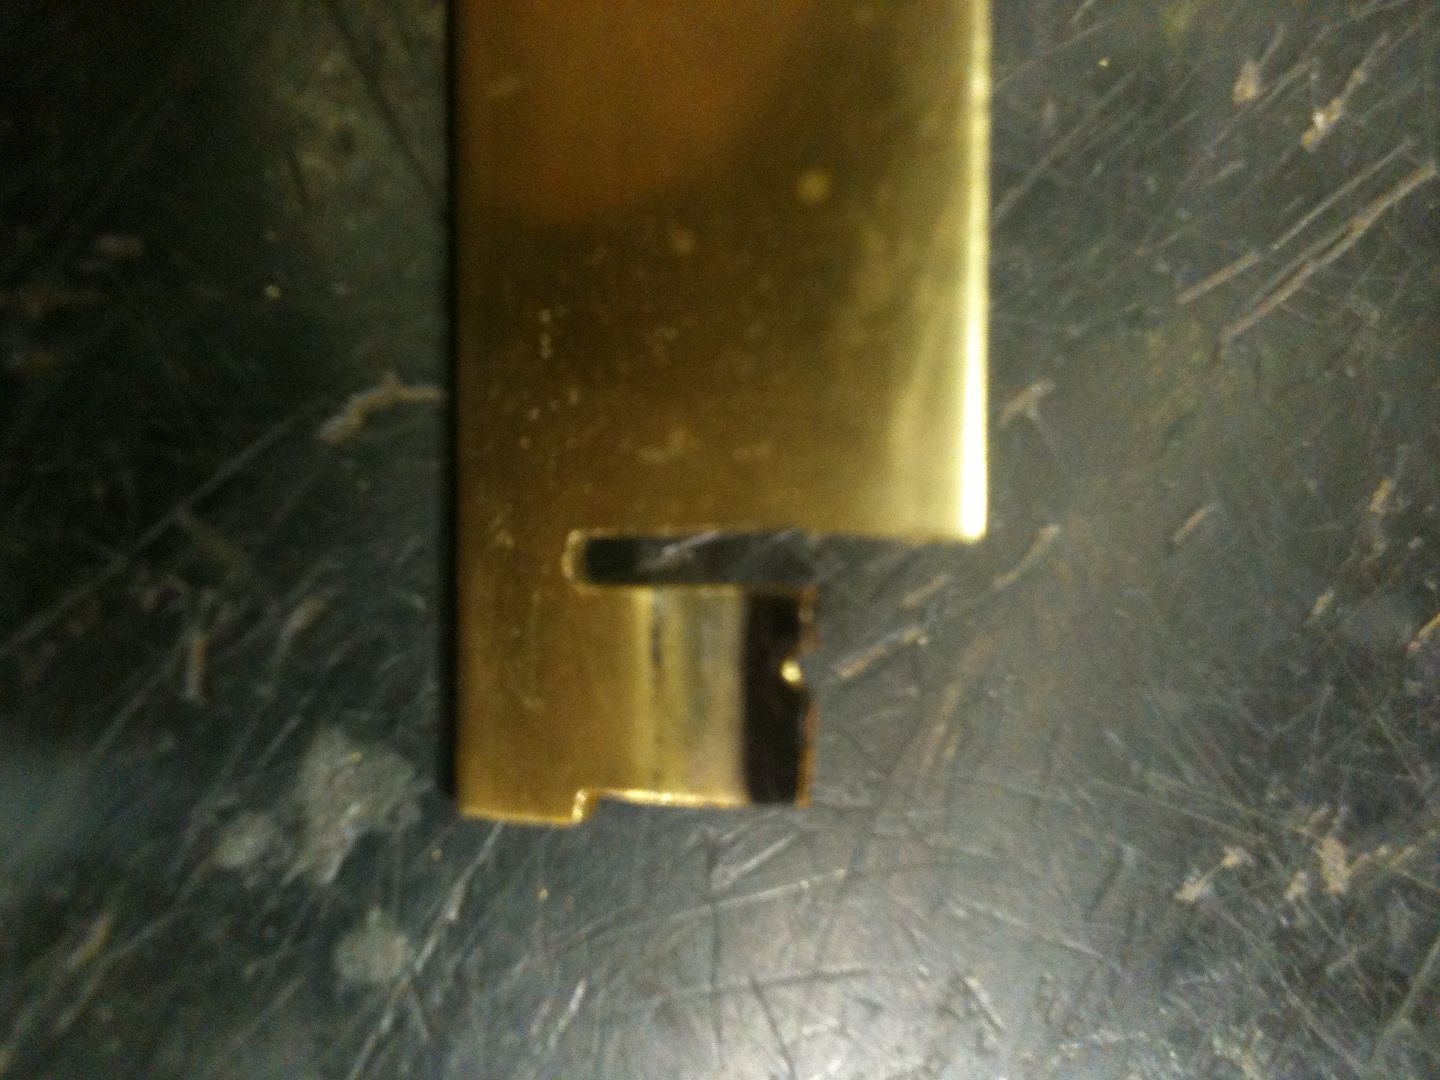
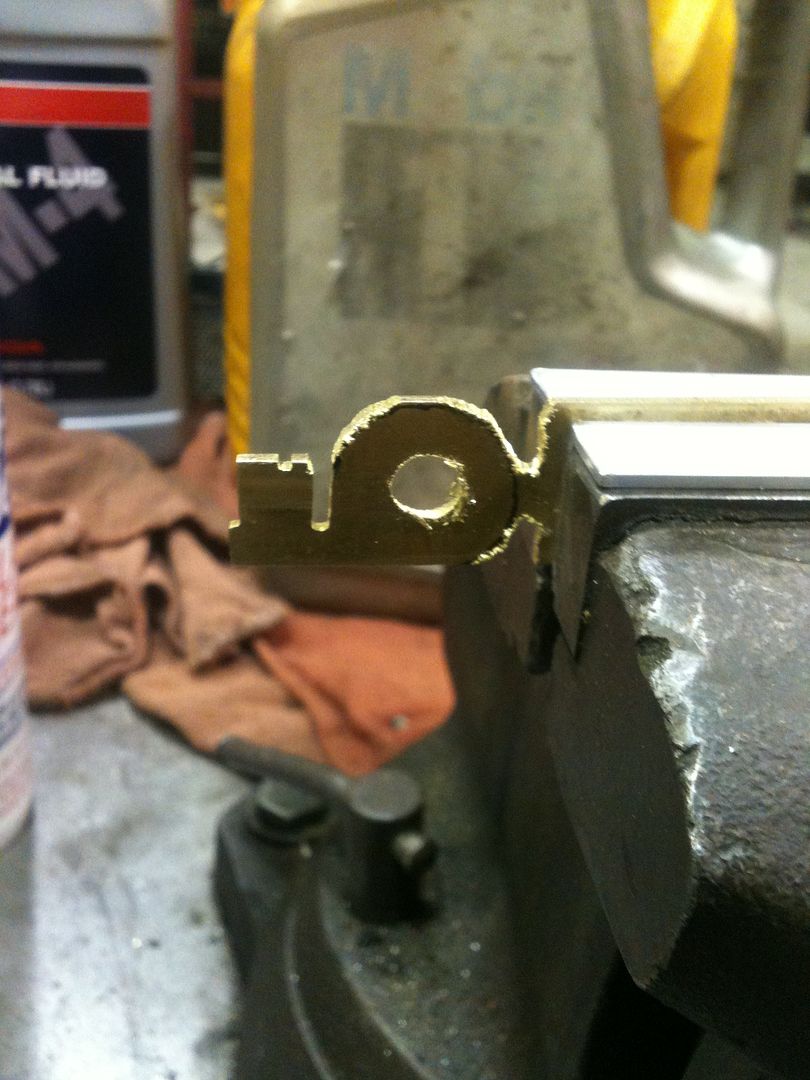
Then used a vice, a large punch and a small hammer to make the needed bends.
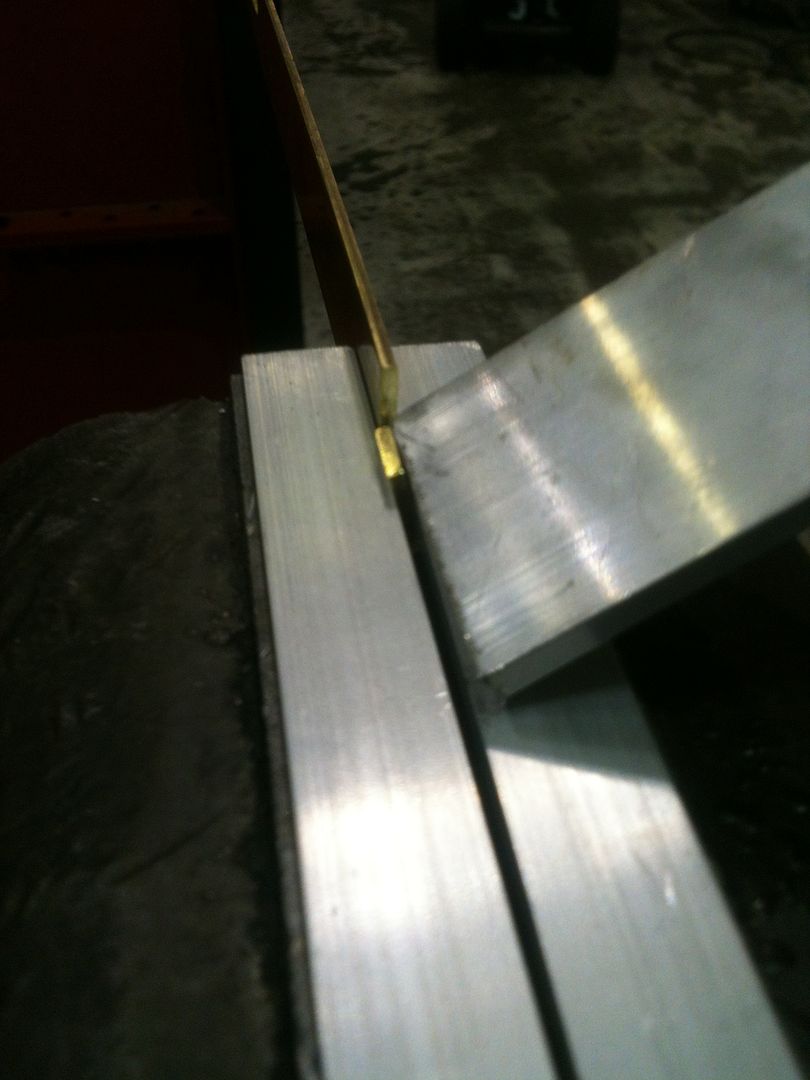
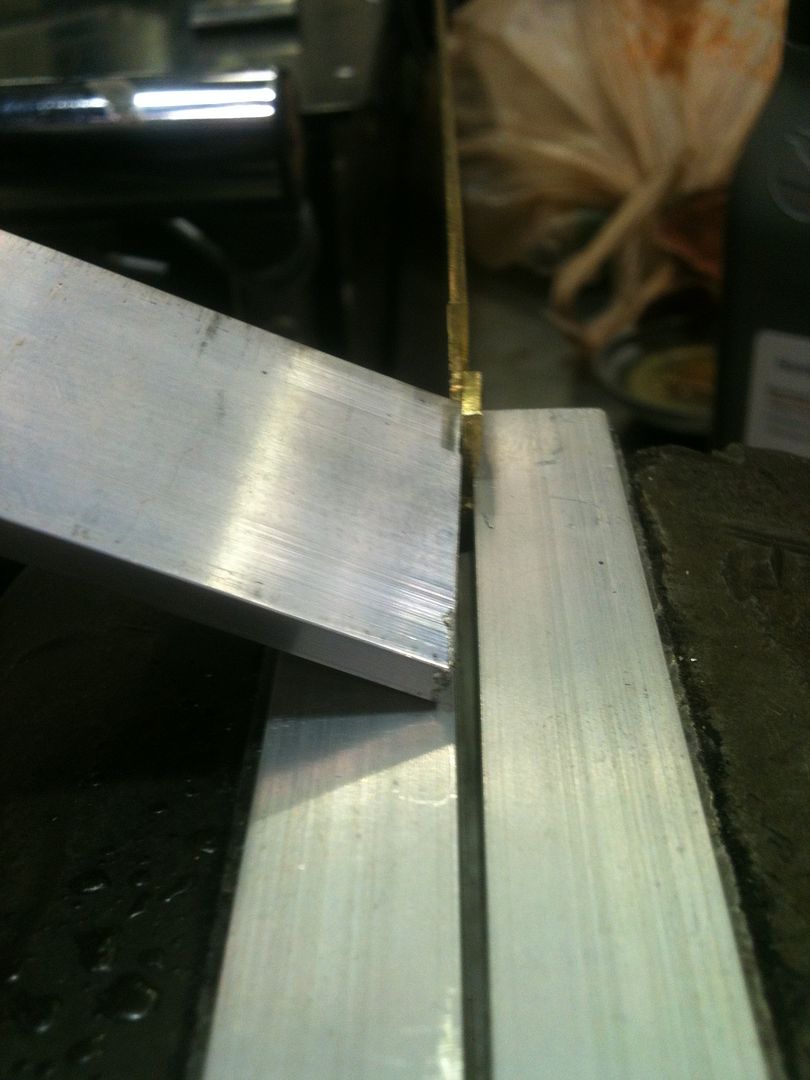
Test fit, and correct the angles until the key blank fits into the keyway smoothly.
OK, the key turns in the lock!
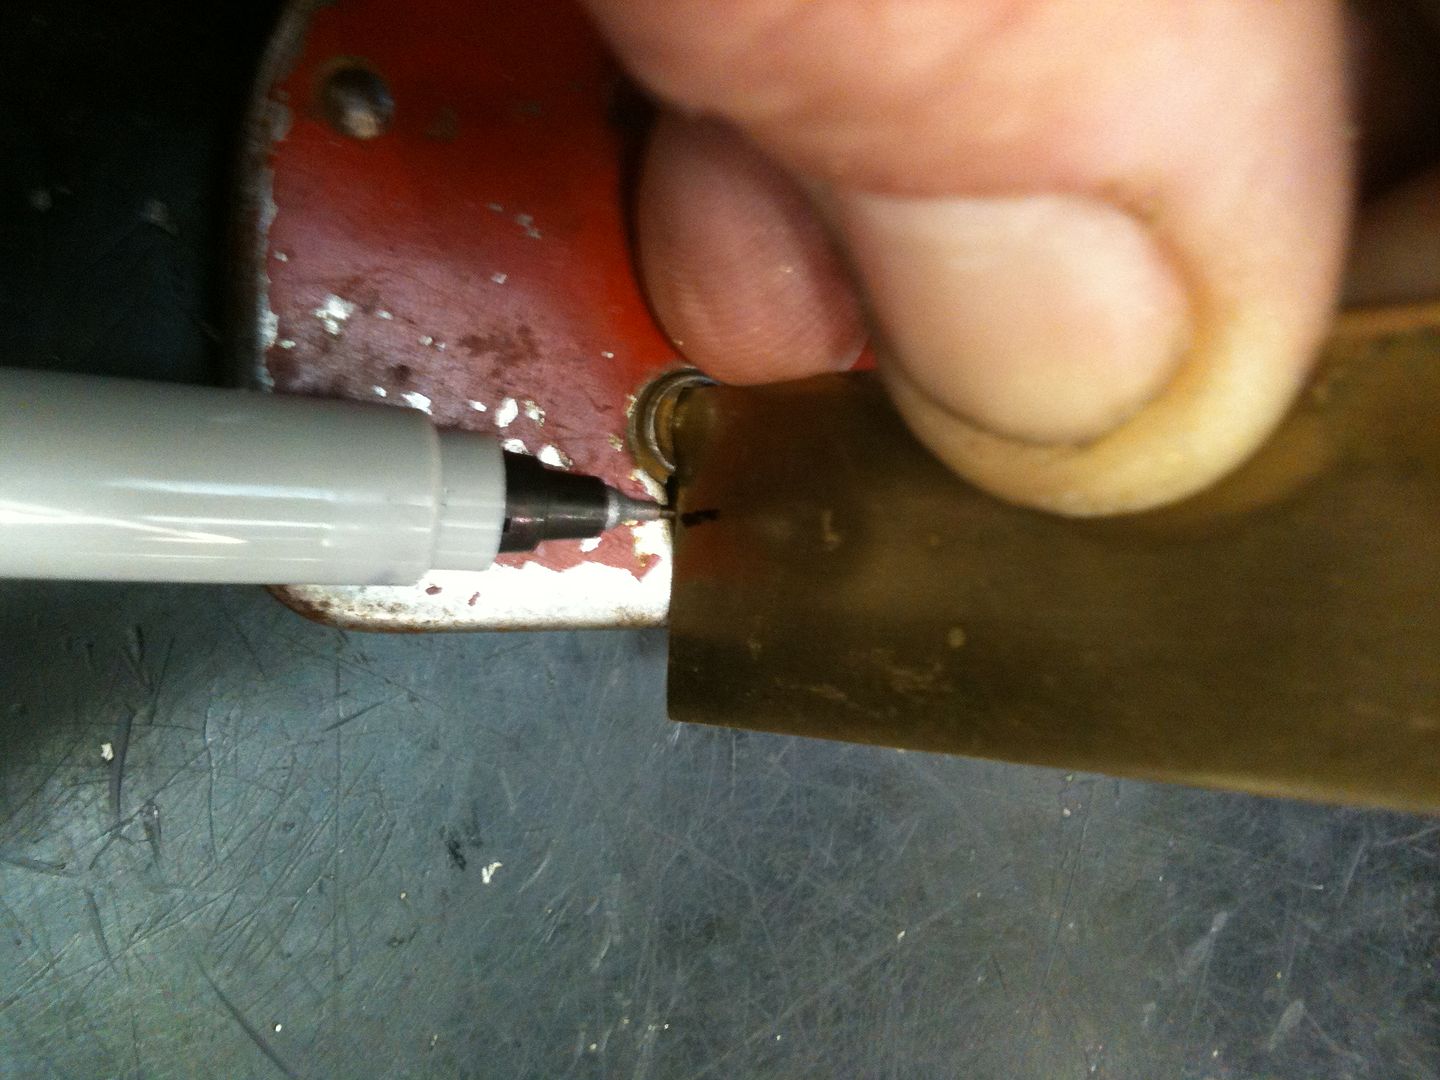
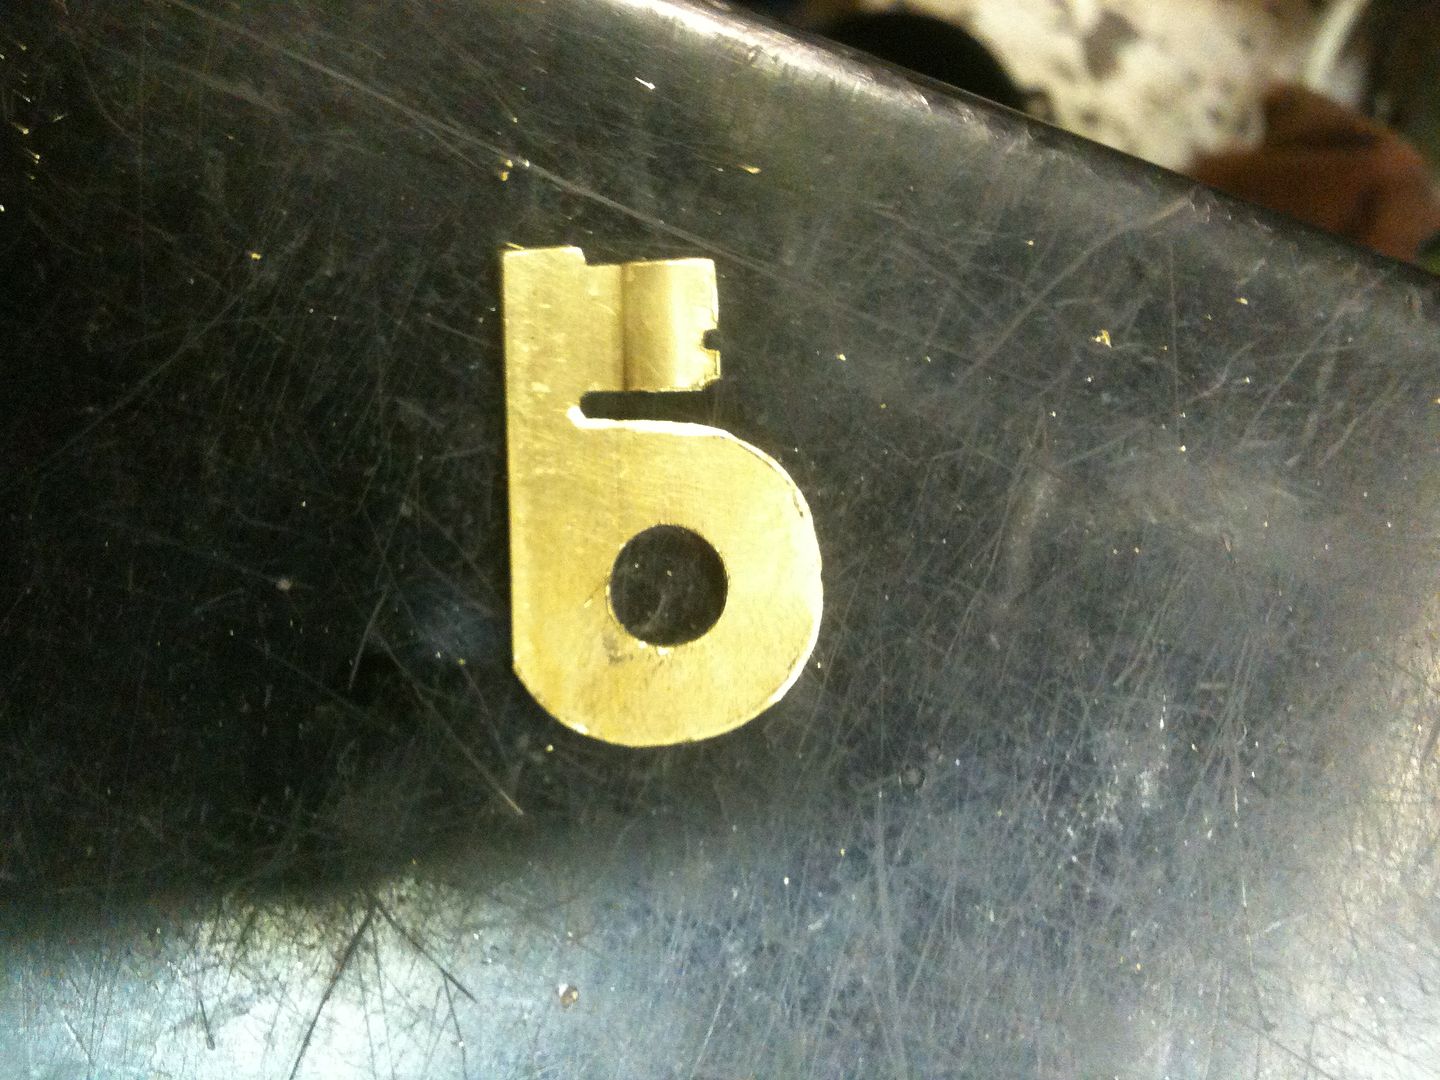
Time to impression the key. . Mark the top and side of the blank with a marker.
Turn the key until it stops. Remove the key blank and look for impressions. One seen here near the middle.
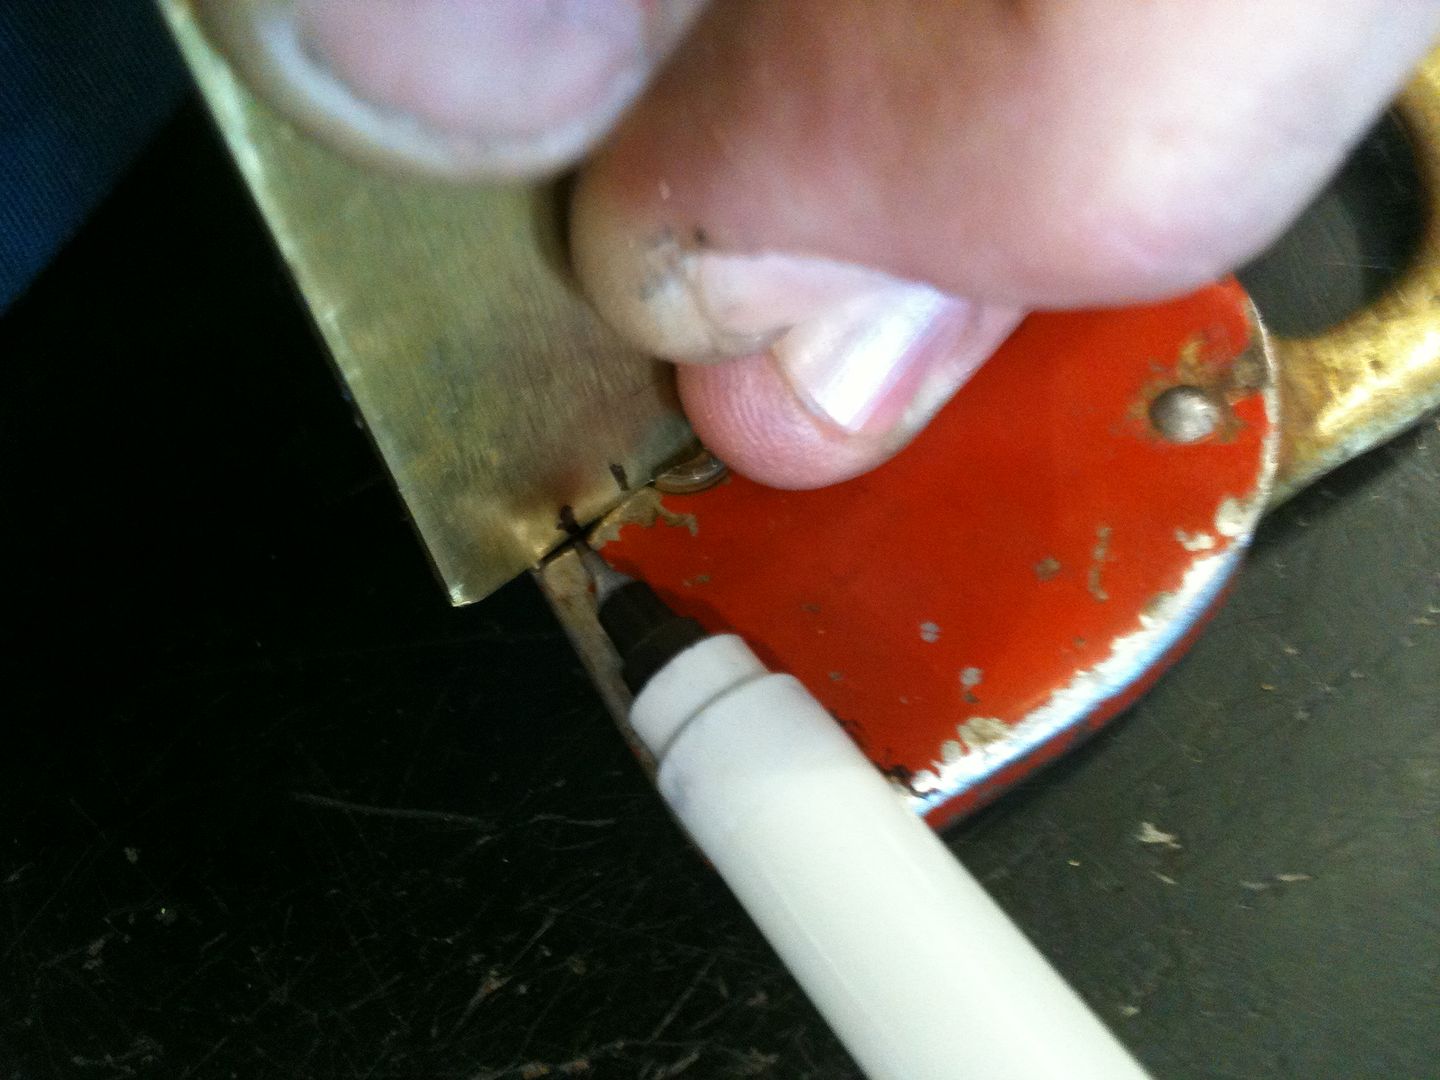
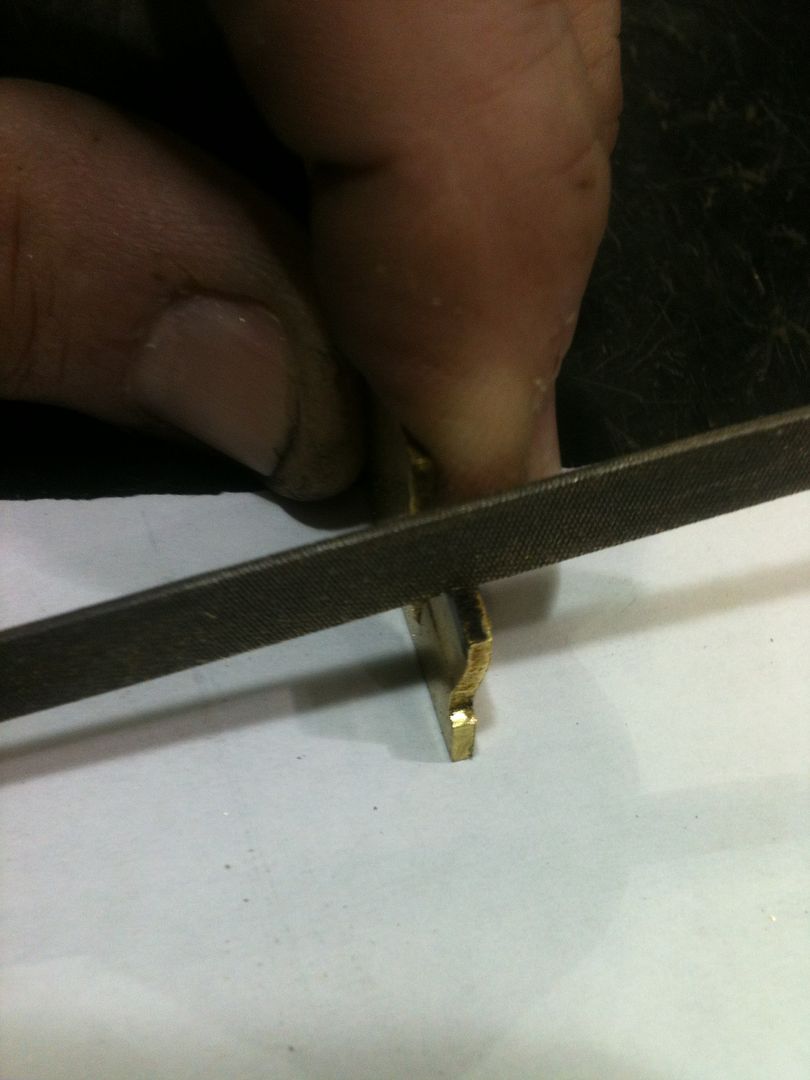
Cut where you see the impression marks only.
Use the marker to cover the fresh brass cut. Reinsert the key, turn until it stops. Remove and reinspect.
Cut where you see impression marks. Wash, rinse, repeat.
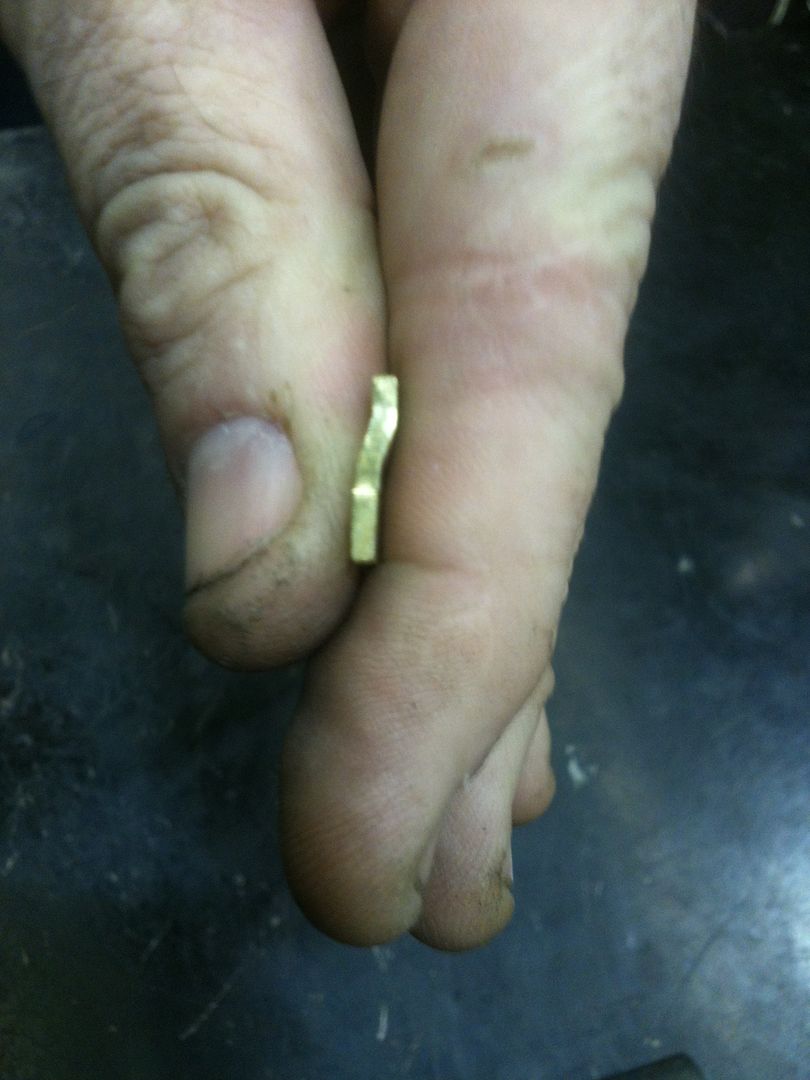
Second cutting of the only mark I have seen and the key now works!
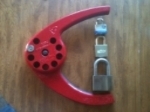
Now shape the key bow as you see fit.
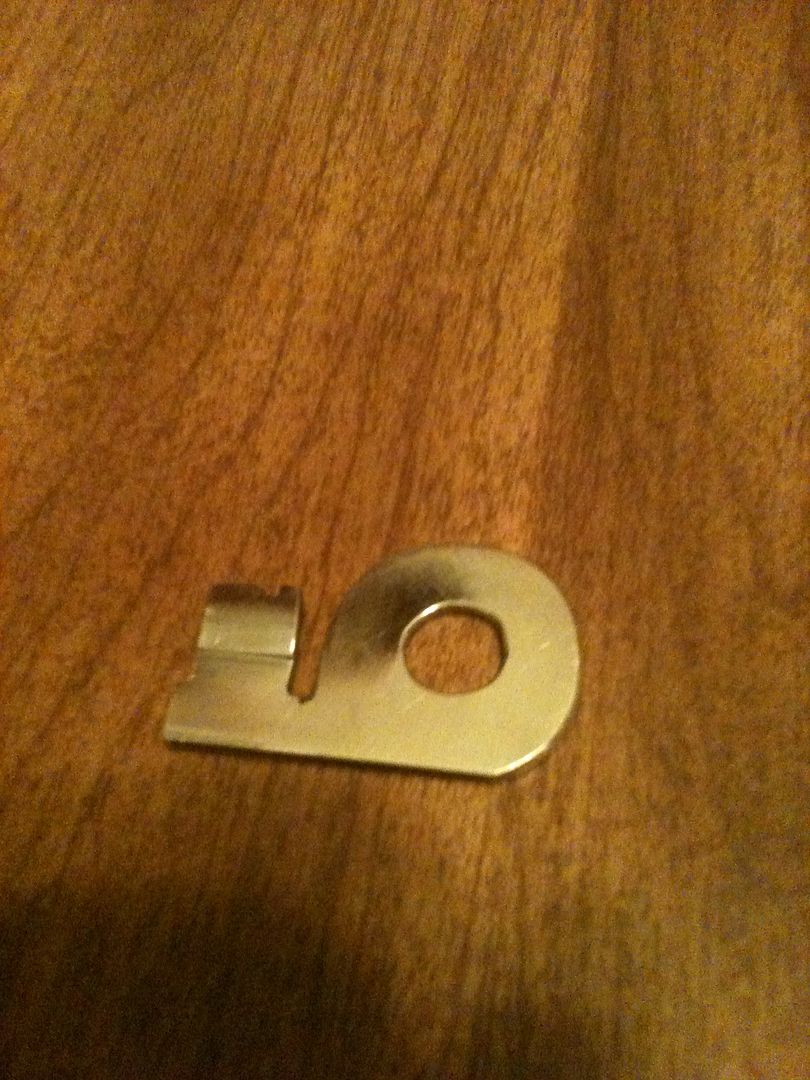
Nice shiny new key for an old grubby Slaymaker. It is now a working lock once again.
Done!
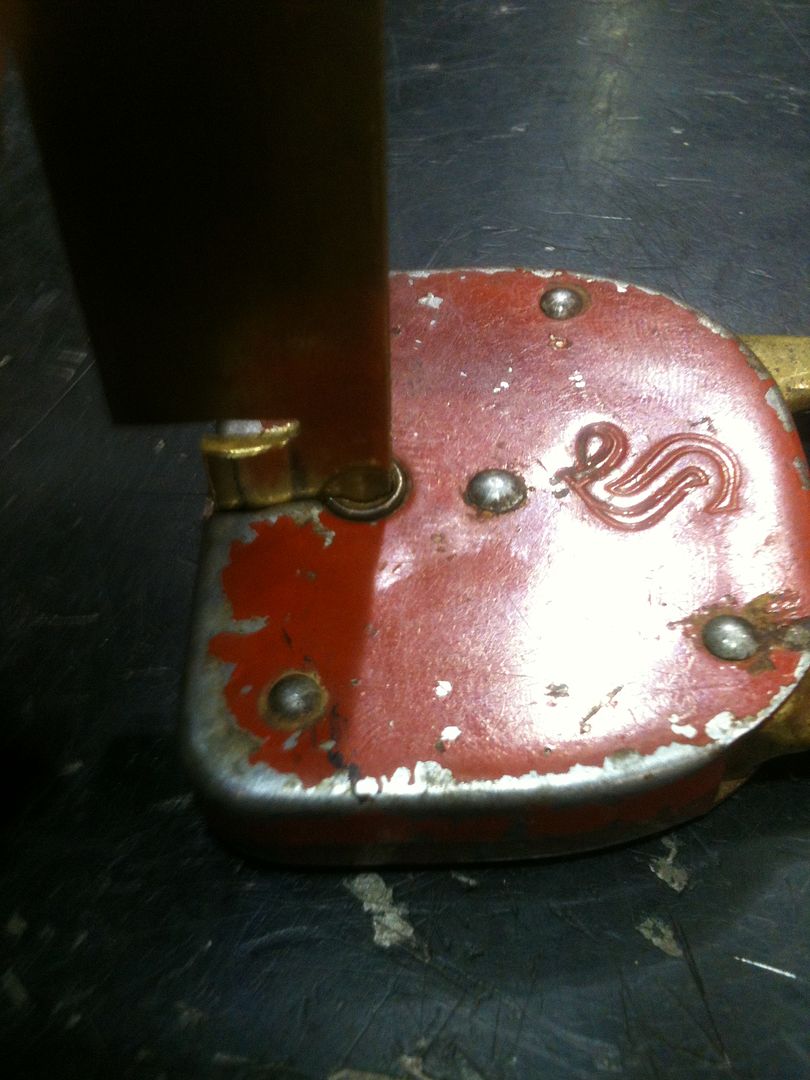
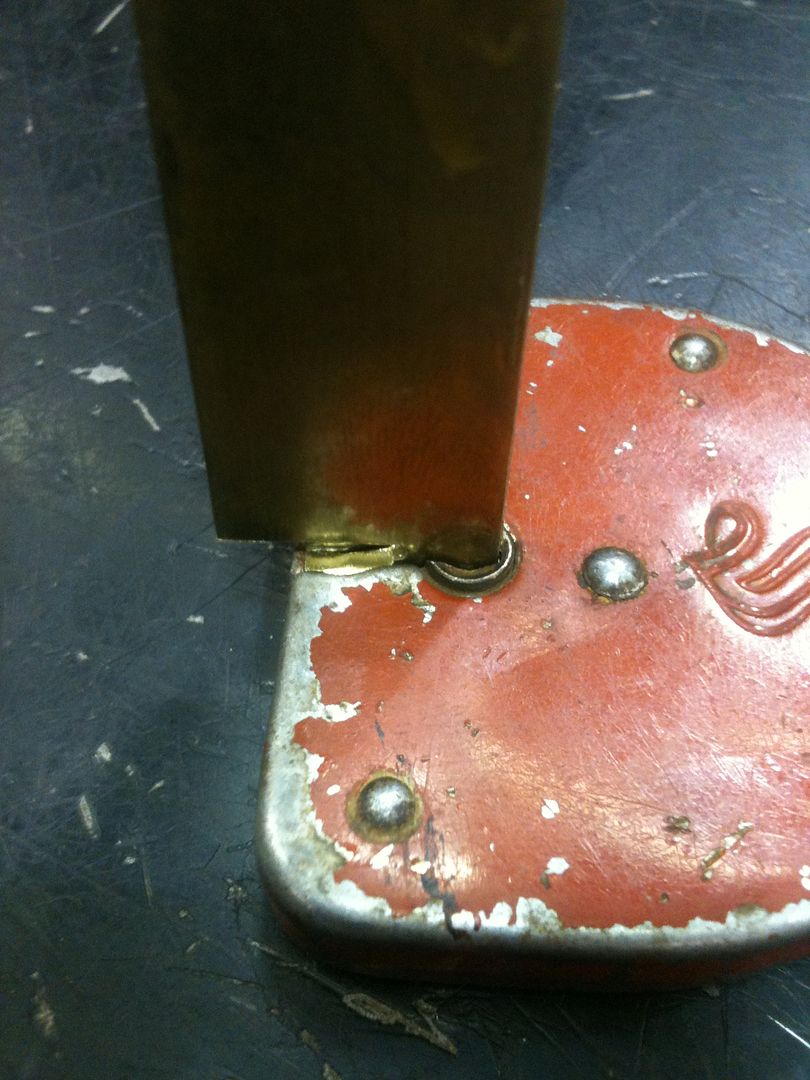
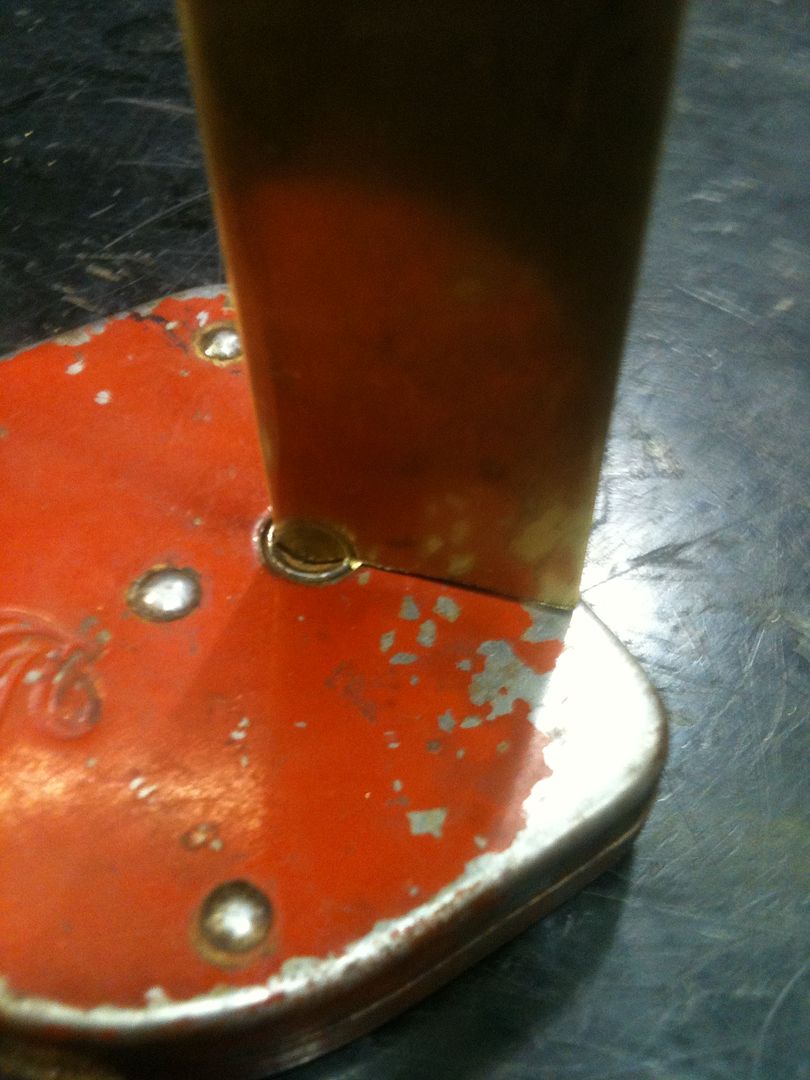
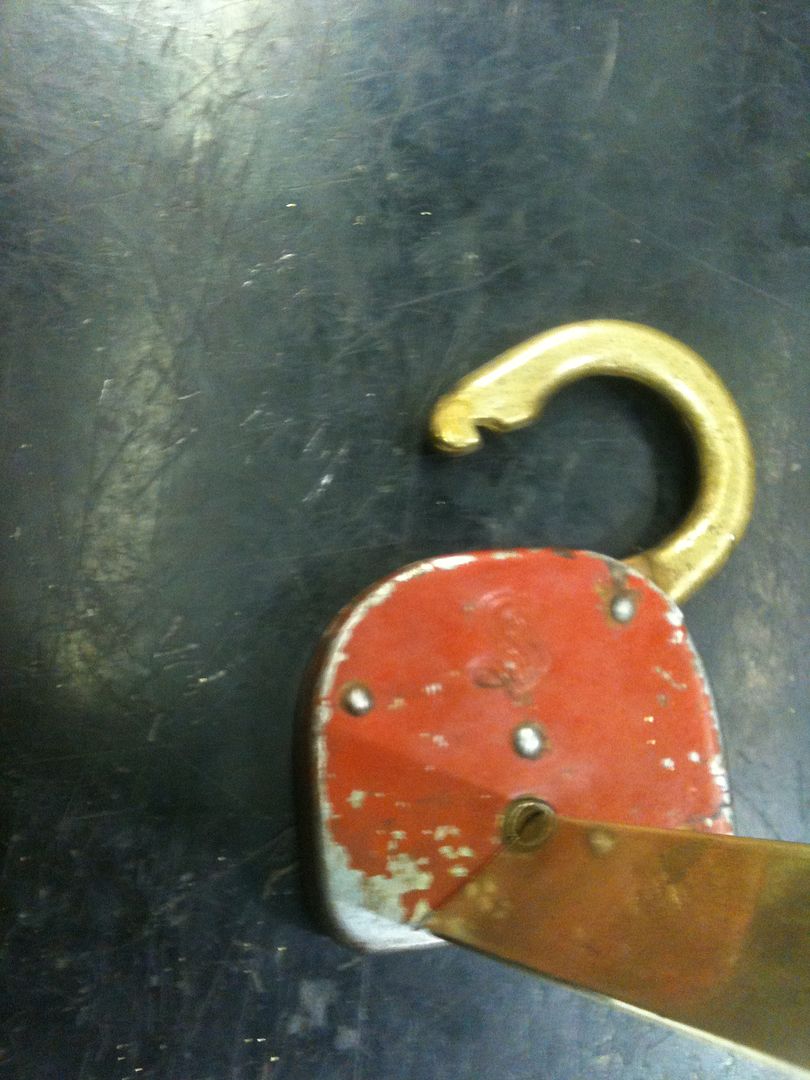
Just a note on the lock itself. See how there is a notch in the shackle toe for the locking dog to hold the shackle?

Well look into the lock where the toe of the shackle fits...
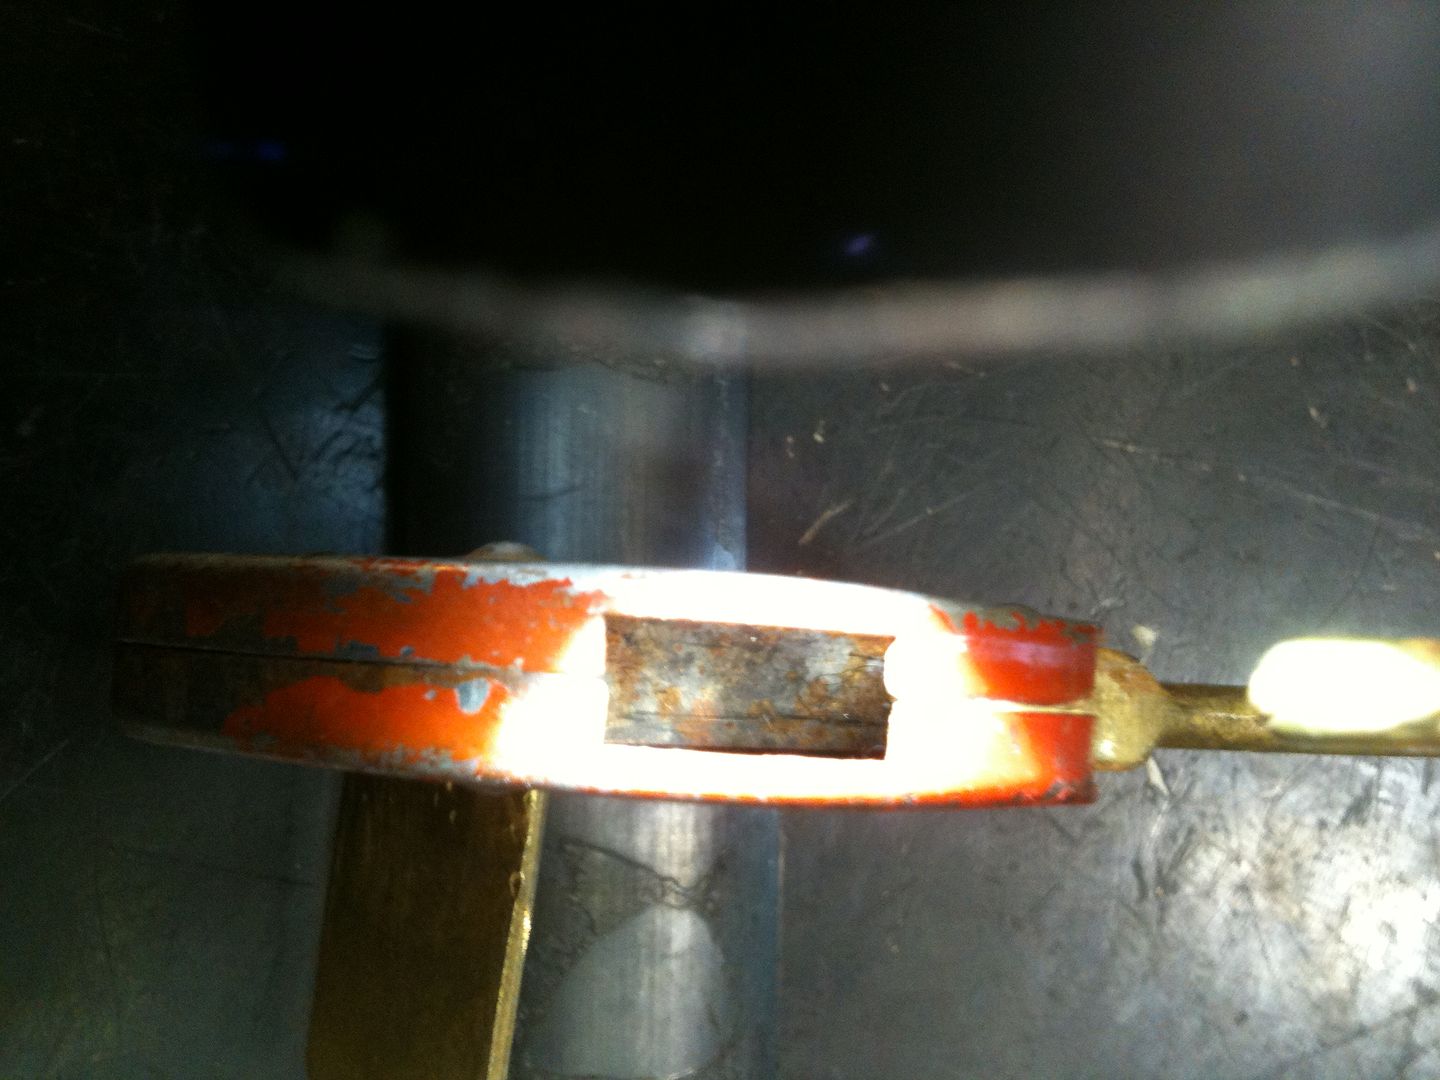
Nothing! All the locking is from the heel side of the shackle.
Gordon
Received this lock with a bunch of others free. No keys, and they were going to throw them out. Who would want a dozen old locks with no keys? I mean aside from me?
When I got it, the plug would not turn.
Turned it over, and saw there was glue.
Used a dental pick to carefully remove the glue as best I could, then a tension wrench to get the plug turning easily.
Cut some brass stock of the proper width so there would be a tab a the tip to keep the key aligned.
Marked the brass where it needed to be bent...
Then used a vice, a large punch and a small hammer to make the needed bends.
Test fit, and correct the angles until the key blank fits into the keyway smoothly.
OK, the key turns in the lock!
Time to impression the key.
Turn the key until it stops. Remove the key blank and look for impressions. One seen here near the middle.
Cut where you see the impression marks only.
Use the marker to cover the fresh brass cut. Reinsert the key, turn until it stops. Remove and reinspect.
Cut where you see impression marks. Wash, rinse, repeat.
Second cutting of the only mark I have seen and the key now works!
Now shape the key bow as you see fit.
Nice shiny new key for an old grubby Slaymaker. It is now a working lock once again.
Done!
Just a note on the lock itself. See how there is a notch in the shackle toe for the locking dog to hold the shackle?
Well look into the lock where the toe of the shackle fits...
Nothing!
Gordon
Just when you think you've learned it all, that is when you find you haven't learned anything yet.